Unlocking the Secret to Perfect Homemade Ribs: A Comprehensive Guide
Ever wondered how restaurants achieve that fall-off-the-bone tenderness and rich, smoky flavor in their ribs? The secret isn’t a complex culinary degree; it’s a blend of technique, patience, and the right ingredients. Preparing Baby Back Ribs at home offers an unparalleled sense of satisfaction, allowing you to control every aspect of the flavor profile and ensure the highest quality. Imagine the aroma filling your kitchen, the anticipation building, and that first bite of perfectly cooked meat – it’s an experience that transcends a simple meal. Plus, mastering this recipe for Baby Back Ribs isn’t just about delicious food; it’s about creating lasting memories around your dinner table. You’ll be surprised at how accessible and rewarding it is to craft restaurant-quality BBQ Ribs right in your own backyard or kitchen.
Ingredients & Kitchen Tools
To embark on your rib-cooking journey, gather these essentials:
- 2 racks (Baby Back Ribs): Approximately 2-3 pounds each, ideally fresh and unfrozen for best results.
- For the Dry Rub:
* 2 tablespoons paprika: Adds color and a sweet, peppery base.
* 1 tablespoon brown sugar: Balances the savory notes and aids in caramelization.
* 1 tablespoon salt: Essential for seasoning and bringing out natural flavors.
* 1 tablespoon black pepper: Provides a sharp, aromatic kick.
* 1 teaspoon garlic powder: Adds a foundational savory depth.
* 1 teaspoon onion powder: Enhances the overall aromatic complexity.
* 1/2 teaspoon cayenne pepper (optional): For a touch of heat; adjust to your preference.
- For the Braising Liquid:
* 1 cup apple cider vinegar: Adds tang and helps tenderize the meat.
* 1 cup apple juice: Contributes sweetness and moisture.
* 1 cup water: Dilutes and ensures sufficient liquid for steaming.
- Your favorite BBQ sauce: About 1-2 cups, for basting and serving.
- Optional – Liquid Smoke: 1-2 teaspoons for an enhanced smoky flavor, especially if not grilling.
Kitchen Tools:
- Large roasting pan with a lid or heavy-duty aluminum foil: Essential for braising the ribs, trapping steam for tenderness.
- Sharp knife: For trimming fat and portioning.
- Basting brush: To apply the BBQ sauce evenly.
- Meat thermometer: For ensuring internal temperature accuracy (optional but recommended).
- Cutting board: For safely preparing your ribs.
- Small bowl: To mix the dry rub ingredients.
Prep Time & Cooking Schedule

Achieving perfect ribs requires a bit of planning, but the schedule is straightforward.
- Prep Time: 20-30 minutes (includes membrane removal, dry rub application).
- Marinating Time (Optional): 2-4 hours or overnight in the refrigerator for deeper flavor infusion. This isn’t strictly necessary for tenderness with this method, but it definitely boosts flavor.
- Cooking Time: 2.5 – 3 hours (braising) + 30-45 minutes (finishing in oven/grill).
- Resting Time: 15-20 minutes after cooking, allowing juices to redistribute for maximum tenderness.
This schedule ensures the ribs are succulent and flavorful, making them ideal for a weekend gathering or a special weeknight meal.
Step-by-Step Instructions
1. Prepare the Baby Back Ribs:
* Remove the membrane: This thin layer on the bone side can make ribs tough. Loosen it with a knife, then peel it off with a paper towel for grip. Trim any excess fat.
* Mix the dry rub: In a small bowl, combine paprika, brown sugar, salt, black pepper, garlic powder, onion powder, and cayenne pepper (if using).
* Apply the rub: Generously coat both sides of the ribs with the dry rub, pressing it gently into the meat.
* (Optional) Marinate: Place the rubbed ribs in the refrigerator for 2-4 hours or overnight.
2. Braise for Tenderness:
* Preheat your oven to 275°F (135°C).
* Place the ribs in a large roasting pan.
* Pour the apple cider vinegar, apple juice, and water (and liquid smoke, if using) into the bottom of the pan. The liquid should cover about 1/4 to 1/2 of the ribs.
* Cover the pan tightly with its lid or heavy-duty aluminum foil. This creates a steamy environment that tenderizes the ribs without drying them out.
* Braise in the preheated oven for 2.5 to 3 hours, or until the meat is very tender and begins to pull away from the bones.
3. Finish for Flavor and Texture:
* Carefully remove the ribs from the braising liquid (discard the liquid) and place them on a baking rack over a baking sheet (or directly on a grill if finishing outdoors).
* Preheat your broiler or grill to medium-high heat.
* Generously baste the ribs with your favorite BBQ sauce.
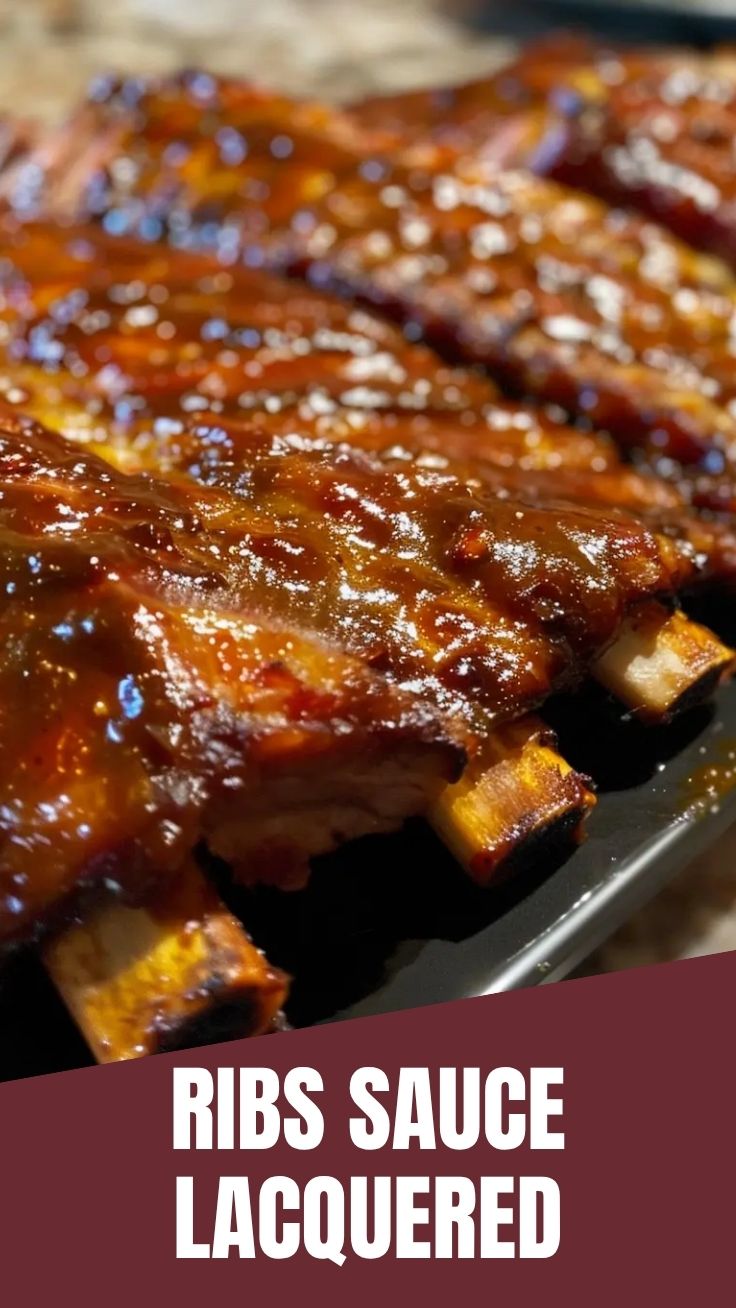
* Cook under the broiler or on the grill for 15-20 minutes, flipping and basting every 5-7 minutes, until the sauce is caramelized and slightly sticky, and the BBQ Ribs have a beautiful glaze. Watch carefully to prevent burning.
* For a smokier finish, consider applying the sauce during the last 30 minutes of grilling after the initial low-and-slow cooking.
4. Rest and Serve:
* Once cooked, remove the ribs from the heat and let them rest for 15-20 minutes. This allows the juices to redistribute, ensuring tender and moist ribs.
* Slice between the bones and serve immediately.
Nutritional Benefits & Advantages
Baby Back Ribs, while a treat, offer a good source of protein, essential for muscle repair and growth. Pork also provides B vitamins (like B12 and niacin), which are crucial for energy metabolism and nervous system function. When prepared at home, you control the amount of sugar and sodium in the rub and sauce, allowing for a healthier rendition compared to many commercially prepared options. Using apple cider vinegar in the braising liquid can also aid in digestion, while the lean meat provides a satisfying and filling meal.
Tips Variations & Cooking Advice
- Spice Level: Adjust the cayenne pepper in the rub to your preference, or add a pinch of red pepper flakes to the sauce for an extra kick.
- Flavor Profiles: Experiment with different BBQ sauces (sweet, smoky, spicy, tangy mustard-based). You can also add a tablespoon of smoked paprika to the rub for an intensified smoky flavor without liquid smoke.
- Grilling Finish: For an authentic BBQ experience, finish the ribs on a charcoal or gas grill. The direct heat and smoke impart a distinct flavor that an oven can’t replicate entirely.
- Marinade Boost: For an even deeper flavor, marinate the Baby Back Ribs in a mixture of beer, apple cider, and your dry rub for several hours before braising.
- Dietary Adaptations: For a gluten-free version, ensure your BBQ sauce is certified gluten-free. Most dry rub ingredients are naturally gluten-free.
Common Mistakes to Avoid
- Not removing the membrane: This is crucial for tender ribs. If left on, it creates a chewy, unappetizing texture.
- Overcooking or undercooking during braising: Overcooking will result in mushy, falling-apart meat, while undercooking will leave them tough. Aim for tender but still intact.
- Burning the sauce: BBQ sauces are high in sugar and can burn quickly under high heat. Monitor closely during the finishing stage, especially if using a broiler.
- Not resting the meat: Skipping the resting step leads to dry ribs as the juices escape when you cut into them immediately.
- Skimping on salt: Salt is vital for flavor. Don’t be afraid to season generously, especially with a thick cut like ribs.
Storage & Meal Prep Tips
- Refrigeration: Leftover Baby Back Ribs can be stored in an airtight container in the refrigerator for up to 3-4 days.
- Freezing: For longer storage, wrap individual portions tightly in plastic wrap and then aluminum foil, or place in freezer-safe bags. They can be frozen for up to 2-3 months. Thaw overnight in the refrigerator before reheating.
- Reheating: To maintain moisture and tenderness, reheat ribs slowly. Wrap them in foil and warm in an oven at 250-300°F (120-150°C) until heated through. You can also briefly grill them to crisp up the edges. Avoid microwaving, as it can make them rubbery. These make for excellent meal prep, providing a hearty and delicious option for lunches or quick dinners.
Conclusion
Mastering homemade Baby Back Ribs is a deeply rewarding culinary journey that transforms a humble cut of meat into a show-stopping dish. By following these detailed steps, you can achieve that sought-after restaurant-quality tenderness and rich flavor, turning any meal into a special occasion. Whether you’re a seasoned chef or a beginner in the kitchen, this comprehensive guide provides all the tools and techniques you need to create unforgettable BBQ Ribs. We encourage you to try this recipe, experiment with your favorite sauces and rubs, and share your delicious results with friends and family. Get ready to impress everyone with your newfound rib-making prowess!
FAQs
Q: Can I use spare ribs instead of baby back ribs?
A: Yes, you can! Spare ribs are larger and meatier, so they will require a longer cooking time, typically 3.5-4 hours during the braising stage. Adjust accordingly.
Q: What if I don’t have a roasting pan with a lid?
A: A large baking dish or pan covered tightly with heavy-duty aluminum foil will work perfectly. The key is to create a sealed environment for steaming.
Q: How do I know when the ribs are done braising?
A: The ribs are done when the meat has pulled back from the ends of the bones, and a bone can be easily wiggled or pulled clean from the meat. They should be very tender but not falling apart.
Q: Can I prepare the dry rub a day in advance?
A: Absolutely! Preparing the dry rub in advance can save time on the day of cooking and allows the flavors to meld. Store it in an airtight container at room temperature.
Q: How can I add a smoky flavor if I don’t have a grill?
A: Liquid smoke is your best friend here! Add 1-2 teaspoons to the braising liquid. You can also use smoked paprika in your dry rub for an additional layer of smoky depth.
Best way to grow Baby Back Ribs using the 4-2-1 method
Ingredients
Equipment
Method
- Remove the membrane from the back of each rib rack and apply a generous amount of rib rub.
- Preheat your smoker to 225°F (107°C) and place the rubbed ribs directly on the grates, meat side up.
- Smoke the ribs for 4 hours directly on the grates, maintaining the smoker temperature.
- After 4 hours, remove the ribs from the smoker and wrap them tightly in aluminum foil with a splash of apple juice in each packet.
- Return the foiled ribs to the smoker for 2 hours, allowing them to steam and become tender.
- Unwrap the ribs, discard the foil and any liquid, then brush them generously with your favorite BBQ sauce.
- Place the sauced ribs back on the smoker for 1 hour to allow the sauce to caramelize.
- Remove the ribs from the smoker and let them rest for 10-15 minutes before slicing and serving.