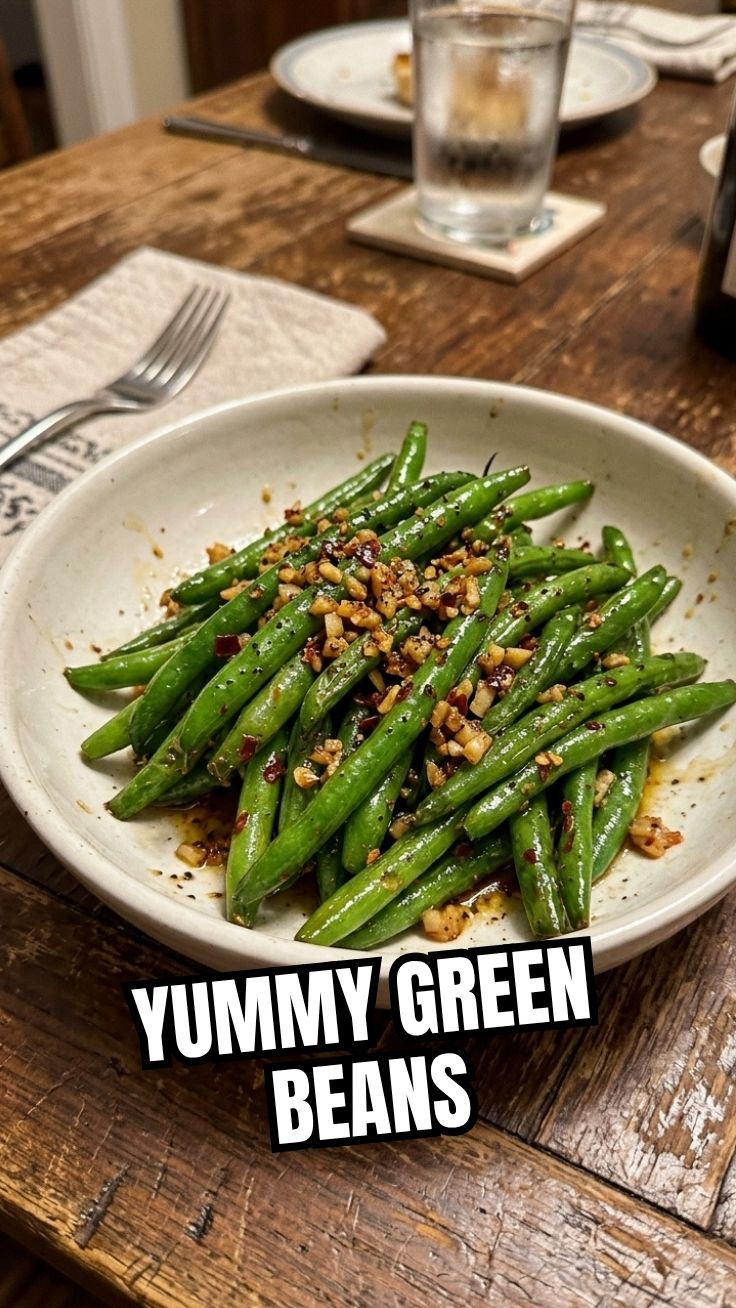
Crispy, Flavorful Garlic Green Beans: Your New Go-To Side Dish
Have you ever wondered why restaurant-style Garlic Green Beans taste so much better than the ones you make at home? The secret isn’t a fancy technique—it’s simply the right balance of heat, timing, and quality ingredients. Whether you’re looking for a quick weeknight vegetable side or a showstopper for holiday dinners, mastering this recipe will elevate your cooking. Preparing it at home saves money, avoids preservatives, and lets you control the salt and oil. Plus, you can easily adapt it to become even richer with Garlic Butter Green Beans—a buttery, indulgent twist that turns a simple side into the star of the plate. In this post, you’ll learn a foolproof method that delivers crisp-tender beans every time.
Ingredients & Kitchen Tools
Ingredients
– 1 lb fresh green beans (trimmed; look for bright, snappy pods)
– 4 garlic cloves (minced; fresh is best, but jarred minced works in a pinch)
– 2 tbsp olive oil or avocado oil (for high-heat sautéing)
– ½ tsp salt (fine sea salt preferred)
– ¼ tsp black pepper (freshly ground)
– 1 tbsp butter (optional; for a richer finish—use vegan butter for dairy-free)
– 1 tsp lemon zest or a squeeze of lemon juice (brightens flavor)
– Optional: red pepper flakes, sesame seeds, toasted almonds, or Parmesan
Kitchen Tools
– Large skillet or wok (12-inch or larger, preferably non-stick or stainless steel)
– Sharp knife and cutting board
– Colander (for washing beans)
– Paper towels (to dry beans thoroughly)
– Spatula or tongs
– Small bowl (for prepping garlic)
Substitutions
– No fresh beans? Frozen green beans (thawed and patted dry) work, but reduce cook time by 2 minutes.
– No garlic? Use 1 tsp garlic powder, but texture will differ.
– Oil swap: grapeseed or coconut oil for higher smoke points.
Prep Time & Cooking Schedule

| Task | Time |
|——|——|
| Prep green beans (wash, trim ends) | 10 minutes |
| Mince garlic | 2 minutes |
| Cook time | 8–10 minutes |
| Total active time | 20 minutes |
| Resting (optional, for serving) | 2 minutes |
Schedule tip: Complete all prep before heating the pan—once you start, the cooking is fast. If serving with a main dish, cook the beans last so they stay hot and crisp.
Step-by-Step Instructions
1. Wash and dry the green beans thoroughly. Any moisture will steam them instead of sear. Pat completely dry with paper towels.
2. Trim the ends: snap or cut off the stem end (the pointed tip is edible, but you can remove it for aesthetics).
3. Heat the skillet over medium-high heat for 1 minute. Add 2 tbsp oil and swirl to coat. The oil should shimmer but not smoke.
4. Add the green beans in a single layer (work in batches if needed). Let them sit untouched for 2 minutes to develop a slight char. Then toss or stir every 30 seconds for 4 more minutes.
5. Lower heat to medium, then add minced garlic. Stir constantly for 30 seconds—garlic burns quickly. At this stage, you can decide between a classic version or the richer Garlic Butter Green Beans variation. For the latter, add 1 tbsp butter now and let it melt into the beans.
6. Season with ½ tsp salt and ¼ tsp pepper. Taste one bean—it should be crisp-tender (not mushy). If it’s still too firm, cook 1 more minute.
7. Finish with lemon zest or a squeeze of lemon juice. Toss once more and remove from heat. This final step lifts the entire dish.
8. Serve immediately while still hot and vibrant green.
Tip: For extra browning, avoid overcrowding the pan. If using frozen beans, cook them dry for 5 minutes before adding garlic to evaporate excess moisture.
Nutritional Benefits & Advantages
Green beans are a low-calorie powerhouse: one cup (about 125g) provides only 44 calories but packs 4g of fiber, 2g of protein, and over 20% of your daily vitamin K, plus vitamin C, folate, and manganese. Garlic adds allicin, which supports immune function and heart health. When you prepare Garlic Green Beans at home, you control the sodium and oil—restaurant versions often double the fat and salt. And if you opt for Garlic Butter Green Beans, you get a small dose of healthy saturated fats from grass-fed butter (or plant-based alternatives) that aid nutrient absorption of fat-soluble vitamins like A and K.
Tips Variations & Cooking Advice
Flavor variations
– Asian-style: add 1 tsp soy sauce and ¼ tsp sesame oil at the end.
– Spicy: toss with ½ tsp red pepper flakes or a drizzle of sriracha.
– Nutty: sprinkle toasted sliced almonds or sesame seeds before serving.
Dietary adaptations
– Dairy-free: skip butter; use only olive oil.
– Gluten-free: naturally, but double-check soy sauce if using.
– Low-sodium: reduce salt to ¼ tsp; use garlic powder instead of salt.
Cooking method swaps
– Roasted: toss beans with oil and garlic, spread on a baking sheet, roast at 425°F for 12–15 minutes.
– Air fryer: cook at 375°F for 8 minutes, shaking halfway.
– Grilled: thread beans onto skewers, grill over medium heat for 6 minutes, then toss with garlic butter.
Portion changes
– For a crowd, multiply ingredients but cook in batches to avoid steaming.
Common Mistakes to Avoid
– Soggy beans: usually from excess moisture. Always dry beans thoroughly and never add water to the pan.
– Burnt garlic: garlic cooks fast. Add it after the beans are nearly done, and keep the heat medium.
– Underseasoning: green beans need enough salt. Taste and adjust before serving.
– Overcooking: cook just until crisp-tender. Mushy beans lose texture and nutrients.
– Crowding the pan: beans steam instead of sear. Cook in a single layer.
If disaster strikes—e.g., burnt garlic—simply discard the darkened bits and start the garlic step again fresh.
Storage & Meal Prep Tips
Refrigeration: Store cooled leftovers in an airtight container for up to 4 days. To maintain crispness, line the container with a paper towel to absorb condensation.
Freezing: Not recommended for sautéed beans (they become mushy upon thawing). If you must freeze, blanch raw beans first, then freeze, and sauté after thawing.
Reheating: For best texture, reheat in a hot skillet with a tiny splash of water or extra oil for 1–2 minutes. Microwave works in a pinch but may soften beans further.
Meal prep: Blanch green beans ahead of time (boil 2 minutes, then ice bath). When ready to serve, sauté with garlic and oil for 2–3 minutes. This cuts active cook time in half.
Conclusion
Now you have a complete roadmap to making restaurant-quality Garlic Green Beans right in your kitchen. The keys are simple: dry beans, hot pan, and careful garlic timing. For an even more decadent side, try the Garlic Butter Green Beans version—just add a pat of butter at the end. This dish pairs beautifully with grilled chicken, seared fish, or a hearty pasta. I encourage you to tweak the seasonings to your taste and share your results in the comments below. And if you enjoyed this recipe, explore our other quick vegetable sides—they’ll transform your everyday meals.
FAQs
1. Can I use frozen green beans without thawing?
Yes, but increase the initial sear time to evaporate ice crystals. Cook frozen beans dry for 5 minutes before adding garlic to avoid sogginess.
2. How do I prevent garlic from burning?
Always add garlic after the beans have begun to soften, and lower the heat to medium. Stir constantly for no more than 30–40 seconds.
3. What can I substitute for green beans?
Snap peas, asparagus, or broccoli cut into similar sizes work well. Adjust cook time—asparagus cooks in 4–5 minutes, broccoli in 6–7.
4. Why are my beans tough or stringy?
Older beans may have tough fibers. Choose fresh, slender beans that snap easily. If they seem tough, blanch for 2 minutes before sautéing.
5. Can I make this dish vegan?
Absolutely. Skip the butter and use a high-quality olive oil or vegan butter substitute. The lemon zest and garlic provide plenty of flavor.