The Ultimate Guide to Healthy Back-to-School Lunches Your Kids Will Actually Eat
Are you tired of staring at an empty lunchbox that comes home every afternoon? You’re not alone. Packing Back-to-School Lunches that are both appealing and nourishing can feel like a daily battle. Yet preparing these meals at home gives you total control over ingredients, portion sizes, and freshness—saving money while building healthier habits. In this guide, we’ll show you how to create Nutritious Lunches that are quick to assemble, fun to eat, and packed with the energy kids need to power through afternoon classes. Whether you’re a seasoned meal prepper or a busy parent looking for a better routine, these Back-to-School Lunches are designed to simplify your mornings without sacrificing taste or nutrition. Let’s dive into a lunchbox revolution that keeps both parents and kids happy.
—
Ingredients & Kitchen Tools
For the Base Recipe (makes 4 servings)
– Whole-grain tortilla wraps – 4 large (use gluten-free if needed)
– Grilled chicken breast – 2 cups, diced (or chickpeas for vegetarian)
– Mixed bell peppers – 1 cup, thinly sliced (red, yellow, orange)
– Cherry tomatoes – 1 cup, halved
– Baby spinach – 2 cups, packed
– Shredded cheddar cheese – ½ cup (optional; omit for dairy-free)
– Greek yogurt – ½ cup (plain, full-fat for creaminess)
– Lemon juice – 1 tablespoon
– Salt, pepper, garlic powder – to taste
– Avocado – 1, sliced (adds healthy fats)
Kitchen Tools
– Cutting board and sharp knife
– Mixing bowls (small + medium)
– Grater (if using block cheese)
– Skillet or grill pan (for chicken)
– Lunchbox containers (BPA-free, divided)
– Small zip-top bags or reusable silicone pouches
Optional Substitutions
– Swap chicken with turkey, tofu, or canned tuna
– Use lettuce cups instead of tortillas for low-carb
– Replace yogurt with hummus for a nut-free option
– Add berries or apple slices for a touch of sweetness
—
Prep Time & Cooking Schedule
– Prep Time: 15 minutes (chopping, mixing)
– Cook Time: 10 minutes (grilling chicken)
– Assembly Time: 5 minutes per lunch
– Total Time: 30 minutes for 4 lunches
– Best Made: The night before; stays fresh for 2 days in the fridge
Tip: Grill the chicken while you chop veggies to maximize efficiency. Use separate bowls for wet and dry ingredients to avoid soggy wraps.
—
Step-by-Step Instructions
1. Cook the protein. Season diced chicken with salt, pepper, and garlic powder. Grill in a skillet over medium heat for 5–7 minutes until golden and cooked through (internal temp 165°F). Let rest 2 minutes.
2. Prepare the dressing. In a small bowl, mix Greek yogurt with lemon juice and a pinch of salt. Set aside.
3. Warm the tortillas. Microwave each wrap for 10 seconds to make them pliable (prevents cracking).
4. Assemble the wraps. Lay a tortilla flat. Spread 1 tablespoon of yogurt dressing in the center. Layer spinach, bell peppers, tomatoes, chicken, avocado slices, and cheese (if using).
5. Fold tightly. Fold in the sides, then roll from bottom to top like a burrito. Cut in half diagonally.
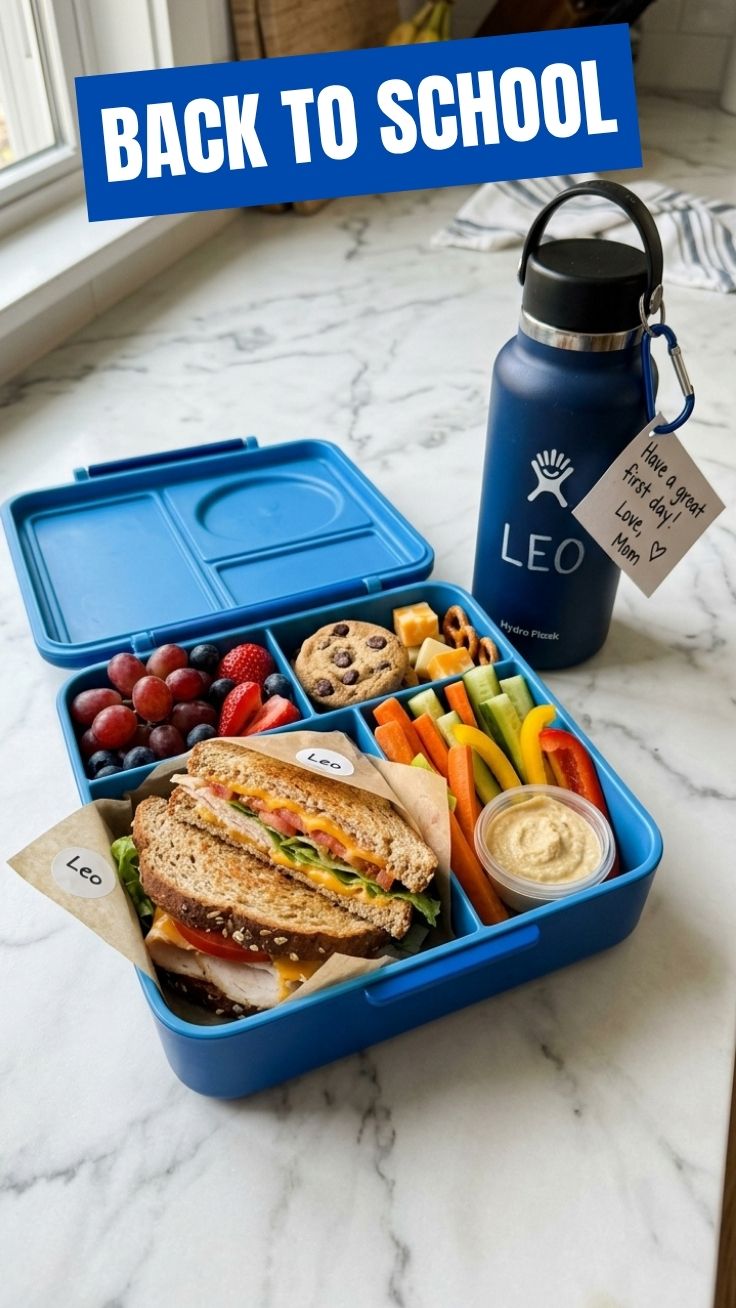
6. Pack the lunchbox. Place wrap halves in the main compartment. Add sides: baby carrots, cucumber slices, or a small apple. Include a cold pack to keep ingredients safe.
> Pro Tip: For Back-to-School Lunches that stay crisp, pack dressing separately in a small container. This ensures your Nutritious Lunches don’t become soggy by lunchtime.
—
Nutritional Benefits & Advantages
This lunch delivers a balanced mix of macronutrients:
– Protein from chicken (approx. 30g per serving) supports muscle repair and satiety.
– Healthy fats from avocado and yogurt aid brain development.
– Fiber from whole-grain wraps and veggies promotes digestive health.
– Vitamins A and C from bell peppers and spinach boost immunity.
Each wrap provides about 400–450 calories, making it ideal for active school days. Compared to store-bought lunch kits, you’re cutting added sugars and sodium by nearly 60%.
—
Tips, Variations & Cooking Advice
– Flavor swap: Use pesto instead of yogurt dressing for an Italian twist.
– Add crunch: Sprinkle sunflower seeds or crushed tortilla chips inside.
– Dairy-free: Omit cheese and use vegan yogurt or tahini dressing.
– Gluten-free: Replace tortillas with large lettuce leaves or gluten-free wraps.
– No-cook version: Use canned chickpeas, pre-cooked rotisserie chicken, or deli turkey.
For picky eaters, let them build their own wrap bar—choice increases consumption.
—
Common Mistakes to Avoid
– Overfilling the wrap → Use no more than ¾ cup of filling total to prevent tearing.
– Skipping the rest time for chicken → Always let meat rest so juices reabsorb; otherwise, filling becomes watery.
– Packing wet ingredients together → Keep moist items (dressing, avocado) separate until eating.
– Using cold tortillas → Warm them briefly to increase flexibility and avoid cracks.
– Forgetting to label containers → Use dates to track freshness.
—
Storage & Meal Prep Tips
– Refrigerate assembled wraps in an airtight container for up to 2 days. Place a paper towel inside to absorb condensation.
– Freeze uncooked wraps (without dressing) for up to 1 month. Thaw overnight in the fridge, then add dressing.
– Reheat chicken separately if you prefer warm protein; otherwise, serve cold.
– Sides like cut fruit should be packed in a separate container to avoid cross-flavors.
For weekly prep: Grill a large batch of chicken on Sunday, chop veggies, and store yogurt dressing in a jar. Assemble each morning in 5 minutes.
—
Conclusion
Creating Back-to-School Lunches doesn’t have to be a stressful chore. With a little planning and these simple steps, you can deliver Nutritious Lunches that keep kids focused and satisfied. Remember: the key is balance, freshness, and involving your child in the process. Try this recipe this week and watch the empty lunchbox transform into a clean plate. Share your creations in the comments—we’d love to see your lunchbox hacks! Don’t forget to explore our other back-to-school resources for more time-saving ideas.
—
FAQs
1. Can I use a different protein source?
Absolutely. Canned tuna, shredded rotisserie chicken, hard-boiled eggs, or black beans all work well. Adjust cooking times accordingly.
2. My wraps get soggy by lunch. What can I do?
Pack dressing and avocado separately. Also, pat dry any wet veggies (like tomatoes) before assembling. A layer of spinach acts as a moisture barrier.
3. How long do these lunches last in a lunchbox without refrigeration?
With a good insulated bag and ice pack, they stay safe for up to 4 hours. Avoid dairy if no ice pack is available.
4. Can I make these gluten-free?
Yes! Use corn tortillas, lettuce wraps, or rice paper wrappers. Double-check your yogurt and dressing labels for hidden gluten.
5. My kid hates bell peppers. Any swaps?
Try cucumber strips, shredded carrots, or finely chopped broccoli. You can also hide them in a homemade sauce or pesto.
Best way to grow Back-to-School Lunches: 5 Fast Ideas
Ingredients
Equipment
Method
- Spread cream cheese or hummus evenly over each whole wheat tortilla. Layer with sliced turkey or ham and a handful of fresh spinach leaves.
- Roll each tortilla up tightly, then slice into 1-inch pinwheels. Pack with some fruit and a small container of yogurt.
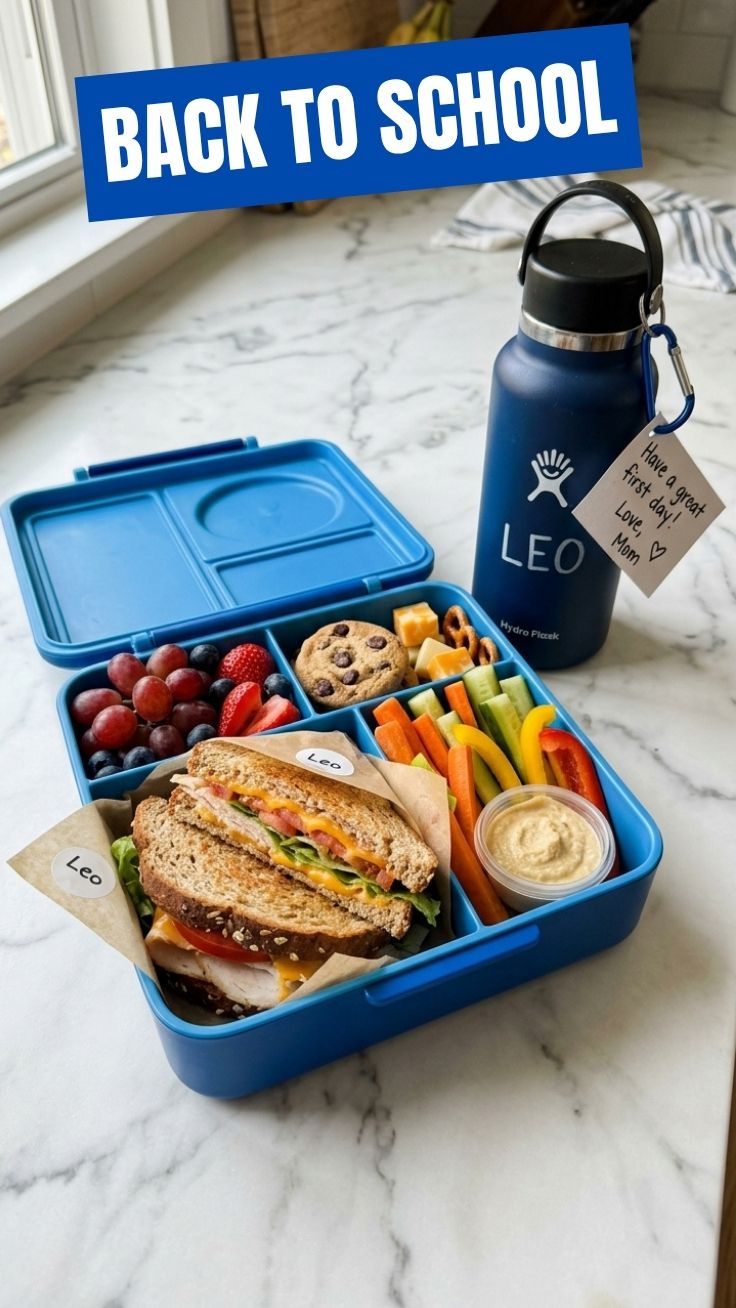
- Arrange crackers, cheese slices, and pepperoni or deli meat in a bento box or divided container. This allows the child to assemble their own mini-sandwiches.
- Add some cherry tomatoes and cucumber slices for vegetables. Include a small treat like a cookie or a piece of fruit.