The Ultimate Guide to Baking the Perfect Apple Pie at Home
Have you ever wondered why some Apple Pie recipes turn out golden, flaky, and bursting with cinnamon-spiced fruit, while others end up soggy or bland? The secret lies not just in the ingredients, but in the technique. Preparing this classic dessert at home is more than a baking project—it’s a rewarding experience that fills your kitchen with warmth and nostalgia. By mastering a few key steps, you can create a homemade apple pie that rivals any bakery version. This guide will walk you through every detail, from selecting the right apples to achieving that perfect lattice crust. Let’s dive into the art of making a truly memorable dessert that your family will request again and again.
Ingredients & Kitchen Tools
For the Crust:
– 2 ½ cups all-purpose flour – Provides structure; substitute with gluten-free blend for dietary needs.
– 1 cup cold unsalted butter – Cut into cubes; keeps crust flaky. Use vegan butter for dairy-free.
– 1 tsp salt – Enhances flavor.
– 1 tbsp sugar – Adds subtle sweetness.
– 6-8 tbsp ice water – Binds dough without activating gluten too much.
For the Filling:
– 6-7 medium apples – Mix Granny Smith (tart) and Honeycrisp (sweet) for balanced flavor.
– ¾ cup granulated sugar – Adjust based on apple sweetness.
– 2 tbsp lemon juice – Prevents browning and brightens flavor.
– 2 tsp cinnamon – Classic spice; add nutmeg or allspice for depth.
– 2 tbsp cornstarch – Thickens juices; use arrowroot powder as alternative.
– 1 tbsp butter – Dot on top for richness.
Kitchen Tools:
– 9-inch pie dish
– Rolling pin
– Mixing bowls
– Pastry cutter or food processor
– Sharp knife or apple peeler
– Baking sheet (to catch drips)
Prep Time & Cooking Schedule
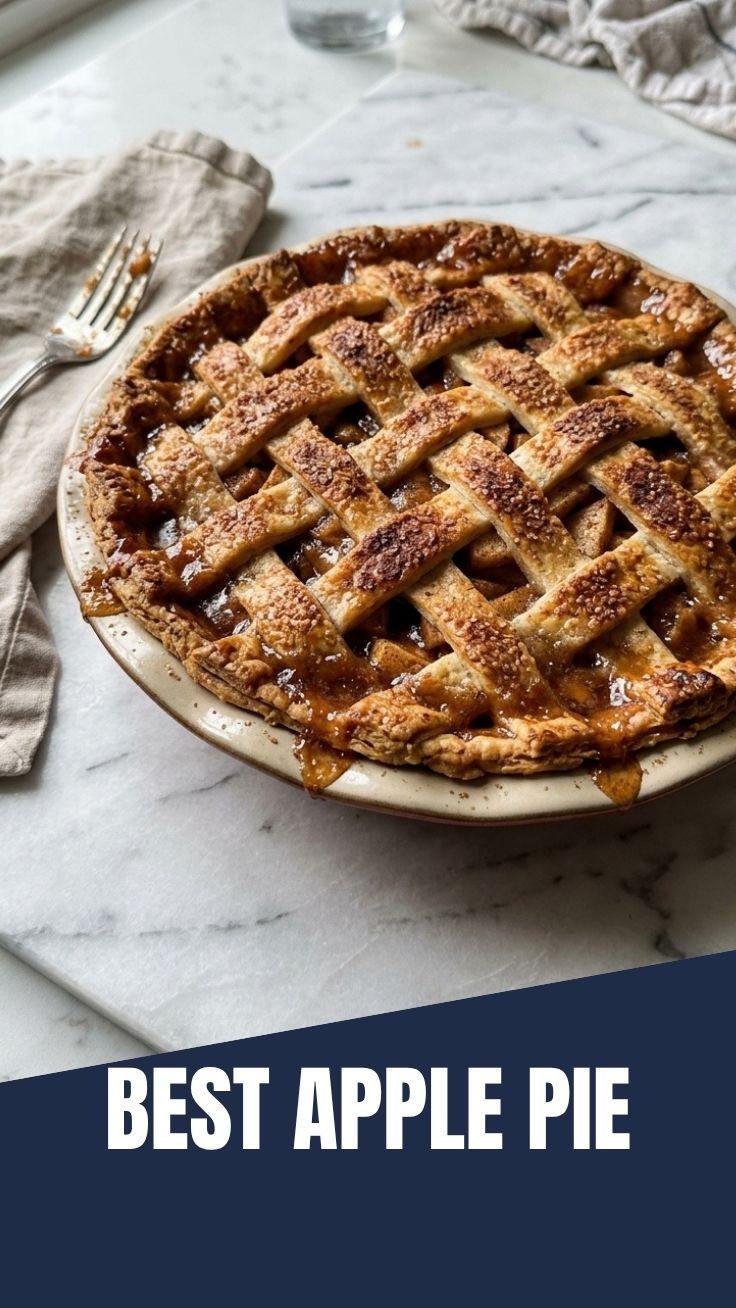
– Prep Time: 30 minutes (plus 1 hour chilling for dough)
– Cook Time: 50-60 minutes
– Resting Time: 2 hours (cooling after baking)
Planning Tip: Make the dough a day ahead and refrigerate overnight. This allows the gluten to relax and the butter to stay cold, ensuring a tender crust. Bake the pie early in the day so it has time to set before serving—this prevents a runny filling.
Step-by-Step Instructions
1. Prepare the Dough: In a large bowl, whisk flour, salt, and sugar. Cut in cold butter using a pastry cutter until pea-sized crumbs form. Drizzle ice water, one tablespoon at a time, mixing until dough just holds together. Divide in half, flatten into discs, wrap in plastic, and refrigerate for at least 1 hour.
2. Make the Filling: Peel, core, and slice apples into ¼-inch thick pieces. Toss with lemon juice, sugar, cinnamon, and cornstarch. Let sit for 15 minutes to release juices—this step is crucial for a concentrated flavor in your apple pie.
3. Roll and Assemble: On a floured surface, roll one dough disc to 12-inch circle. Transfer to pie dish, trim edges. Pour in apple filling, dot with butter. Roll second disc for top crust—either full cover with slits or lattice strips. Crimp edges decoratively.
4. Bake: Preheat oven to 425°F (220°C). Place pie on baking sheet, brush top with egg wash (1 egg + 1 tbsp water), and sprinkle with coarse sugar. Bake at 425°F for 15 minutes, then reduce to 375°F (190°C) for 35-45 minutes. Cover edges with foil if browning too fast. The pie is done when juices bubble through vents and crust is deep golden. This dessert requires patience—let it cool completely for clean slices.
Nutritional Benefits & Advantages
Apples are rich in fiber, vitamin C, and antioxidants like quercetin, which support heart health and digestion. Using a butter-based crust provides healthy fats, while cinnamon helps regulate blood sugar. By baking at home, you control sugar levels and avoid preservatives found in store-bought pies. A single slice (1/8 of pie) contains approximately 350-400 calories, making it a satisfying treat when enjoyed in moderation.
Tips Variations & Cooking Advice
– Flavor Variations: Add ½ cup dried cranberries or chopped walnuts for texture. Swap cinnamon for cardamom or ginger for a unique twist.
– Dietary Adaptations: Use a gluten-free flour blend (with xanthan gum) for the crust. Replace butter with coconut oil for a dairy-free version.
– Cooking Methods: Try a cast-iron skillet for extra crispy edges. For a quicker version, use pre-made puff pastry as the top crust.
– Portion Changes: Make mini hand pies by cutting dough into rounds, filling, and folding—perfect for parties.
Common Mistakes to Avoid
– Soggy Bottom Crust: Blind bake the bottom crust for 10 minutes before adding filling, or sprinkle with breadcrumbs to absorb moisture.
– Runny Filling: Always toss apples with cornstarch and let them macerate. Underbaking also causes runniness—ensure juices bubble thickly.
– Tough Crust: Overworking the dough develops gluten. Handle gently and keep ingredients cold.
– Burnt Edges: Use a pie shield or foil strips to protect the rim during the last 20 minutes of baking.
Storage & Meal Prep Tips
– Refrigeration: Cover leftover pie loosely with foil and store in the fridge for up to 4 days. The crust may soften slightly.
– Freezing: Wrap whole baked pie (cooled completely) in plastic wrap, then foil. Freeze for up to 3 months. Thaw overnight in fridge and reheat at 350°F for 15 minutes.
– Reheating: For a crisp crust, warm slices in a 350°F oven for 10 minutes. Avoid microwaving, which makes the crust soggy.
– Meal Prep: Prepare the dough and slice apples a day ahead. Store apples in lemon water to prevent browning.
Conclusion
Mastering this apple pie recipe transforms a simple dessert into a centerpiece of comfort and celebration. From the flaky, buttery crust to the tender, spiced apples, every bite reflects the care you put into the process. Remember to let the pie cool completely for perfect slices, and don’t be afraid to experiment with spices or fruit combinations. We’d love to hear how your pie turns out—share your photos and tips in the comments below! For more baking inspiration, explore our collection of seasonal fruit desserts.
FAQs
1. Can I use pre-made pie crust?
Yes, but homemade crust provides superior flavor and texture. If using store-bought, brush with egg wash for a golden finish.
2. How do I prevent apples from turning brown?
Toss sliced apples immediately with lemon juice or a mixture of water and vinegar. This also enhances tartness.
3. Why is my pie filling too watery?
You may have undercooked the pie or used too many juicy apple varieties. Always add cornstarch and let the pie cool completely to set.
4. Can I make this pie gluten-free?
Absolutely! Use a 1:1 gluten-free flour blend with xanthan gum. Chill the dough longer, as gluten-free dough is more delicate.
5. How do I get a shiny, golden crust?
Brush the top crust with an egg wash (1 egg beaten with 1 tablespoon water) before baking. Sprinkle with coarse sugar for extra sparkle.
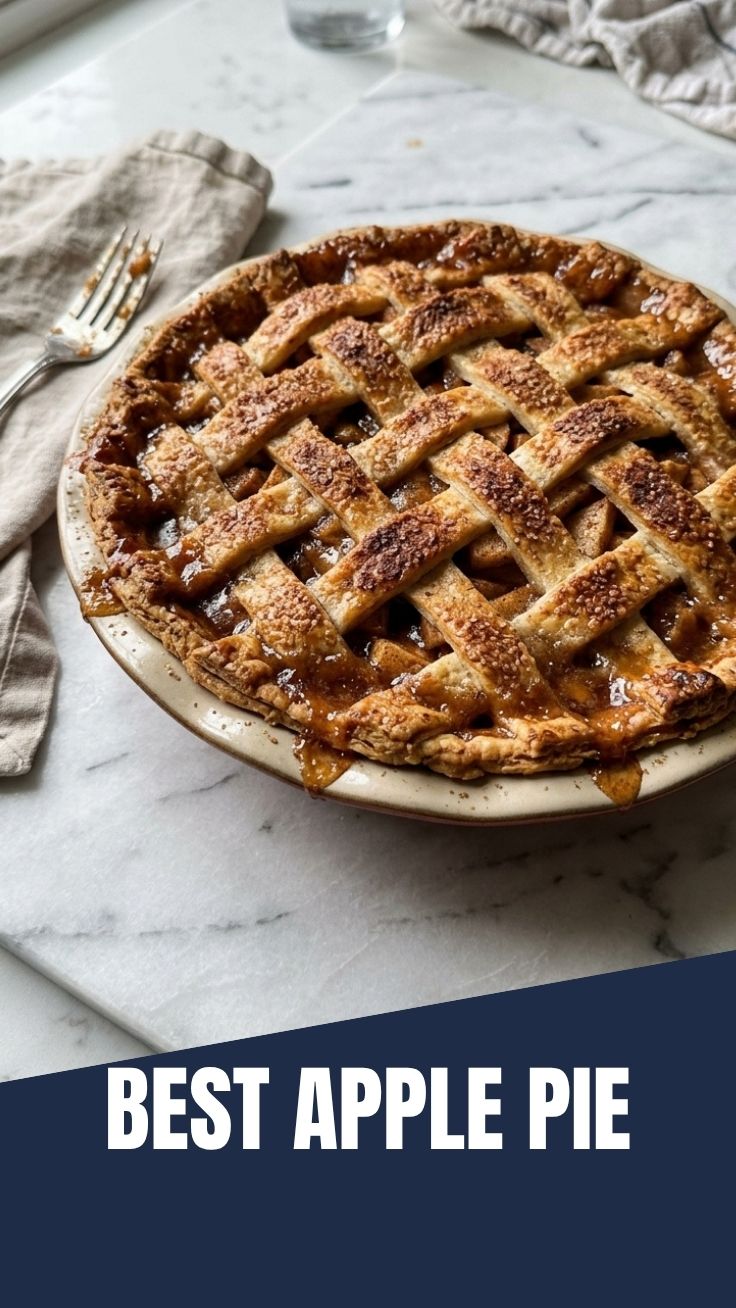
Proven way to grow apple pie from 5 seeds
Ingredients
Equipment
Method
- Combine flour, sugar, and salt in a large bowl, then cut in the cold butter until the mixture resembles coarse crumbs with some pea-sized pieces remaining.
- Gradually add ice water, mixing until the dough just comes together, then divide it in half, flatten into discs, wrap, and refrigerate for at least 30 minutes.
- Roll out one dough disc on a floured surface to a 12-inch circle and transfer it to a 9-inch pie plate, trimming the edges as needed.
- Peel, core, and slice apples, then toss them with granulated sugar, flour, cinnamon, nutmeg, and lemon juice in a large bowl until evenly coated.
- Pour the apple mixture into the pie crust, dotting the top with small pieces of butter.
- Roll out the second dough disc to a 12-inch circle and place it over the apple filling, trimming and crimping the edges to seal.
- Cut several slits in the top crust for ventilation, brush with beaten egg, and sprinkle with coarse sugar.
- Bake at 425°F (220°C) for 15 minutes, then reduce the temperature to 375°F (190°C) and bake for another 45-50 minutes, or until the crust is golden brown and the filling is bubbly.
- Cool the pie on a wire rack for at least 2-3 hours before slicing and serving to allow the filling to set properly.