The Ultimate Homemade Hummus Recipe – Creamy, Healthy & Easy
Have you ever wondered why restaurant hummus tastes so much silkier than store-bought versions? The secret isn’t a culinary degree or exotic ingredients—it’s a few simple techniques that transform a humble can of chickpeas into a velvety, addictive dip. Making your own Hummus at home not only saves money but also lets you control the texture, flavor, and nutritional profile. Whether you’re a meal-prep pro or a kitchen novice, this detailed Hummus recipe will guide you to a result that’s far superior to anything in a plastic tub. In the next few minutes, you’ll learn exactly how to achieve that impossibly smooth consistency, avoid bitterness, and customize every batch to your taste.
Ingredients & Kitchen Tools
Ingredients (with clarifications)
– 1 can (15 oz) chickpeas (garbanzo beans) – Look for “no salt added” if you prefer to control sodium. Reserve the liquid (aquafaba) for extra creaminess.
– ⅓ cup tahini (sesame seed paste) – Stir well before measuring; the oil tends to separate. High-quality tahini makes a noticeable difference.
– 2–3 tablespoons fresh lemon juice (from about 1 lemon) – Fresh juice is brighter and less acidic than bottled. Adjust to your palate.
– 1 small garlic clove, minced – For a milder flavor, remove the green germ inside the clove.
– 3–4 tablespoons ice-cold water – The cold water helps emulsify the hummus and gives it a light, fluffy texture.
– 3 tablespoons extra-virgin olive oil – Use a fruity, mild oil for best flavor. Save a drizzle for garnish.
– ½ teaspoon salt (or to taste) – Fine sea salt dissolves more evenly.
– Optional: ½ teaspoon ground cumin – Adds warm, earthy notes.
– Optional: Pinch of smoked paprika (for garnish) – Also a few whole chickpeas and fresh parsley.
Kitchen Tools & Equipment
– Food processor or high-speed blender – A food processor works best; a blender may require more scraping.
– Fine-mesh strainer – To rinse chickpeas.
– Measuring spoons and cups – Accuracy matters for consistent texture.
– Rubber spatula – For scraping down the sides.
– Small bowl – For mixing lemon and tahini separately (optional but helps avoid graininess).
Substitutions & Swaps
– Gluten-free – This recipe is naturally gluten-free; verify that your tahini is processed in a GF facility if needed.
– Dairy-free – Already dairy-free. Use avocado oil instead of olive oil if sensitive.
– Low-fat – Reduce olive oil to 1 tablespoon and use aquafaba instead of water for creaminess.
– No tahini? – Substitute with ¼ cup sunflower seed butter or a splash of sesame oil blended with plain yogurt (non-dairy option: coconut yogurt).
Prep Time & Cooking Schedule
| Step | Time |
|——|——|
| Rinse chickpeas & prep ingredients | 5 minutes |
| Blend tahini & lemon (optional step) | 2 minutes |
| Final blending & adjustment | 5 minutes |
| Resting time (optional but recommended) | 20–30 minutes |
Total active time: about 12 minutes. Total time (including resting): ~40 minutes. The resting phase allows flavors to meld and the hummus to thicken slightly. You can skip it and serve immediately, but the texture improves with a short rest.
Step-by-Step Instructions
Step 1 – Prepare the chickpeas
Drain and rinse the chickpeas in a fine-mesh strainer. For extra-smooth Hummus, remove the skins by gently rubbing the chickpeas in a clean kitchen towel until the skins slip off. (This is optional but highly recommended—it’s the secret to a silky finish.)
Step 2 – Blend tahini and lemon juice
In the food processor, combine the tahini and lemon juice. Process for 1 minute until thick and pale. This step aerates the tahini and prevents a bitter taste. Scrape down the sides.
Step 3 – Add garlic, salt, and cumin
Pulse to incorporate. If using raw garlic, let it sit for 2 minutes to mellow the pungency.
Step 4 – Add chickpeas
Add about half the chickpeas and process for 30 seconds. Add the remaining chickpeas and process for another 30 seconds. Scrape sides.
Step 5 – Stream in olive oil and water
With the processor running, slowly pour in the olive oil, then the ice-cold water. Continue blending for 2–3 minutes until the mixture is very smooth and pale. If it’s too thick, add another tablespoon of cold water and blend again.
Step 6 – Taste and adjust
Season with additional salt or lemon juice as needed. For a spicier kick, add a pinch of cayenne or a small jalapeño.
Step 7 – Rest and serve
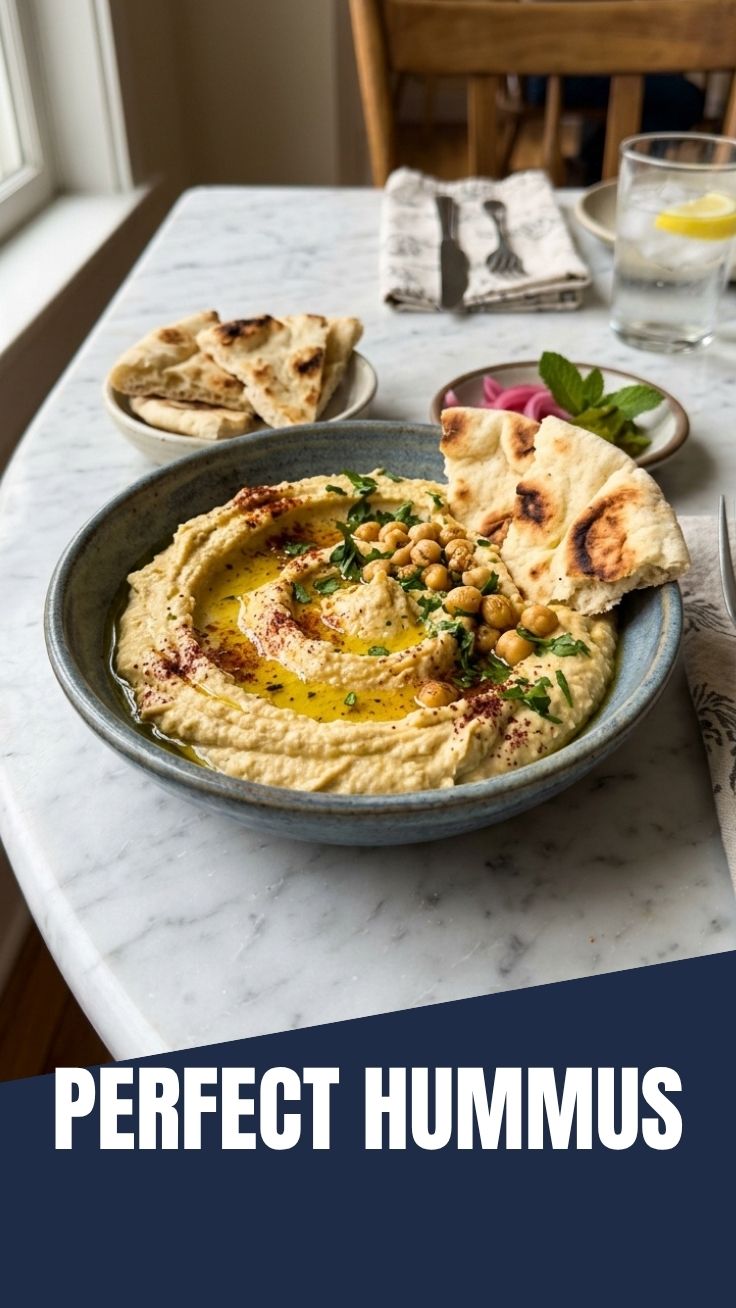
Transfer to a bowl, cover, and let rest for 20 minutes at room temperature. This Hummus recipe reaches peak texture after resting. Drizzle with olive oil, sprinkle paprika and parsley, and serve with warm pita or veggies.
Nutritional Benefits & Advantages
Homemade hummus is a nutritional powerhouse. Each serving (about ¼ cup) provides:
– Protein: ~5g from chickpeas and tahini, supporting muscle repair.
– Fiber: ~3g, aiding digestion and satiety.
– Healthy fats: Olive oil and tahini offer monounsaturated fats that support heart health.
– Vitamins & minerals: Rich in iron, folate, and magnesium. The combination of vitamin C from lemon juice with iron from chickpeas enhances iron absorption.
– Low glycemic index: Chickpeas help regulate blood sugar levels, making hummus a smart choice for diabetics.
Compared to store-bought versions, homemade hummus contains less sodium, no preservatives, and significantly more tahini (often diluted in commercial products). It’s also vegan, gluten-free, and whole30-friendly.
Tips, Variations & Cooking Advice
– For extra creaminess: Use aquafaba (the liquid from the chickpea can) instead of water. It acts as an emulsifier.
– Flavor boosts: Roasted red pepper, sun-dried tomatoes, or black olives blended in create unique variations.
– Herb hummus: Add a handful of fresh basil, cilantro, or mint during the final blending.
– Spicy harissa hummus: Stir in 1–2 teaspoons harissa paste after blending.
– Lighter version: Replace half the olive oil with Greek yogurt (or coconut yogurt for dairy-free).
– No food processor? Use a potato masher and a lot of elbow grease—or a mortar and pestle for a rustic texture.
Common Mistakes to Avoid
1. Skipping the tahini-lemon whip – This step prevents a gritty, bitter hummus. Don’t rush it.
2. Using cold chickpeas straight from the fridge – They blend better at room temperature. Let them sit out 15 minutes or warm them briefly in the microwave.
3. Overloading with garlic – Raw garlic can overpower. Start with one small clove; you can always add more.
4. Adding all water at once – Gradual streaming ensures you don’t make it too runny.
5. Not scraping the processor bowl – Unblended bits ruin the smoothness. Stop and scrape at least twice.
6. Serving immediately – The texture improves after a short rest. Patience pays off.
Storage & Meal Prep Tips
– Refrigeration: Store in an airtight container with a thin layer of olive oil on top to prevent drying. Keeps for 5–7 days.
– Freezing: Portion hummus into ice cube trays, freeze, then transfer to a freezer bag. Thaw overnight in the fridge. Texture remains good for up to 3 months.
– Reheating: Hummus is typically served at room temperature. If refrigerated, let it sit on the counter for 20 minutes, then stir. Do not microwave (can cause separation). For a warm dip, spread on a plate and bake at 350°F for 10 minutes.
– Meal prep idea: Make a double batch on Sunday. Use it as a sandwich spread, veggie dip, or base for grain bowls throughout the week.
Conclusion
Mastering homemade Hummus is a rewarding skill that pays dividends in flavor, nutrition, and cost savings. This Hummus recipe has shown you the essential techniques—from removing chickpea skins to whipping tahini—that elevate a simple dip into a culinary staple. Whether you enjoy it as a snack, party appetizer, or meal-prep component, the ability to customize each batch ensures it never becomes boring. Give it a try this week, and don’t forget to share your results (or tag a friend who needs to up their hummus game). For more Mediterranean-inspired recipes, explore our guides on baba ganoush, falafel, and lentil soup.
Frequently Asked Questions (FAQs)
1. Can I use dried chickpeas instead of canned?
Yes. Soak ½ cup dried chickpeas overnight, then boil until very tender (about 1–1.5 hours). Drain and proceed as directed. The result is even creamier.
2. Why is my hummus bitter?
Bitter hummus usually comes from old or low-quality tahini, or skipping the initial tahini-lemon whip. Always taste your tahini before using; if it’s bitter, try a different brand.
3. How do I make my hummus fluffier?
Use ice-cold water (or aquafaba) and blend for a full 3 minutes. The cold liquid helps create a light, airy texture.
4. Can I make hummus without a food processor?
Yes. Use a high-speed blender (you may need to scrape often) or even a good old-fashioned mortar and pestle for a rustic, thick texture.
5. How long does homemade hummus last?
Properly stored in the fridge, it stays fresh for up to one week. Freeze for longer storage (up to 3 months). Look for any off-smell or mold before consuming.
Homemade Hummus
Ingredients
Equipment
Method
- Drain and rinse a can of chickpeas thoroughly under cold water. For extra creamy hummus, you can remove the skins from the chickpeas, though this is optional.
- In a food processor, combine the rinsed chickpeas, tahini, fresh lemon juice, minced garlic, 2 tablespoons of olive oil, ground cumin, and salt.
- Blend the mixture until it becomes smooth and creamy. While blending, gradually add 2 to 4 tablespoons of ice water, one tablespoon at a time, until your desired consistency is reached.
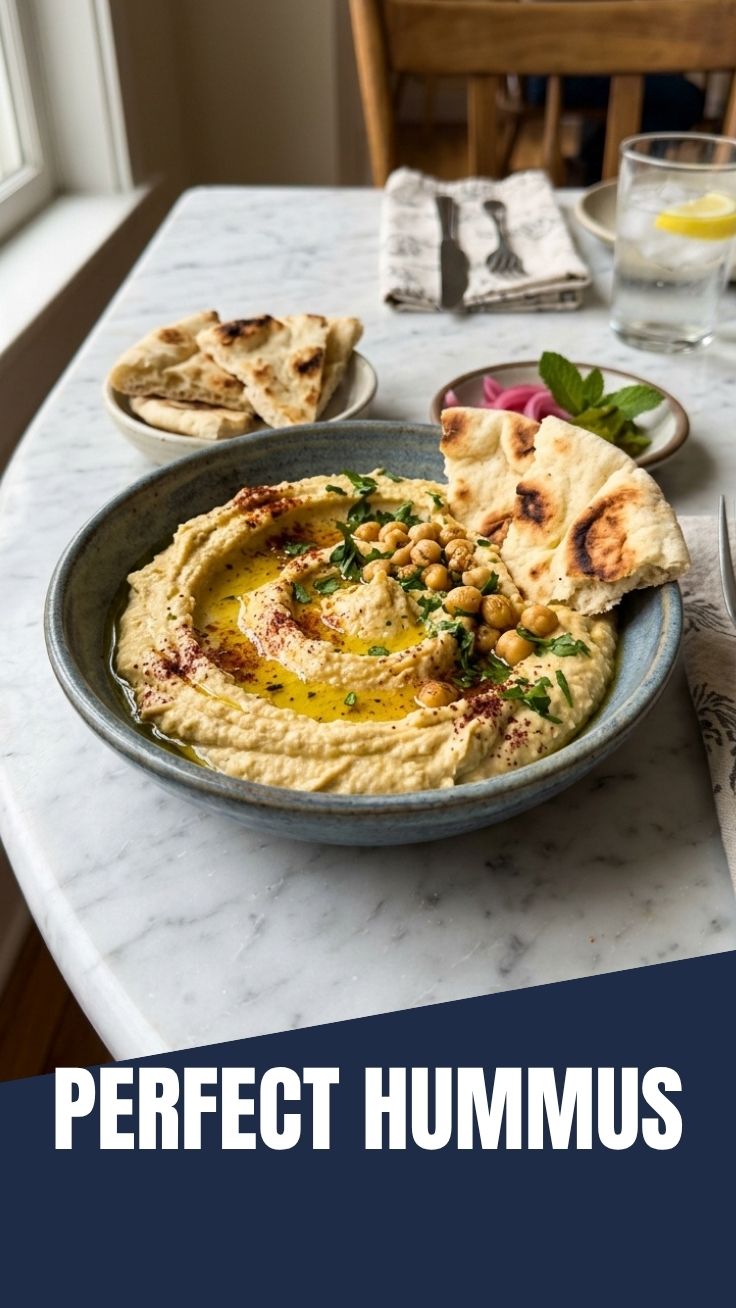
- Transfer the hummus to a serving bowl. Drizzle with extra virgin olive oil and sprinkle with a pinch of paprika or chopped parsley if desired. Serve immediately with pita bread, vegetables, or crackers.