The Ultimate Guide to Baking Fudgy Chocolate Brownies at Home
Is there anything more satisfying than pulling a pan of freshly baked, crackly-topped chocolate brownies out of the oven? The aroma alone can turn a gray afternoon into a moment of pure comfort. Yet many home bakers shy away, convinced that achieving that perfect balance of gooey center and crisp crust requires a pastry degree. The truth is, with the right technique and a few science-backed tips, you can consistently create bakery-quality Chocolate Brownies right in your own kitchen. And once you master the classic version, you’ll be ready to explore endless brownie recipes that build on this foundation. In this post, I’ll walk you through every detail — from ingredient selection to troubleshooting — so your batch turns out perfect every time.
Ingredients & Kitchen Tools
Brownie Batter
– ½ cup unsalted butter (113 g) – use European-style for richer flavor
– 200 g dark chocolate (60-70% cocoa) – chopped, not chips; chips contain stabilizers that affect melt
– 1 cup granulated sugar (200 g) – white sugar gives a lighter crumb; can replace with coconut sugar for deeper molasses notes
– 2 large eggs – room temperature for better emulsion
– 1 tsp vanilla extract – pure, not imitation
– ⅓ cup cocoa powder (30 g) – Dutch-processed for a smoother, darker taste; natural works but yields a tangier result
– ½ cup all-purpose flour (60 g) – spoon and level; too much flour makes cakey brownies
– ¼ tsp salt – flaky sea salt recommended for finishing
– Optional: ½ cup chocolate chips or nuts for texture
Kitchen Tools
– 8×8-inch metal baking pan (glass retains heat longer, so adjust time)
– Parchment paper or aluminum foil with nonstick spray
– Mixing bowls (heatproof for double boiler)
– Whisk and silicone spatula
– Kitchen scale (highly recommended for consistent results)
Prep Time & Cooking Schedule
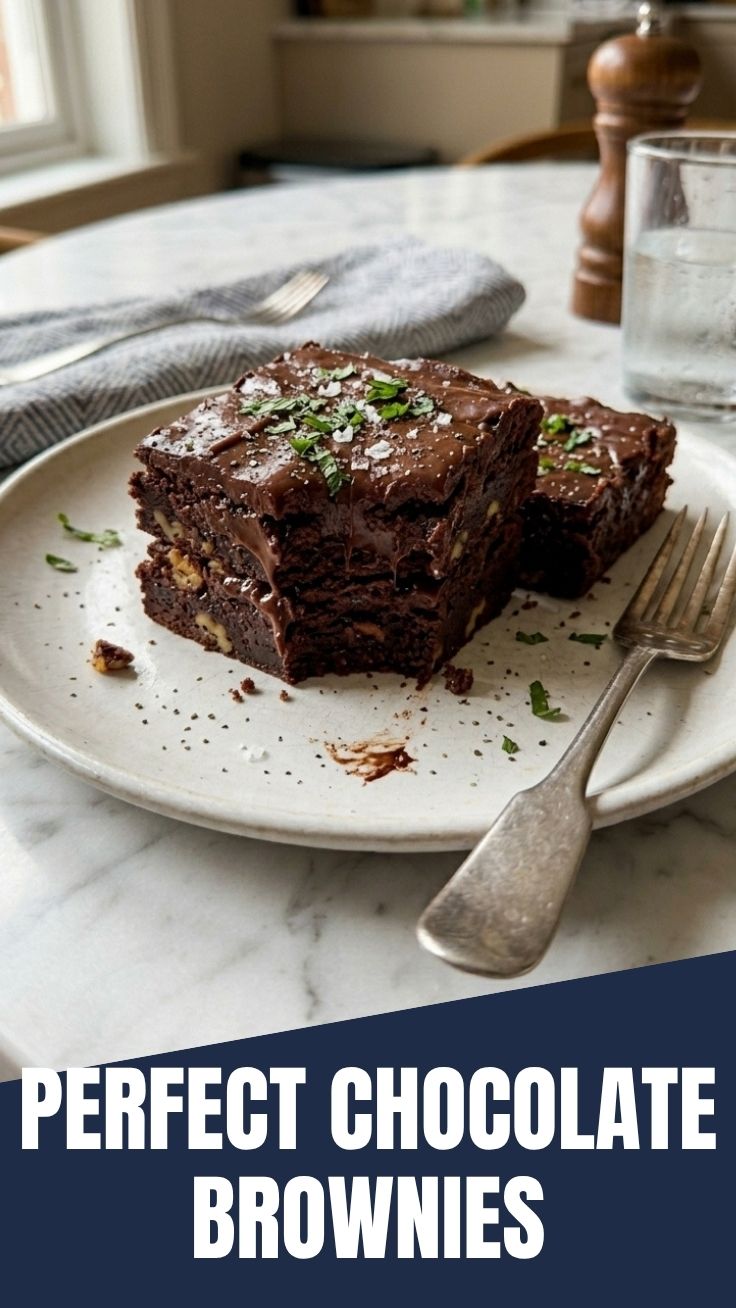
– Prep Time: 15 minutes (including melting chocolate)
– Cook Time: 22–26 minutes at 350°F (175°C)
– Resting Time: 30 minutes minimum – crucial for the brownies to set and develop their fudgy texture
– Total time: Approximately 1 hour 10 minutes, plus cooling
Plan ahead: brownies taste even better the next day as flavors meld. If you’re serving them warm, allow only 10 minutes of cooling before cutting – but expect a more gooey slice.
Step-by-Step Instructions
1. Preheat and prepare the pan. Set oven rack to the middle position and preheat to 350°F. Line your 8×8 pan with parchment paper, leaving overhang on two opposite sides for easy lifting. Grease lightly if using foil.
2. Melt butter and chocolate. In a heatproof bowl over simmering water (or in 30-second microwave bursts), melt the butter and chopped chocolate together. Stir until smooth. Remove from heat and let cool for 5 minutes – hot chocolate can scramble eggs.
3. Whisk in sugar, eggs, and vanilla. Add sugar to the chocolate mixture and whisk vigorously for 30 seconds. Then add eggs one at a time, whisking well after each. Finally stir in vanilla. The batter should look glossy and thick. This is where you get that signature crackly top – whisking aerates the batter.
4. Fold dry ingredients. Sift cocoa powder, flour, and salt over the batter. Use a spatula to fold gently until just combined – about 15 strokes. Overmixing develops gluten, making brownies cakey.
5. Pour and bake. Transfer batter to the prepared pan. Smooth the top. Bake for 22 minutes, then check. Insert a toothpick 2 inches from the edge – it should come out with a few moist crumbs, not wet batter. For fudgy Chocolate Brownies, err on the side of underbaking. For a firmer slice, bake 2–3 minutes more.
6. Cool completely. Place the pan on a wire rack. After 20 minutes, transfer brownies out of the pan (using parchment sling) and let cool fully on the rack. This prevents steam from softening the crust.
During this process, you might feel inspired to explore other variations – for example, white chocolate blondies are a delightful twist found in many brownie recipes that swap cocoa for vanilla and white chocolate chips.
Nutritional Benefits & Advantages
A standard 2×2-inch serving of these brownies (makes 16) contains approximately 170 calories, 9 g fat, 22 g carbs, and 2 g protein. The dark chocolate provides a good dose of antioxidants, specifically flavonoids, which support heart health and reduce inflammation. Cocoa powder also contributes magnesium and iron. Compared to store-bought mixes, homemade brownies have no preservatives, no hydrogenated oils, and you can easily control sugar levels. If you use dark chocolate with 70% cocoa, you’ll get a lower glycemic impact than milk chocolate versions. While still a treat, these brownies offer real nutritional value when enjoyed in moderation.
Tips Variations & Cooking Advice
– For extra depth: Add 1 tsp instant espresso powder to the dry ingredients – it doesn’t add coffee flavor but amplifies the chocolate.
– Gluten-free version: Replace all-purpose flour with a 1:1 gluten-free baking blend that contains xanthan gum. Do not use almond flour alone; it changes the texture significantly.
– Dairy-free adaptation: Use vegan butter or coconut oil (solid) and dairy-free dark chocolate. The texture will be slightly less fudgy but still delicious.
– Flavor swaps: Stir in 2 tbsp peanut butter or Nutella after adding eggs. Or fold in ½ cup toffee bits for a salty-sweet crunch.
– Alternative baking methods: You can bake these in a 9×9 pan for thinner, chewier brownies – reduce bake time to 18–20 minutes.
– Portion changes: For mini brownie bites, use a 24-count mini muffin tin, fill each cup ⅔ full, and bake 12–14 minutes.
Common Mistakes to Avoid
Overbaking – This is the #1 error. Brownies continue to cook from residual heat after removal. Pull them when a toothpick shows a few moist crumbs, not clean.
Under-melting chocolate – If chocolate seizes (becomes grainy), it means steam or water got in. Always use a completely dry bowl and avoid covering the melting chocolate.
Too much flour – Spoon flour into your measuring cup, then level with a knife. Scooping directly packs in 20% more flour, resulting in dry, cakey brownies.
Skipping the cool-down – Cutting warm brownies yields a messy, gooey pile. Let them cool fully at room temperature (or refrigerate for 20 minutes) for clean squares.
Using old baking soda or powder – This recipe doesn’t use leavening agents, but if you add nuts or chips, ensure they are fresh – rancid nuts ruin the flavor.
Storage & Meal Prep Tips
– Refrigeration: Store brownies in an airtight container at room temperature for up to 3 days. For longer freshness, refrigerate for up to 1 week – they will become denser but remain delicious.
– Freezing: Wrap individual brownie squares tightly in plastic wrap, then place in a freezer-safe bag or container. Freeze for up to 3 months. Thaw at room temperature for 30 minutes, or warm in a microwave for 10–12 seconds for that just-baked feel.
– Reheating: To restore the crisp crust, reheat on a baking sheet at 300°F for 5 minutes. Avoid the microwave for more than a few seconds, as it makes them gummy.
– Meal prep tip: Portion brownies immediately after cooling and freeze individually. They’re perfect for lunchbox treats or emergency dessert cravings.
Conclusion
Mastering homemade brownies is one of the most rewarding baking skills you can develop. With a few attention to temperature, mixing technique, and ingredient quality, you can produce consistently incredible Chocolate Brownies that rival any bakery. The beauty of this recipe lies in its flexibility – once you have the basic method down, you can experiment with different mix-ins, pan sizes, and flavor profiles. Remember the key takeaways: melt your chocolate gently, don’t overmix, and pull the pan just before you think it’s done. I encourage you to try this recipe this weekend and share a photo of your results. And if you’re hungry for more inspiration, check out the wide world of brownie recipes – from white chocolate blondies to salted caramel versions – that all start from these simple principles. Happy baking!
FAQs
Q: Can I use cocoa powder instead of melted chocolate?
A: Yes, but you’ll need to increase the butter (use ½ cup + 2 tbsp) and reduce the sugar slightly. Melted chocolate provides a richer, fudgier texture because of the cocoa butter it contains. Cocoa powder alone yields a more cake-like crumb.
Q: Why did my brownies turn out cakey instead of fudgy?
A: Cakey brownies usually result from overmixing (which develops gluten) or too much flour. Also, using an extra egg or egg white can give a cake-like rise. For fudgy results, whisk the eggs just until incorporated, and measure flour by weight if possible.
Q: How do I know when the brownies are done without a toothpick test?
A: Look for visual cues: the edges will pull away from the pan, and the top will appear set with a slight sheen. Press lightly with a finger – the center should feel slightly firm but not hard. The toothpick test is still the most reliable, but this visual check works well after you’ve baked the recipe a few times.
Q: Can I make these brownies in a glass pan?
A: Yes, but glass retains heat longer. Reduce oven temperature by 25°F and increase bake time by 3–5 minutes. Watch carefully to avoid overbaking. Also, let them cool in the pan for 15 minutes before removing, as glass continues cooking the base.
Q: How can I get a shiny, crackly top every time?
A: The crackly top comes from beating the sugar and eggs together until the mixture is thick and pale. Use a stand mixer or hand mixer on medium-high for 2–3 minutes after adding the eggs. Also, make sure your chocolate mixture is not too hot when you add the eggs – around 100–110°F is ideal.
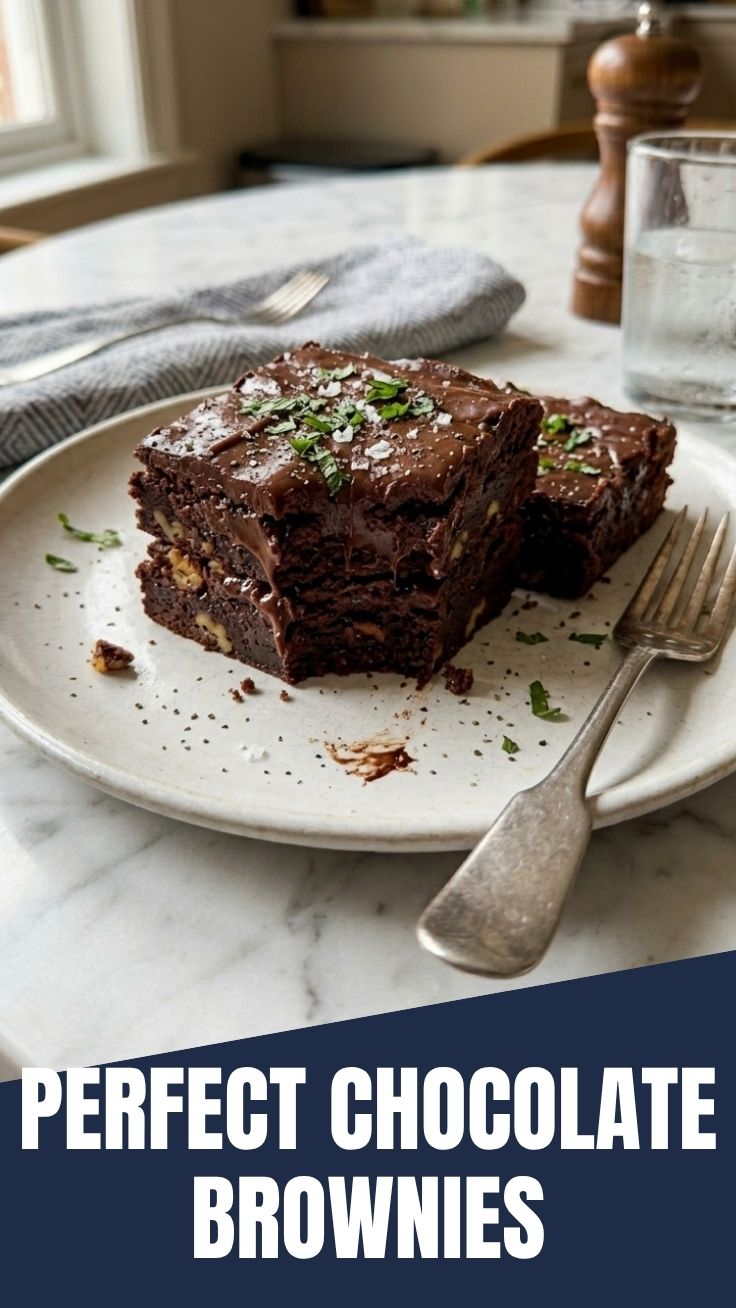
Best way to grow Chocolate Brownies 5 baking secrets
Ingredients
Equipment
Method
- Preheat your oven to 350°F (175°C) and grease and flour a 9x13 inch baking pan. This ensures the brownies don't stick and bake evenly.
- Melt the butter in a microwave-safe bowl or a saucepan over low heat. Once melted, stir in the granulated sugar until well combined.
- Whisk in the eggs one at a time, then add the vanilla extract, mixing until the batter is smooth and glossy.
- In a separate bowl, combine the flour, cocoa powder, and salt. Gradually add the dry ingredients to the wet ingredients, mixing until just combined.
- Fold in the chocolate chips, then pour the batter into the prepared baking pan, spreading it evenly.
- Bake for 25-30 minutes, or until a toothpick inserted into the center comes out with moist crumbs. Avoid overbaking to keep them fudgy.
- Allow the brownies to cool completely in the pan on a wire rack before cutting into squares and serving. This helps them set and prevents crumbling.