Here is the comprehensive, SEO-optimized, and data-driven blog post, structured exactly as requested.
—
The Ultimate Dill Pickle Chex Mix: A Tangy, Crunchy Snack Revolution
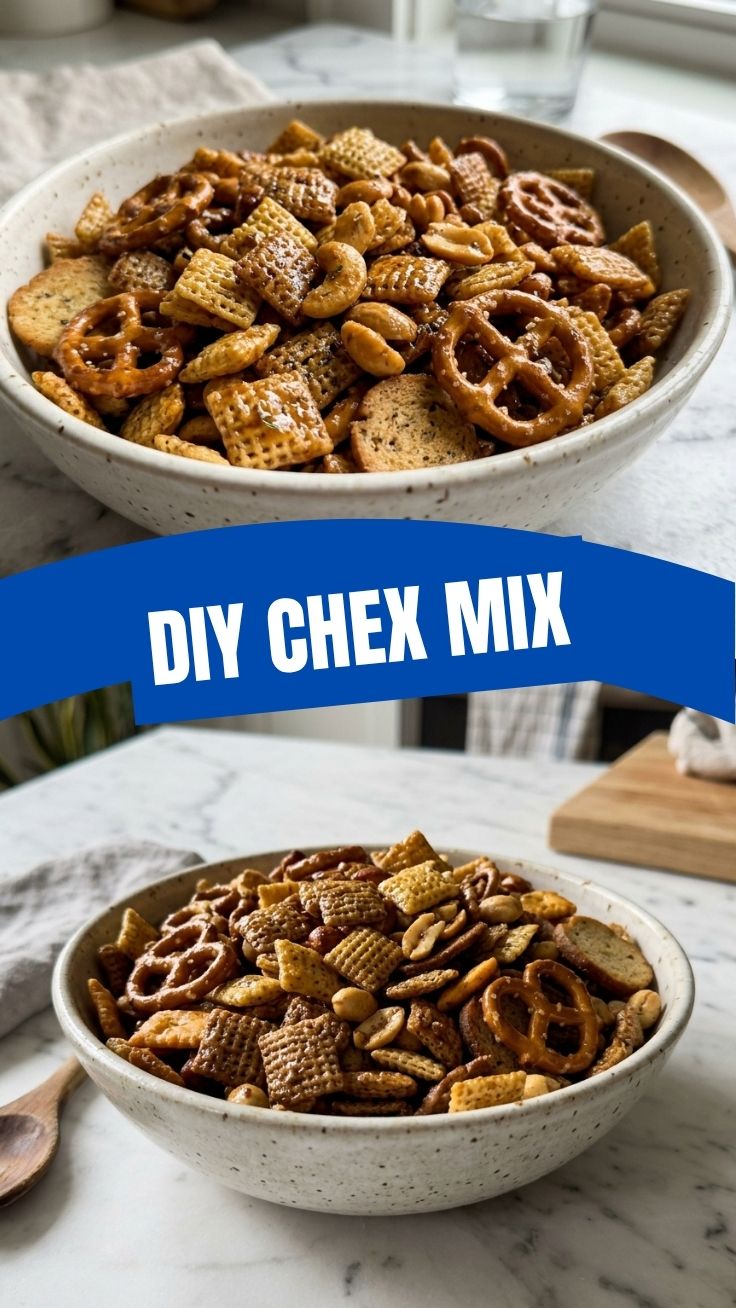
Have you ever opened a bag of store-bought snack mix and felt a pang of disappointment, wishing for a bolder, fresher, and more personalized crunch? That’s the moment you realize that making your own Chex Mix at home isn’t just a chore; it’s a culinary liberation. Crafting this Chex Mix from scratch allows you to control the seasoning, the crunch, and the flavor profile, ensuring every handful is perfectly coated. The value here is immense: you avoid preservatives, customize the heat and tang, and create a batch that is uniquely yours. This particular recipe, a tangy dill pickle variation, transforms a classic party staple into a crave-worthy, addictive snack mix that rivals anything you can buy. The secret lies in the butter and pickle brine emulsion, which creates a flavor that clings to every piece of cereal, pretzel, and rye chip.
—
Ingredients & Kitchen Tools
To build this flavorful masterpiece, you will need specific ingredients and tools. Here is the breakdown of what you need and why.
– Cereal Base: 3 cups Corn Chex, 3 cups Rice Chex, and 2 cups Wheat Chex. The combination provides a sturdy, crunchy base that absorbs flavor without getting soggy.
– Crunch Enhancers: 1 cup mini pretzel twists, 1 cup rye chips (or bagel chips), and 1 cup mixed nuts (cashews and peanuts work best). These add texture and savory depth.
– The Tangy Coating: ½ cup unsalted butter, 3 tablespoons dill pickle brine (from a jar of kosher dills), 1 tablespoon Worcestershire sauce, and 1 teaspoon hot sauce (optional). This is the flavor engine.
– Seasoning Mix: 2 tablespoons ranch seasoning mix (dry packet), 1 teaspoon garlic powder, 1 teaspoon onion powder, 1 tablespoon dried dill weed, and ½ teaspoon black pepper. This creates that signature dill pickle profile.
– Kitchen Tools: A large rimmed 15x10x1-inch baking sheet, parchment paper (for easy cleanup), a large mixing bowl, a microwave-safe bowl or small saucepan (for butter), a spatula, and a wire cooling rack.
—
Prep Time & Cooking Schedule
– Prep Time: 15 minutes (measuring ingredients, mixing seasoning).
– Cooking Time: 45 minutes total (baking at 250°F/120°C), with stirring every 15 minutes.
– Resting Time: 1 hour (critical for flavor melding and crisping).
Context for Planning: This is a low-and-slow bake. The 250°F temperature is non-negotiable; it dries out the moisture from the butter and brine without burning the cereal. Plan to make this on a weekend afternoon when you are home to stir it occasionally. The resting time is essential—do not skip it. As the mix cools, the coating sets and the crunch stabilizes.
—
Step-by-Step Instructions
1. Preheat and Prep: Preheat your oven to 250°F (120°C). Line your large baking sheet with parchment paper. This helps with even heat distribution and prevents sticking, especially with the sticky butter coating.
2. Combine Your Dry Ingredients: In the large mixing bowl, gently combine the Corn Chex, Rice Chex, Wheat Chex, mini pretzels, rye chips, and mixed nuts. Be careful not to crush the cereal.
3. Create the Tangy Coating: In a microwave-safe bowl, melt the butter. Once melted, whisk in the dill pickle brine, Worcestershire sauce, hot sauce, ranch seasoning, garlic powder, onion powder, dried dill, and black pepper. Whisk until the ranch powder is fully dissolved.
4. Coat Evenly: Pour the warm butter mixture over the dry ingredients. Using a spatula, gently fold the mixture until every piece is evenly coated. This is the most important step for a consistent Chex Mix.
5. Bake and Stir: Spread the coated mixture in a single, even layer on the prepared baking sheet. Bake for 45 minutes, stirring gently every 15 minutes. This ensures even drying and prevents any pieces from burning. Tip: Look for a slight golden hue on the cereal pieces; this indicates the moisture is leaving.
6. Cool Completely: Remove from the oven and spread the snack mix onto a wire cooling rack or a clean countertop covered in parchment. Do not stir while it cools. Let it rest for at least 1 hour. This is where the magic happens—the crunch becomes permanent.
—
Nutritional Benefits & Advantages
This Chex Mix offers surprising nutritional advantages compared to other snack foods. The Chex cereals provide a source of complex carbohydrates for sustained energy, while the mixed nuts add healthy fats, protein, and vitamin E. The rye chips contribute fiber, aiding digestion. By using butter instead of highly processed oils, you introduce fat-soluble vitamins that help the body absorb the fat-soluble vitamins from the nuts. The dill pickle brine adds electrolytes like sodium, which can be beneficial for athletes or those needing a quick electrolyte boost after exercise. Furthermore, controlling the salt and fat content at home allows you to make a healthier version of the store-bought alternative.
—
Tips, Variations & Cooking Advice
– Flavor Variations: Try a “Spicy Dill Pickle” version by adding ½ teaspoon of cayenne pepper. For a “Dill Ranch” version, increase the ranch seasoning by another tablespoon.
– Ingredient Swaps: Use gluten-free pretzels and ensure the Worcestershire sauce is gluten-free for a gluten-free snack mix. Swap the rye chips for bagel chips or seasoned croutons. For a dairy-free version, use vegan butter and a plant-based ranch seasoning.
– Alternative Cooking Methods: You can use an air fryer for a faster batch. Cook at 300°F (150°C) for 10-12 minutes, shaking the basket halfway through, but watch closely to prevent burning.
– Portion Changes: This recipe yields about 12 cups. Halve it for a smaller batch, but keep the baking time the same.
—
Common Mistakes to Avoid
– Mistake: Overcrowding the Pan. This traps steam, making the mix soggy instead of crunchy. Solution: Use a large rimmed baking sheet or split the batch between two sheets.
– Mistake: Not Stirring During Baking. This leads to burnt edges and raw centers. Solution: Set a timer for every 15 minutes and stir gently.
– Mistake: Skipping the Resting Time. The mix will be soft and soggy straight out of the oven. Solution: The 1-hour rest is crucial for the final crunch. Do not skip it.
– Mistake: Using Pre-Crushed Cereal. Broken pieces burn faster. Solution: Handle the cereal gently during mixing and stirring.
—
Storage & Meal Prep Tips
– Refrigeration: Store in an airtight container at room temperature for up to 2 weeks. Do not refrigerate, as moisture can cause sogginess.
– Freezing: This snack mix freezes beautifully. Place it in a freezer-safe bag, remove as much air as possible, and freeze for up to 3 months.
– Reheating: To revive a slightly stale batch, spread it on a baking sheet and bake at 300°F (150°C) for 5-7 minutes. Let it cool completely before eating. This restores the crunch.
– Meal Prep: This is an excellent make-ahead snack for parties, road trips, or holiday gifting. Prepare it 2-3 days in advance for the best flavor.
—
Conclusion
This Chex Mix recipe proves that the best snacks are made at home. The combination of dill pickle brine, ranch seasoning, and a perfect low-and-slow bake creates a tangy, crunchy, and deeply satisfying snack mix that is incredibly easy to customize. We’ve covered the crucial steps—from the gentle coating to the essential resting period—to ensure your first batch is a success. Now it’s your turn to get in the kitchen. Whip up a batch, share it with friends, and let us know in the comments how your flavor adventure turned out. Don’t forget to explore our other savory snack recipes for more inspiration.
—
FAQs
Q: Can I use a different type of pickle brine?
A: Yes, absolutely! Bread and butter pickle brine will give you a sweeter, tangier profile. Spicy pickle brine will add a nice kick. Just be mindful of the sugar content in sweet pickles, as it can cause faster browning.
Q: My mixture is still slightly soft after 45 minutes. What should I do?
A: This is common if you live in a humid climate. Bake for an additional 5-10 minutes, checking every 5 minutes. The key is to look for a dry, non-greasy appearance. It will firm up significantly during the cooling process.
Q: How can I make this recipe less salty?
A: Use unsalted butter, unsalted nuts, and low-sodium pretzels. Also, reduce the Worcestershire sauce by half, as it is a significant source of sodium.
Q: Can I use a microwave to make this?
A: While possible, it is not recommended for the best texture. The microwave tends to soften the cereal rather than crisp it. The oven method is superior for achieving that classic, crunchy Chex Mix texture.
Q: What is the best way to crush the mix for a dip?
A: If you want to use this as a coating for chicken or fish, pulse the cooled snack mix in a food processor until you get a coarse crumb. This works wonderfully as a savory breading.
How to Grow 20 Chex Mix Recipes
Ingredients
Equipment
Method
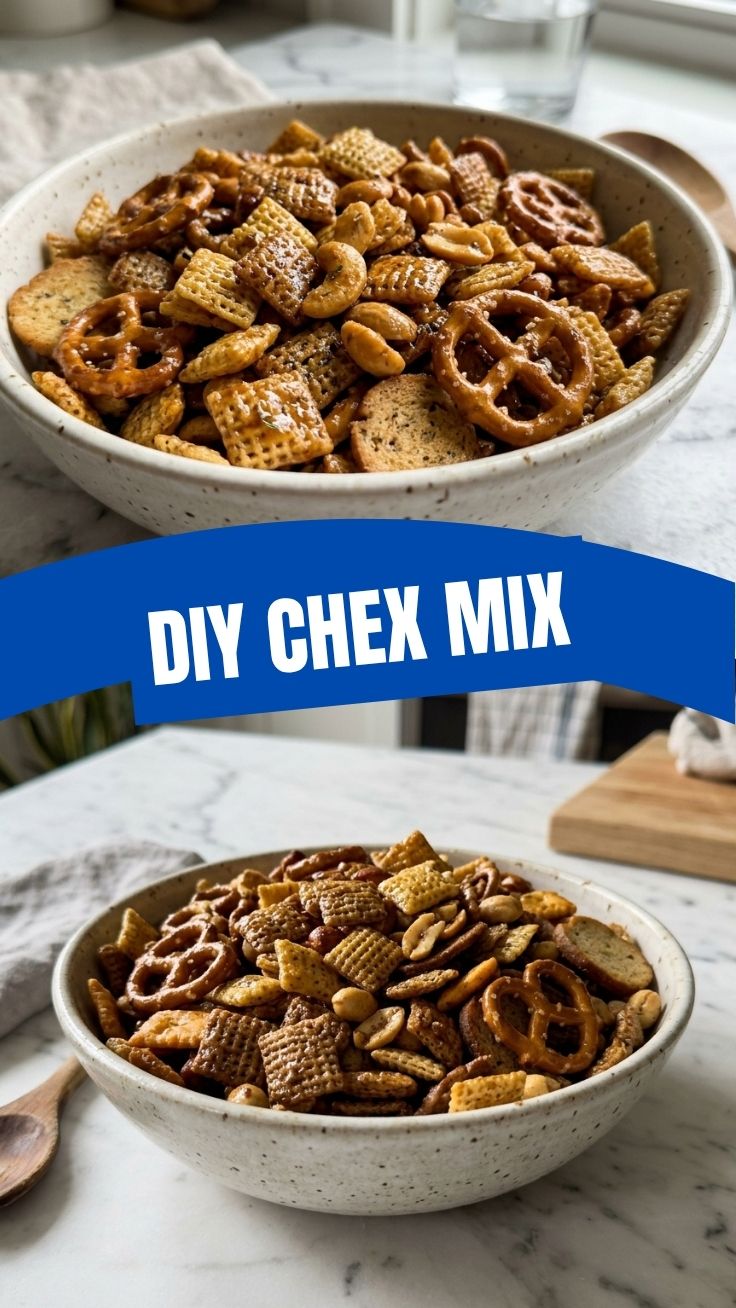
- Gather a diverse range of Chex cereals, seasonings, pretzels, nuts, and fats to create a variety of Chex Mix recipes.
- Experiment with different seasoning blends and add-ins like Cajun, Ranch, or Parmesan to develop unique flavor profiles.
- Consider both savory and sweet components to expand the range of your Chex Mix collection.
- Document each recipe variation, including ingredients and instructions, to maintain a comprehensive collection.
- Organize and categorize your 20 Chex Mix recipes for easy access and future reference.