The Ultimate Guide to Homemade Clam Dip with Crunchy Breadsticks
Have you ever wondered what makes a clam dip truly restaurant-worthy while still being achievable in your own kitchen? The secret lies not just in the creamy, briny dip itself, but in the perfect vessel for scooping it up. By preparing this classic appetizer at home, you gain total control over ingredient quality, sodium levels, and texture—all while saving money compared to store-bought versions. Whether you’re hosting a game-day gathering or a casual dinner party, this homemade clam dip recipe will become your go-to, especially when paired with warm, crunchy Breadsticks. For an aromatic twist, try serving it alongside Garlic breadsticks to elevate the flavor profile even further.
Ingredients & Kitchen Tools
Core Ingredients
– 2 cans (6.5 oz each) minced clams – Look for varieties packed in clam juice for maximum brininess; drain and reserve ¼ cup juice.
– 8 oz cream cheese – Softened to room temperature for smoother blending; use block-style for best texture.
– ½ cup sour cream – Adds tanginess; Greek yogurt works as a lighter substitute.
– 1 tbsp fresh lemon juice – Brightens the flavors; bottle juice is acceptable but fresh is preferable.
– 1 tsp Worcestershire sauce – Provides umami depth; anchovy paste can replace it.
– ½ tsp garlic powder – More consistent than fresh garlic; 2 minced cloves can substitute.
– ¼ tsp black pepper – Freshly ground preferred.
– Salt to taste – Use sparingly due to clam salinity.
– Fresh parsley for garnish – Optional but adds freshness.
For Serving (Breadsticks)
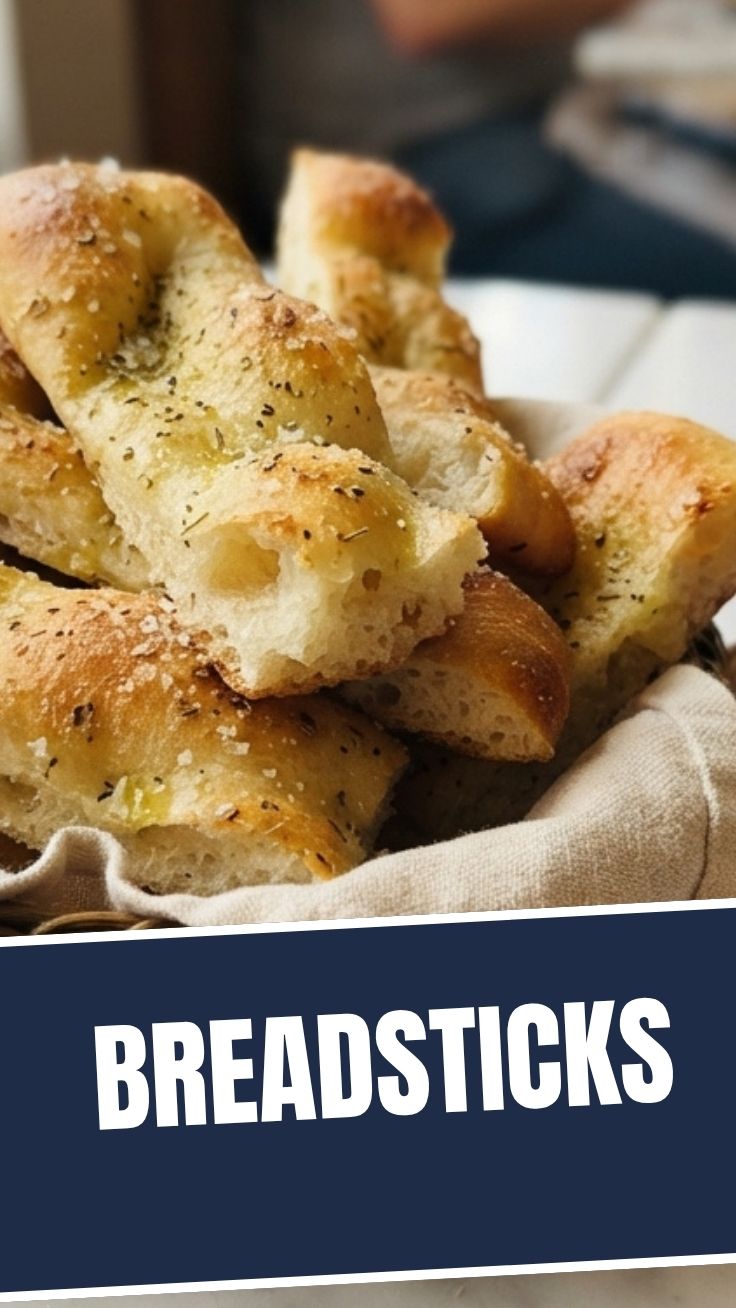
– You’ll need either store-bought or homemade Breadsticks. For a garlicky upgrade, prepare Garlic breadsticks by brushing plain breadsticks with melted butter, garlic powder, and dried parsley.
Kitchen Tools
– Mixing bowl – Medium size works best.
– Hand mixer or whisk – Electric mixer ensures lump-free cream cheese.
– Rubber spatula – For scraping sides.
– Small saucepan – If serving warm.
– Baking sheet – For crisping breadsticks.
Optional Substitutions
– Dairy-free version: Use plant-based cream cheese and coconut yogurt.
– Low-fat option: Neufchâtel cheese and light sour cream.
– Extra zest: Add 1 tsp dried dill or Old Bay seasoning.
Prep Time & Cooking Schedule
Total active time: 15 minutes (no cooking required).
Chilling time: 30 minutes to 2 hours – essential for flavors to meld.
Resting time: 5 minutes at room temperature before serving.
Plan ahead: The dip tastes best when prepared at least 1 hour in advance. If serving warm, allow an extra 10 minutes for gentle stovetop heating. The homemade clam dip can sit at room temperature for up to 2 hours during serving, so timing is flexible for parties.
Step-by-Step Instructions
1. Drain the clams – Open both cans and pour through a fine-mesh strainer. Reserve ¼ cup of clam juice. Lightly pat clams dry with paper towels to avoid watery dip.
2. Prepare the cream cheese – In a medium bowl, beat softened cream cheese with a hand mixer until fluffy (about 30 seconds). Scrape bowl sides.
3. Combine ingredients – Add sour cream, reserved clam juice, lemon juice, Worcestershire sauce, garlic powder, and pepper. Mix on low speed until just combined—overmixing makes the dip thin.
4. Fold in clams – Gently stir in drained clams with a spatula. Taste and adjust salt only if needed (usually ¼ tsp or less).
5. Chill – Cover bowl with plastic wrap and refrigerate for at least 30 minutes to let the homemade clam dip thicken and flavors marry.
6. Prepare breadsticks – While dip chills, warm your Breadsticks in a 350°F oven for 3–4 minutes until crisp. For added richness, brush with garlic butter to create Garlic breadsticks.
7. Serve – Transfer dip to a serving bowl, garnish with parsley, and surround with warm breadsticks.
Pro tip: For a warm version, transfer dip to a small saucepan and heat over low heat for 5–7 minutes, stirring constantly. This homemade clam dip variation is especially comforting on cold days when paired with toasty Garlic breadsticks.
Nutritional Benefits & Advantages
This appetizer offers surprising nutritional value. Clams are an excellent source of iron, vitamin B12, and omega-3 fatty acids, supporting red blood cell formation and brain health. The cream cheese provides calcium for bone strength, while sour cream adds probiotics beneficial for digestion. At roughly 180 calories per ¼ cup serving, this dip is moderate in calories but rich in protein (8g per serving). Compared to heavy cheese-based dips, this homemade clam dip offers a lighter, seafood-forward alternative that still feels indulgent.
Tips Variations & Cooking Advice
Flavor Variations
– Spicy clam dip: Add ½ tsp red pepper flakes or 1 tsp sriracha.
– Herb-infused: Mix in 1 tbsp fresh chopped chives or dill.
– Smoky version: Stir in ¼ tsp smoked paprika.
Dietary Adaptations
– Gluten-free: The dip is naturally gluten-free; serve with gluten-free Breadsticks or vegetable crudités.
– Dairy-free: Use dairy-free cream cheese and vegan sour cream. The texture will be slightly less rich but still delicious.
Cooking Method Swaps
– Oven-baked dip: Spread in a baking dish, top with grated Parmesan, and bake at 375°F for 12 minutes until bubbly.
– Slow cooker: Combine all ingredients in a small slow cooker on low for 2 hours. Stir halfway.
Portion Changes
– For a crowd: Double the recipe and serve in a large bowl alongside multiple Garlic breadsticks batches.
Common Mistakes to Avoid
| Mistake | Solution |
|———|———-|
| Watery dip | Don’t skip draining clams thoroughly; clam juice should only be added as reserved liquid. |
| Lumpy cream cheese | Always soften cream cheese to room temperature before mixing. |
| Bland flavor | Season with Worcestershire sauce and lemon juice—they enhance the brininess. |
| Overmixing | Mix just until ingredients combine; excessive beating incorporates air and thins the dip. |
| Soggy breadsticks | Re-crisp Breadsticks in the oven before serving if they’ve softened from humidity. |
Storage & Meal Prep Tips
– Refrigeration: Store leftover homemade clam dip in an airtight container for up to 4 days. The flavor often improves on day two.
– Freezing: Cream-based dips don’t freeze well due to texture changes (graininess). Prepare fresh when possible.
– Reheating: For warm dip, microwave in 15-second bursts, stirring between each. Or reheat gently on the stovetop over low heat.
– Breadstick storage: Keep Garlic breadsticks in a sealed bag at room temperature for 3 days, but they’re best enjoyed within 24 hours. Re-crisp in a toaster oven.
Meal prep tip: Make the dip base (without clams) up to 2 days ahead. Fold in clams and clam juice just before serving for freshest taste.
Conclusion
This homemade clam dip proves that restaurant-quality appetizers are easily achievable at home with minimal effort. By mastering the balance of creamy, tangy, and briny flavors, and serving it with warm, crunchy Breadsticks, you create a dish that disappears within minutes. For a more aromatic experience, don’t hesitate to experiment with Garlic breadsticks—the buttery garlic notes complement the dip’s seafood richness perfectly. We’d love to hear how this recipe turns out for you! Share your results in the comments below, and don’t forget to explore our other quick appetizers for your next gathering.
FAQs
Q1: Can I use fresh clams instead of canned?
Yes! Steam 2 lbs fresh clams until opened, chop meat, and reserve the steaming liquid. Use 1 cup chopped fresh clams as a substitute. This yields a more pronounced briny flavor in your homemade clam dip.
Q2: How do I prevent the dip from being too salty?
Use low-sodium canned clams, and avoid adding salt until after tasting. The clam juice and cheese already provide significant sodium.
Q3: Can I make this dip ahead for a party?
Absolutely. Prepare up to 24 hours in advance and refrigerate. Let it sit at room temperature for 15 minutes before serving to soften slightly.
Q4: What if I don’t have Worcestershire sauce?
Use ½ tsp soy sauce combined with a dash of vinegar, or simply omit it—the dip will still be delicious.
Q5: Why did my cream cheese stay lumpy?
Ensure the cream cheese is fully softened to 70°F. Cut it into cubes and let it sit on the counter for 30 minutes before mixing. A quick microwave in 10-second bursts also works.
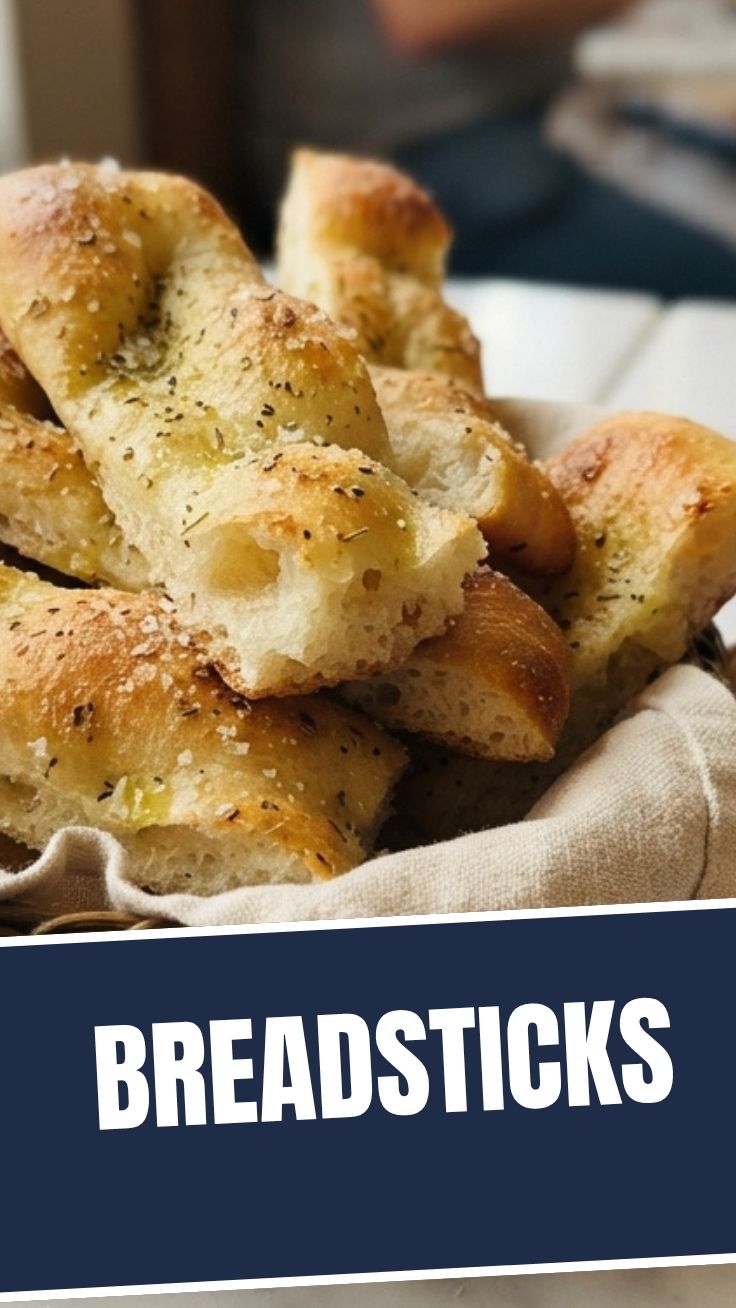
How to grow 5 homemade Breadsticks
Ingredients
Equipment
Method
- In a large bowl, dissolve yeast and sugar in warm water; let it sit for 5 minutes until foamy.
- Stir in flour and salt until a shaggy dough forms.
- Knead the dough on a floured surface for 5-7 minutes until smooth and elastic, then place it in a greased bowl, cover, and let rise in a warm place for 1 hour or until doubled in size.
- Preheat your oven to 400°F (200°C) and lightly grease a baking sheet.
- Punch down the risen dough and divide it into 5 equal pieces.
- Roll each piece into a breadstick shape, about 8-10 inches long, and place them on the prepared baking sheet.
- In a small bowl, mix olive oil, garlic powder, and Italian herbs, then brush this mixture over the breadsticks.
- Bake for 12-15 minutes, or until golden brown.