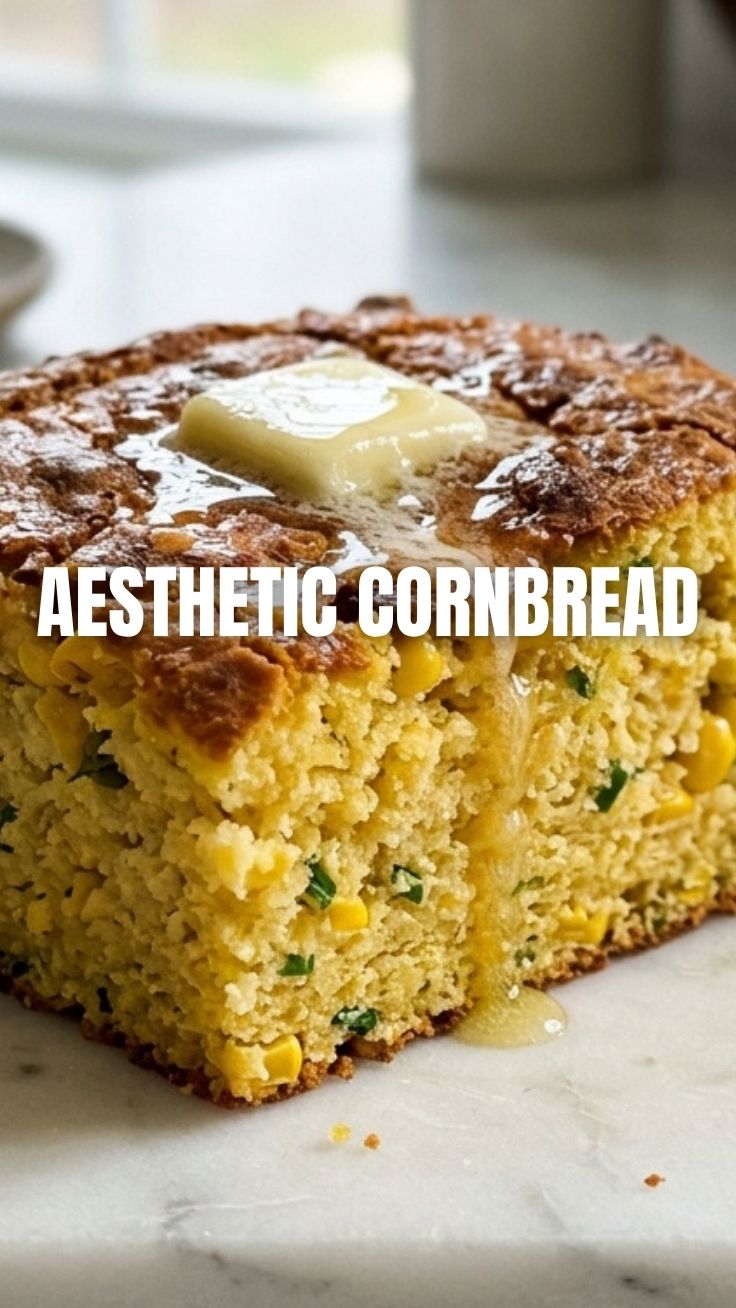
The Ultimate Guide to Perfect Cornbread at Home
Have you ever wondered why some cornbread turns out dry and crumbly while others are moist, tender, and absolutely irresistible? The secret isn’t just in the ingredients—it’s in understanding the science behind this beloved Southern staple. Whether you’re a seasoned home cook or a beginner looking to impress, mastering Cornbread at home transforms simple pantry staples into something truly special. Not only does homemade cornbread save you money, but it also allows you to control every aspect of flavor, texture, and nutrition while avoiding preservatives found in store-bought mixes. As we explore the best cornbread recipes, you’ll discover why this humble bread deserves a permanent spot in your cooking rotation.
Ingredients & Kitchen Tools
Essential Ingredients
– 1 cup yellow cornmeal (stone-ground for best texture; fine grind works too)
– 1 cup all-purpose flour (substitute with gluten-free blend if needed)
– 1 tablespoon baking powder (ensure it’s fresh for proper rise)
– 1/2 teaspoon baking soda (reacts with buttermilk for tenderness)
– 1 teaspoon salt (enhances overall flavor)
– 1/4 cup granulated sugar (optional; adjust based on sweetness preference)
– 1 cup buttermilk (or milk mixed with 1 tablespoon lemon juice, rested 5 minutes)
– 1/2 cup unsalted butter (melted; substitute with vegetable oil for dairy-free)
– 2 large eggs (room temperature for better incorporation)
– 1/4 cup honey (adds natural sweetness and moisture)
Kitchen Tools Required
– 9-inch cast iron skillet (provides the iconic crispy crust; substitute with 8×8 glass baking dish)
– Large mixing bowl (stainless steel or glass preferred)
– Medium mixing bowl (for wet ingredients)
– Whisk (ensures lump-free batter)
– Measuring cups and spoons (accuracy matters)
– Spatula (silicone for easy scraping)
– Cooling rack (prevents soggy bottom)
– Oven mitts (cast iron gets extremely hot)
Prep Time & Cooking Schedule
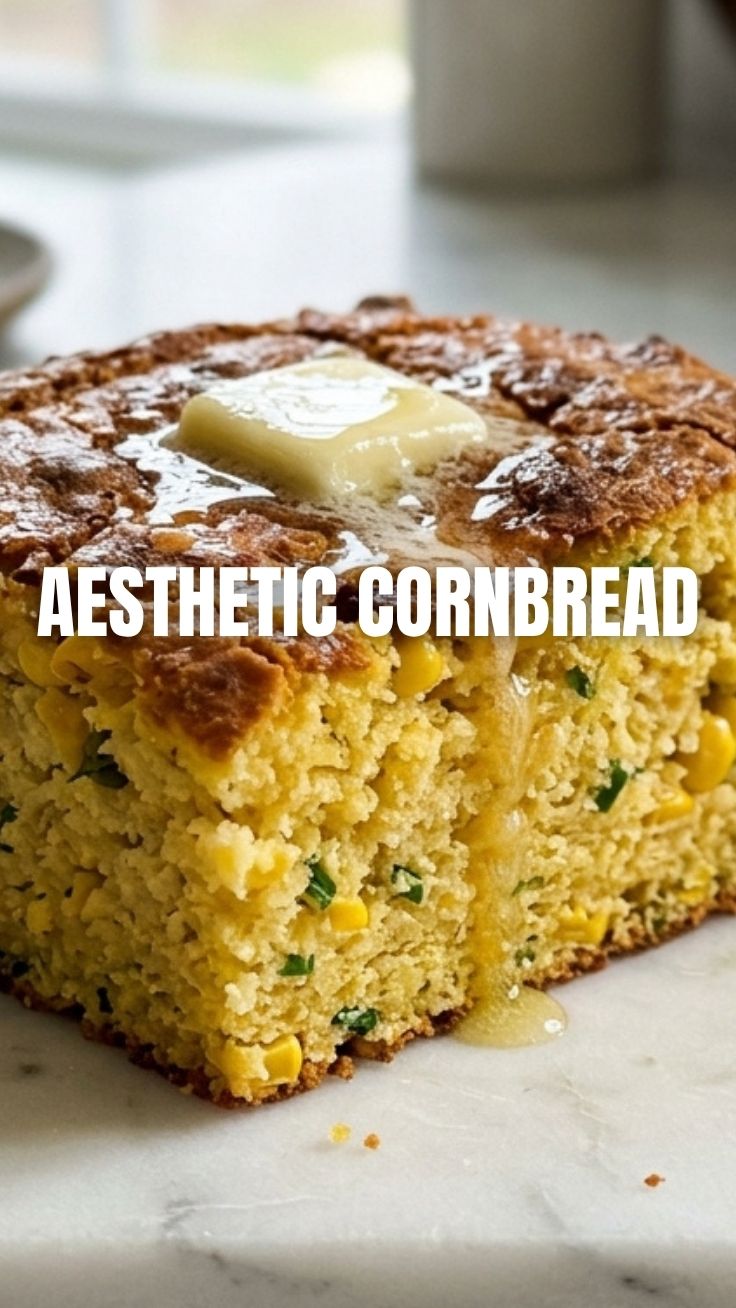
Total time: 40 minutes | Active prep: 10 minutes | Baking: 25-30 minutes | Resting: 5 minutes
Plan ahead by removing butter and eggs from the refrigerator 30 minutes before starting. Preheat your oven to 400°F (204°C) at the beginning—this allows the cast iron skillet to heat properly. The resting period after baking is crucial for texture development, so don’t skip it!
Step-by-Step Instructions
1. Preheat and Prep: Place your cast iron skillet in the cold oven, then set temperature to 400°F. While preheating, measure all ingredients. This ensures the skillet gets screaming hot, creating that signature golden crust.
2. Mix Dry Ingredients: In your large bowl, whisk together cornmeal, flour, baking powder, baking soda, salt, and sugar (if using). Whisking aerates the mixture and distributes leavening agents evenly—critical for achieving the perfect Cornbread texture.
3. Combine Wet Ingredients: In the medium bowl, whisk buttermilk, melted butter (reserve 2 tablespoons for the skillet), eggs, and honey until smooth. The buttermilk’s acidity activates the baking soda for optimal rise.
4. Create the Batter: Pour wet ingredients into dry mixture. Stir with a spatula using 12-15 strokes only—overmixing develops gluten and makes cornbread tough. Small lumps are perfectly fine!
5. Heat the Skillet: Carefully remove hot skillet from oven. Add reserved 2 tablespoons butter and swirl to coat the bottom and sides. This step creates the legendary crispy crust that defines the best cornbread recipes.
6. Bake to Perfection: Pour batter into hot skillet (it should sizzle!). Bake 25-30 minutes until golden brown and a toothpick inserted into the center comes out clean. Test at 25 minutes to avoid overbaking.
7. Rest and Serve: Cool in skillet for 5 minutes, then transfer to a cutting board. Slice while warm and serve with honey butter or your favorite chili.
Nutritional Benefits & Advantages
This homemade cornbread offers impressive nutritional value when compared to store-bought versions. Cornmeal provides complex carbohydrates for sustained energy, along with B-vitamins and essential minerals like iron and magnesium. The buttermilk adds calcium and probiotics that support digestive health, while eggs contribute high-quality protein and choline for brain function.
Using butter provides fat-soluble vitamins A, D, E, and K, which aid in nutrient absorption. When you control the sugar content, you reduce empty calories significantly—our recipe uses less than half the sugar found in commercial mixes. For those watching sodium, homemade versions contain approximately 40% less salt than packaged alternatives.
Tips Variations & Cooking Advice
Sweet vs. Savory: Reduce sugar to 1 tablespoon for a traditional Southern-style cornbread that pairs perfectly with beans or greens. Add 1 cup of shredded cheddar and 2 chopped jalapeños for a savory version.
Texture Tweaks: For creamier cornbread, substitute half the buttermilk with sour cream. For extra crunch, toast the cornmeal in a dry skillet for 2 minutes before using.
Dietary Adaptations: Replace all-purpose flour with gluten-free 1:1 baking blend and use almond milk mixed with apple cider vinegar instead of buttermilk for a gluten-free option. For dairy-free, substitute butter with coconut oil and buttermilk with oat milk plus lemon juice.
Alternative Methods: Bake in a preheated 8×8 glass dish at 375°F for 30-35 minutes if you don’t own cast iron. For muffins, pour batter into greased muffin tins and bake 15-18 minutes at 400°F.
Common Mistakes to Avoid
Mistake 1: Using Cold Ingredients – Cold butter and eggs don’t emulsify properly, resulting in dense cornbread. Always bring ingredients to room temperature.
Mistake 2: Overmixing the Batter – Stirring more than 15-20 strokes activates gluten, creating tough, rubbery cornbread. Mix until just combined—lumps are your friends.
Mistake 3: Skipping the Hot Skillet – Adding batter to a cold skillet prevents the immediate sizzle needed for crust formation. Always preheat your pan.
Mistake 4: Opening the Oven Door – Temperature fluctuations cause sinking centers. Use the oven light to check progress until the last 5 minutes.
Mistake 5: Cutting Too Early – Slicing while piping hot causes crumbling. The 5-minute rest allows steam to redistribute for cleaner slices.
Storage & Meal Prep Tips
Refrigeration: Wrap cooled cornbread tightly in plastic wrap or store in an airtight container. It stays fresh for up to 3 days at 40°F or below.
Freezing: For longer storage, wrap individual slices in plastic wrap, then place in a freezer bag. Cornbread freezes beautifully for up to 3 months—perfect for holiday meal prep!
Reheating: For best texture, warm slices in a 350°F oven for 5-7 minutes or toast in a skillet with butter. Avoid microwaving, which creates a gummy texture.
Meal Prep Strategy: Bake a double batch on Sunday. Freeze half for quick weeknight sides. Thaw overnight in the refrigerator and reheat fresh.
Conclusion
Mastering this Cornbread recipe at home transforms a simple side dish into a memorable dining experience. The combination of proper technique, quality ingredients, and attention to detail yields bread that’s crispy on the outside, tender on the inside, and bursting with corn flavor. Whether you’re exploring new cornbread recipes or perfecting this classic version, remember that practice makes perfect. We’d love to hear how yours turned out—share your results in the comments below and tag us in your cornbread creations!
FAQs
Q: Can I make cornbread without buttermilk?
A: Absolutely! Mix 1 cup whole milk with 1 tablespoon lemon juice or white vinegar. Let it sit 5 minutes until thickened. The acid is essential for activating baking soda.
Q: Why did my cornbread turn out dry?
A: Overbaking is the usual culprit. Test with a toothpick at 25 minutes—it should have a few moist crumbs. Also, ensure you’re measuring flour correctly by spooning it into the cup rather than scooping.
Q: Can I substitute honey with another sweetener?
A: Yes, maple syrup works 1:1 for honey, or use 2 tablespoons brown sugar mixed with 1 tablespoon water for a similar moisture profile.
Q: How do I make cornbread less crumbly?
A: Add one extra egg yolk and reduce cornmeal by 2 tablespoons. This increases fat content for better binding without changing flavor.
Q: Is cast iron necessary?
A: While cast iron creates the best crust, you can use a 9-inch cake pan or baking dish. Just preheat it with butter for 5 minutes before adding batter—the heat retention matters most.