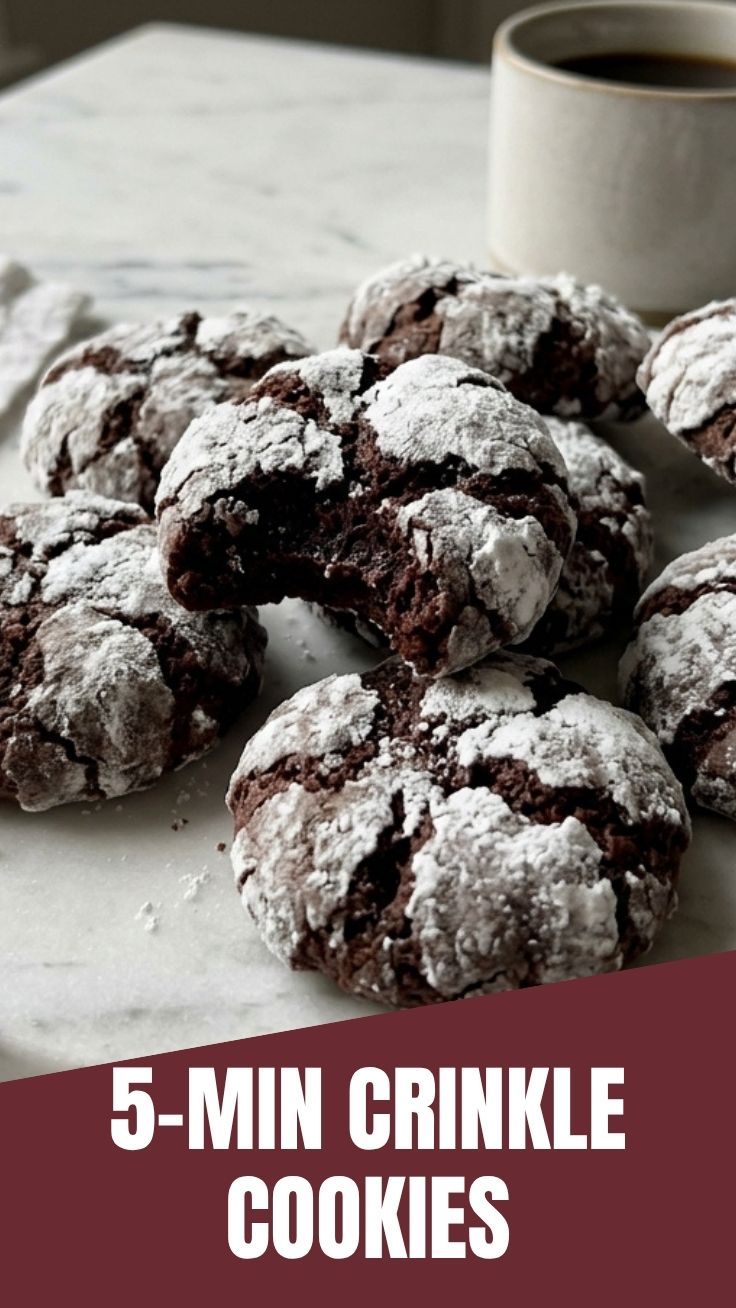
The Ultimate Guide to Baking Chocolate Crinkle Cookies
Have you ever bitten into a cookie that was perfectly crisp on the outside, yet impossibly soft and fudgy on the inside? That’s the magic of a well-made batch of Chocolate Crinkle Cookies. These decadent treats, with their signature crackled powdered sugar coating, have been a holiday favorite for generations. But store-bought versions often fall short—they can be dry, overly sweet, or lack that rich cocoa punch. Preparing this recipe at home is valuable because it gives you complete control over the quality of ingredients, the texture, and the sweetness level. You can achieve that bakery-quality crackle and fudgy center that seems impossible to replicate. Often called Crinkle Cookies due to their distinctive appearance, these cookies are surprisingly simple to master. In this guide, we’ll break down every step, from mixing the dough to achieving the perfect snow-capped look.
—
Ingredients & Kitchen Tools
Essential Ingredients
– All-purpose flour (2 cups) – Provides structure; spoon and level for accuracy.
– Unsweetened cocoa powder (½ cup) – Use Dutch-process for deeper color and richer flavor.
– Granulated sugar (1 cup) – Adds sweetness and helps create the crackled texture.
– Vegetable oil (⅓ cup) – Keeps the cookies fudgy and prevents spreading; canola or coconut oil work too.
– Large eggs (2) – Bind the ingredients; room temperature for better incorporation.
– Vanilla extract (1 teaspoon) – Enhances chocolate flavor; use pure extract for best results.
– Baking powder (1 teaspoon) – Provides lift for the crinkles.
– Salt (½ teaspoon) – Balances sweetness and intensifies chocolate notes.
– Powdered sugar (½ cup, for rolling) – Creates the signature crackled coating.
Kitchen Tools & Equipment
– Large mixing bowl and medium bowl
– Whisk and rubber spatula
– Electric mixer (optional, but helps cream oil and sugar)
– Baking sheet lined with parchment paper
– Measuring cups and spoons
– Cooling rack
– Cookie scoop (1.5-inch or 2-tablespoon size)
Optional Substitutions
– Gluten-free: Use a 1:1 gluten-free flour blend with xanthan gum.
– Dairy-free: This recipe is already dairy-free (no butter or milk).
– Egg-free: Substitute with 2 flax eggs (2 tablespoons ground flaxseed + 5 tablespoons water, rested for 10 minutes).
—
Prep Time & Cooking Schedule
Total Time: 3 hours 25 minutes (including chilling)
– Prep Time: 15 minutes
– Chill Time: 2–4 hours (essential for crackled texture)
– Bake Time: 10–12 minutes per batch
– Cool Time: 15 minutes
Planning Tip: The dough must be thoroughly chilled. If you’re short on time, chill for at least 2 hours, but 4+ hours yields the best crackle. You can prepare the dough the night before and bake the next day.
—
Step-by-Step Instructions
1. Combine Dry Ingredients: In a medium bowl, whisk together flour, cocoa powder, baking powder, and salt. Set aside.
2. Mix Wet Ingredients: In a large bowl, beat the granulated sugar and vegetable oil together until well combined (about 1 minute). Add eggs one at a time, mixing after each addition. Stir in vanilla extract.
3. Combine Wet and Dry: Gradually add the dry ingredients to the wet mixture, stirring with a spatula until just combined. Do not overmix—the dough will be soft and slightly sticky. Cover the bowl with plastic wrap and refrigerate for at least 2 hours.
4. Preheat and Prepare: When ready to bake, preheat your oven to 350°F (175°C). Line two baking sheets with parchment paper. Place the powdered sugar in a shallow bowl.
5. Shape and Roll: Using a cookie scoop or tablespoon, portion the chilled dough into 1.5-inch balls. Roll each ball between your palms to smooth. Generously coat each ball in powdered sugar, ensuring every surface is covered. The key to the signature crackle of Chocolate Crinkle Cookies is a thick, even coating of powdered sugar.
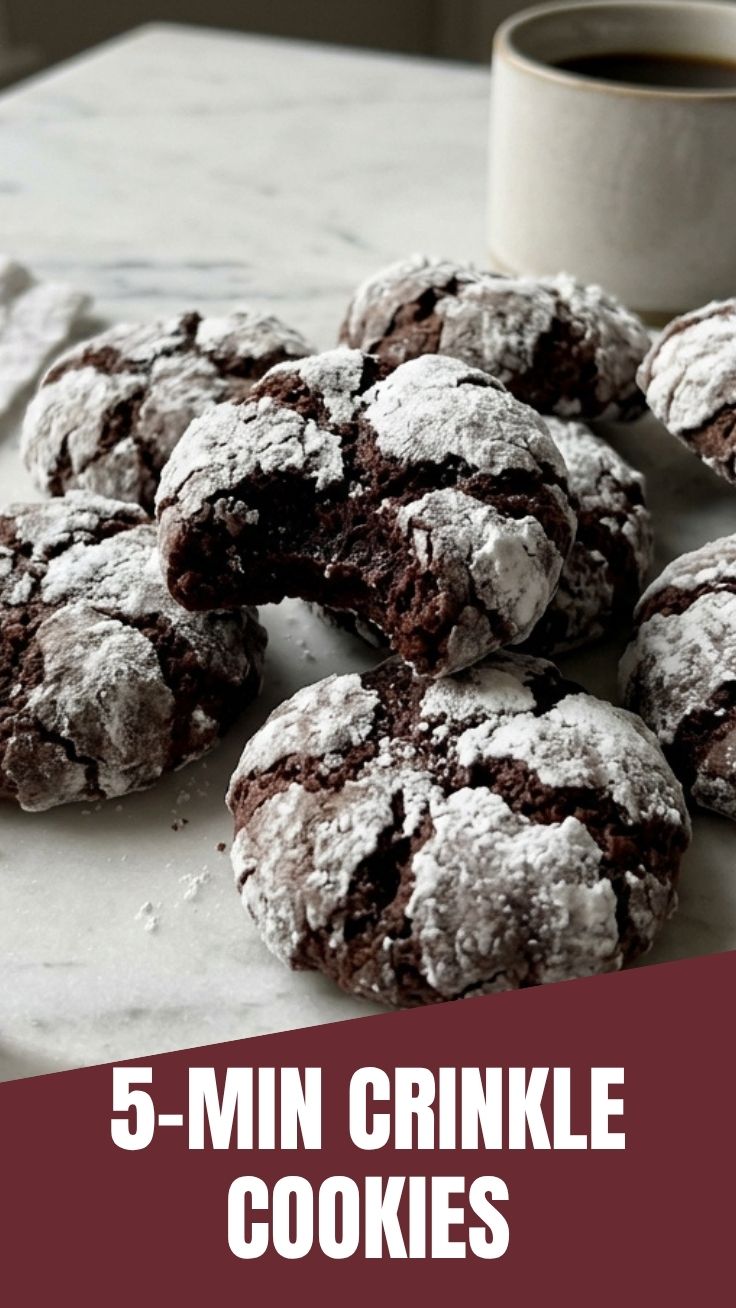
6. Bake: Place the sugar-coated dough balls 2 inches apart on the prepared baking sheets. Bake for 10–12 minutes. The cookies will look puffy and slightly underdone in the center—this is normal. They will set as they cool. The hallmark of Crinkle Cookies is the beautiful crackled surface that appears as the dough expands and the sugar coating cracks.
7. Cool: Let the cookies cool on the baking sheet for 5 minutes, then transfer to a wire rack to cool completely.
Pro Tip: For extra fudgy centers, remove the cookies from the oven when the edges are set but the center still appears soft. Overbaking will result in dry cookies.
—
Nutritional Benefits & Advantages
– Rich in antioxidants – Dark cocoa powder contains flavonoids that support heart health and reduce inflammation.
– Lower in saturated fat – Using vegetable oil instead of butter keeps these cookies lighter and more heart-friendly than traditional butter-based recipes.
– Energy boost – Carbohydrates from sugar and flour provide quick energy, making these a perfect treat for active days.
– Portion control – Each cookie is naturally small and satisfying, helping you enjoy a sweet treat without overindulging.
—
Tips, Variations & Cooking Advice
Flavor Variations
– Peppermint Crinkle: Add ½ teaspoon peppermint extract to the wet ingredients and crush candy canes on top after baking.
– Orange Chocolate: Stir in 1 tablespoon orange zest with the dry ingredients.
– Spicy Mexican: Add ½ teaspoon cinnamon and a pinch of cayenne pepper to the flour mixture.
Dietary Adaptations
– Gluten-free: Replace all-purpose flour with a high-quality gluten-free 1:1 blend. Chill the dough for an extra 30 minutes to prevent spreading.
– Lower sugar: Reduce granulated sugar to ¾ cup and use a sugar-free powdered sugar substitute for rolling.
Cooking Methods
– Air fryer: Bake at 325°F for 6–8 minutes in a preheated air fryer. Check at 6 minutes to avoid overbaking.
– Convection oven: Reduce temperature by 25°F and bake for 8–10 minutes.
—
Common Mistakes to Avoid
– Skipping the chill time – Without adequate chilling, the dough will spread into flat discs instead of forming beautiful crackles. Chill for at least 2 hours.
– Using too much flour – Scooping flour directly from the bag compacts it. Always spoon and level to avoid dense, dry cookies.
– Under-coating with powdered sugar – A thin layer won’t create the signature crackled look. Roll generously and tap off only the excess.
– Overbaking – The cookies will continue to set on the baking sheet. Remove them when the centers are still soft and puffy.
– Using old baking powder – Check expiration dates. Fresh baking powder ensures proper lift and crackle formation.
—
Storage & Meal Prep Tips
– Room Temperature: Store baked cookies in an airtight container at room temperature for up to 5 days. Place a slice of bread in the container to absorb excess moisture and keep them soft.
– Refrigeration: Baked cookies can be refrigerated for up to 10 days. Let them come to room temperature before serving.
– Freezing Baked Cookies: Freeze in a single layer on a baking sheet, then transfer to a freezer-safe bag. They’ll keep for up to 3 months. Thaw at room temperature for 30 minutes.
– Freezing Dough: Roll the dough into balls, coat in powdered sugar, and freeze on a baking sheet. Once frozen, transfer to a bag. Bake from frozen, adding 2–3 minutes to the baking time.
Reheating Tip: To restore that fresh-from-the-oven texture, microwave a cookie for 10–15 seconds or warm in a 300°F oven for 3–4 minutes.
—
Conclusion
There’s something deeply satisfying about pulling a tray of perfectly crackled, fudgy cookies from the oven. Whether you call them Chocolate Crinkle Cookies or simply Crinkle Cookies, this recipe delivers consistent, crowd-pleasing results every time. The key takeaways are simple: chill the dough thoroughly, coat generously with powdered sugar, and bake just until the edges are set. These cookies are perfect for holiday cookie exchanges, weekend baking projects, or anytime you need a chocolate fix. We’d love to hear how yours turned out—share your results in the comments below or tag us in your photos. Happy baking!
—
FAQs
1. Can I use butter instead of vegetable oil?
Yes, but the texture will change. Melted butter will produce slightly denser, less fudgy cookies. If using butter, increase the amount to ½ cup and chill the dough for at least 3 hours.
2. Why didn’t my cookies crackle?
This usually happens for one of three reasons: the dough wasn’t chilled long enough, the powdered sugar coating was too thin, or the oven temperature was too low. Make sure to chill for at least 2 hours and roll the dough balls generously in powdered sugar.
3. Can I make the dough ahead of time?
Absolutely! The dough can be refrigerated for up to 3 days or frozen for up to 3 months. If freezing without shaping, let the dough thaw in the refrigerator before rolling.
4. How do I know when the cookies are done baking?
The edges should be set and the tops should be cracked, but the centers will still look soft and slightly underdone. Overbaking will result in dry cookies, so err on the side of underbaking.
5. Can I use dark cocoa powder instead of regular?
Yes, dark or black cocoa powder will give a deeper color and a more intense, Oreo-like flavor. Note that the cookies may spread slightly more, so chill the dough for an extra 30 minutes.