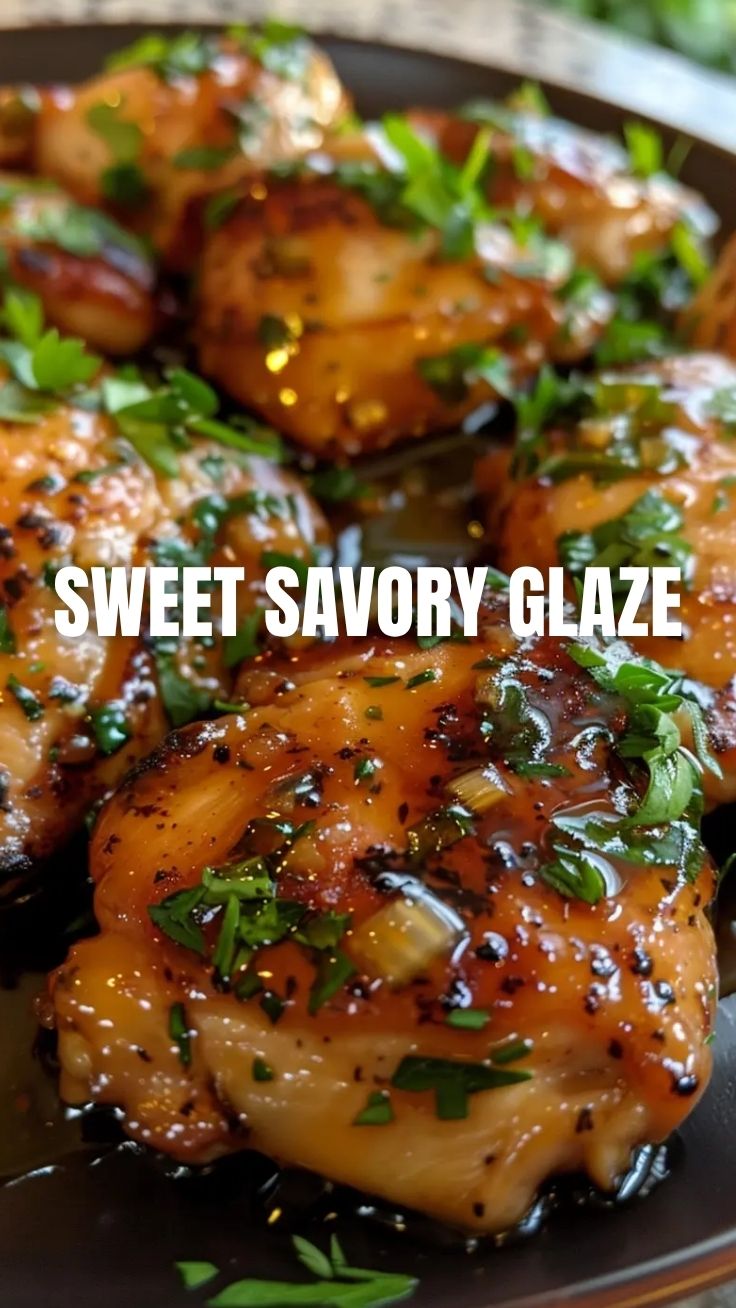
Your New Weeknight Obsession: Mastering the Ultimate Honey Garlic Chicken!
Ever dreamt of a dinner that’s effortlessly delicious, universally loved, and leaves your kitchen smelling absolutely incredible? Look no further! Today, we’re diving into the delightful world of Honey Garlic Chicken—a dish that promises to transform your weeknight meals from mundane to magnificent. Preparing this succulent chicken at home isn’t just about saving money; it’s about crafting a personalized culinary experience, ensuring quality ingredients, and impressing your family with a truly unforgettable flavor. And the secret to its irresistible allure? A perfectly balanced Honey Garlic Sauce that coats every piece of chicken in a glorious, glossy glaze.
Ingredients & Kitchen Tools
Here’s what you’ll need to create this culinary masterpiece:
- Chicken Thighs or Breasts (1.5 lbs): Boneless, skinless for quicker cooking. Thighs offer richer flavor and tenderness.
- Honey (1/2 cup): A cornerstone for that sweet, golden glaze. Use good quality honey for best results.
- Soy Sauce (1/4 cup): Provides essential umami and savory depth. Low-sodium is a great option.
- Garlic (6 cloves): Freshly minced is non-negotiable for maximum aromatic impact.
- Rice Vinegar (2 tbsp): Adds a subtle tang to balance the sweetness. Apple cider vinegar can be a good substitute.
- Sesame Oil (1 tbsp): For a nutty aroma and flavor. A little goes a long way.
- Cornstarch (1 tbsp): Used to thicken the sauce, ensuring it clings beautifully to the chicken.
- Water (2 tbsp): To create a cornstarch slurry.
- Olive Oil (1 tbsp): For searing the chicken.
- Salt & Black Pepper (to taste): Basic seasoning for the chicken.
Kitchen Tools:
- Large Skillet or Pan: Preferably non-stick or cast iron for even searing.
- Whisk: For combining sauce ingredients smoothly.
- Measuring Cups & Spoons: Accuracy is key for a balanced flavor.
- Small Bowl: For mixing the cornstarch slurry.
- Tongs: For easy handling and flipping of chicken.
- Cutting Board & Knife: For prepping chicken and garlic.
Prep Time & Cooking Schedule
Our goal is a quick yet impactful meal. This schedule ensures maximum flavor with minimal fuss.
- Prep Time: 15 minutes (Includes mincing garlic, cubing chicken, and whisking sauce ingredients).
- Cook Time: 20-25 minutes (Searing chicken, simmering sauce, and coating).
- Marinade Time (Optional but Recommended): 30 minutes to 2 hours. Marinating the chicken in a portion of the sauce can significantly enhance flavor and tenderness. Plan this into your schedule if you have the time!
This recipe is designed to be a true weeknight warrior, allowing you to have a delicious, home-cooked meal on the table in under an hour if you skip the marinade.
Step-by-Step Instructions
Let’s get cooking! Follow these clear steps for perfect Honey Garlic Chicken every time.
1. Prepare the Chicken: Pat your chicken pieces dry with paper towels. Season generously with salt and pepper. If using chicken breasts, consider slicing them horizontally to create thinner cutlets for faster, more even cooking.
2. Whisk the Sauce: In a medium bowl, whisk together the honey, soy sauce, minced garlic, rice vinegar, and sesame oil. This forms the base of your delectable Honey Garlic Sauce.
3. Sear the Chicken: Heat olive oil in a large skillet over medium-high heat. Once hot, add the chicken pieces in a single layer, making sure not to overcrowd the pan. Cook for 3-4 minutes per side, until golden brown and cooked through (internal temperature of 165°F/74°C). Remove the chicken from the pan and set aside.
4. Simmer the Sauce: Reduce the heat to medium. Pour the prepared honey garlic mixture into the skillet. Bring to a gentle simmer, scraping up any browned bits from the bottom of the pan – these add immense flavor!
5. Thicken the Sauce: In a small bowl, whisk together the cornstarch and water to create a slurry. Gradually whisk the slurry into the simmering sauce in the skillet. Continue to whisk gently until the sauce thickens to a glossy, syrupy consistency, about 1-2 minutes.
6. Coat the Chicken: Return the cooked chicken to the skillet, tossing gently to coat each piece thoroughly in the rich, glossy sauce. Ensure every piece is bathed in the sticky goodness.
7. Serve Immediately: Garnish with sesame seeds and chopped green onions if desired, and serve hot with your favorite sides.
Nutritional Benefits & Advantages
This dish isn’t just about incredible taste; it also brings some solid nutritional benefits to your table. Chicken is an excellent source of lean protein, essential for muscle repair, growth, and satiety. Garlic, renowned for its health properties, is packed with antioxidants and boasts anti-inflammatory benefits. While honey adds natural sugars, it also offers trace minerals and compounds with antioxidant properties. When prepared at home, you control the amount of sodium and sugar, making it a healthier alternative to many store-bought options. This recipe encourages a balanced meal, especially when paired with a vibrant side of vegetables or brown rice.
Tips, Variations & Cooking Advice
- Spicy Kick: Add a pinch of red pepper flakes to the sauce for a delightful heat.
- Citrus Brightness: A squeeze of fresh lime or orange juice just before serving brightens the flavors beautifully.
- Vegetable Boost: Toss in some broccoli florets or bell pepper strips during the last few minutes of the sauce simmering for an easy one-pan meal.
- Crispy Skin (if using bone-in, skin-on thighs): To achieve extra-crispy skin, start by searing the chicken skin-side down until very golden and crisp before flipping.
- Gluten-Free: Substitute regular soy sauce with tamari for a gluten-free version.
- Marinade Magic: Marinating the chicken for at least 30 minutes (or up to 2 hours) in half of the sauce mixture before searing deeply infuses the meat with flavor and guarantees an even more tender result.
Common Mistakes to Avoid
- Overcooking the Chicken: This leads to dry, tough meat. Use a meat thermometer to ensure chicken reaches 165°F (74°C) and no more.
- Overcrowding the Pan: This lowers the pan’s temperature, preventing proper searing and leading to steamed, rather than browned, chicken. Work in batches if necessary.
- Skipping the Cornstarch Slurry: Without it, your sauce won’t achieve that luscious, clingy consistency. Ensure it’s smoothly mixed before adding to prevent lumps.
- Under-Reduction of Sauce: If the sauce isn’t simmered long enough or thickened properly, it will be watery and won’t coat the chicken effectively. Be patient during the simmering step.
- Using Jarred Minced Garlic: While convenient, fresh garlic offers a significantly superior flavor profile. Make the effort to mince it yourself!
Storage & Meal Prep Tips
This Honey Garlic Chicken is fantastic for meal prep!
- Refrigeration: Store any leftovers in an airtight container in the refrigerator for up to 3-4 days. The flavors often deepen overnight!
- Freezing: For longer storage, freeze cooled chicken and sauce in freezer-safe containers for up to 2-3 months. Thaw overnight in the refrigerator before reheating.
- Reheating: Gently reheat on the stovetop over low heat, adding a splash of water or broth if the sauce has thickened too much. You can also microwave in short bursts, stirring in between, until heated through. Be careful not to dry out the chicken.
Conclusion
There you have it – a truly delectable, approachable, and versatile recipe for Honey Garlic Chicken. This dish proves that restaurant-quality flavor is well within reach in your own kitchen, all thanks to that irresistible, glossy Honey Garlic Sauce. Whether you’re a seasoned chef or a kitchen novice, this recipe is designed for success. We encourage you to give it a try this week and experience the joy of a perfectly balanced, sweet, and savory meal. Once you do, come back and share your creations and any delicious twists you discover in the comments below!
FAQs
Q1: Can I make this with bone-in chicken?
A1: Yes, bone-in chicken thighs work wonderfully. Just be aware that cooking times will be longer (around 25-35 minutes), and ensure the internal temperature reaches 165°F (74°C).
Q2: How can I make the sauce spicier?
A2: Add a teaspoon of sriracha, a pinch of red pepper flakes, or a minced fresh chili (like a jalapeño) to the sauce mixture for an extra kick.
Q3: What are some good side dishes to serve with Honey Garlic Chicken?
A3: This dish pairs beautifully with white or brown rice, quinoa, steamed broccoli, roasted asparagus, sautéed green beans, or a simple side salad.
Q4: My sauce isn’t thickening. What should I do?
A4: Ensure your cornstarch slurry was smoothly mixed. If it’s still thin, create another small slurry (1 tsp cornstarch with 1 tsp water) and whisk it in gradually while the sauce simmers until your desired thickness is reached.
Q5: Can I prepare the sauce in advance?
A5: Absolutely! You can whisk together all the sauce ingredients (except the cornstarch slurry) and store it in an airtight container in the refrigerator for up to 3 days. Add the slurry when you’re ready to cook and thicken the sauce.

Proven Way to Grow 7 Honey Garlic Chicken
Ingredients
Equipment
Method
- In a medium bowl, whisk together the honey, soy sauce, minced garlic, and grated ginger to create the sauce.
- In a small bowl, dissolve the cornstarch in water to make a slurry; set aside.
- Heat a large skillet or non-stick pan over medium-high heat, then add chicken thighs and cook for 5-7 minutes per side until browned and cooked through.
- Pour the honey garlic sauce over the chicken and bring to a simmer.
- Stir in the cornstarch slurry and cook for 2-3 minutes, or until the sauce thickens to your desired consistency, ensuring it coats the chicken well.
- Garnish with sesame seeds and sliced green onions before serving.