Unlock the Artisan Within: Your Ultimate Guide to Homemade Sourdough Bread
Have you ever dreamt of that perfect golden crust, the springy, open crumb, and the subtly tangy aroma of freshly baked bread filling your home? Today, we’re diving deep into the art and science of creating an extraordinary loaf of Sourdough Bread right in your own kitchen. Beyond the sheer delight of its flavor, baking your own sourdough offers incredible satisfaction, a connection to ancient culinary traditions, and complete control over the ingredients you consume. It’s a journey into mindful baking, transforming simple flour and water into a masterpiece, all thanks to the magic of a vibrant Sourdough Starter.
Ingredients & Kitchen Tools
Crafting the perfect loaf requires quality ingredients and the right equipment. Here’s what you’ll need:
- Active Sourdough Starter (100g): Your bubbly, fed starter, ready to go. This is the heart of your bread.
- Bread Flour (350g): High-protein flour for excellent gluten development and structure. All-purpose flour can work in a pinch, but bread flour is preferred.
- Whole Wheat Flour (50g, optional): Adds a deeper flavor, nutrients, and improves crust development. You can substitute with more bread flour.
- Water (300-320g, warm, around 90-95°F / 32-35°C): Hydrates the flour and activates the starter. Adjust based on flour absorption.
- Fine Sea Salt (9g): Enhances flavor and controls fermentation.
- Large Mixing Bowl: For combining ingredients and bulk fermentation.
- Dough Scraper: Essential for handling sticky dough and dividing.
- Proofing Basket (Banneton): To hold the dough’s shape during the final rise. A bowl lined with a floured kitchen towel works too.
- Dutch Oven or Heavy Pot with Lid: Creates a steamy environment for a perfect crust.
- Parchment Paper: Prevents sticking and makes transferring dough easier.
- Razor Blade (Lame) or Sharp Knife: For scoring the dough before baking.
- Kitchen Scale: Crucial for accurate measurements in sourdough baking.
- Spray Bottle (optional): For adding steam if not using a Dutch oven.
Prep Time & Cooking Schedule

Sourdough baking is a marathon, not a sprint, defined by periods of rest and fermentation. Understanding the timeline is key to success.
- Prep Time (Active): 30 minutes (mixing, folding, shaping)
- Bulk Fermentation (Resting): 3-6 hours (at room temperature, depending on ambient temperature and starter activity)
- Cold Proof (Resting/Marinating): 8-16 hours (in the refrigerator)
- Bake Time: 45-50 minutes
- Cooling Time: 1-2 hours (crucial for crumb structure)
Plan to start your dough in the afternoon or evening for baking the following morning.
Step-by-Step Instructions
1. Feed Your Starter (12-18 hours before mixing): Ensure your Sourdough Starter is active and bubbly. It should have doubled or tripled in size and pass the float test (a small bit floats in water).
2. Autolyse (30 minutes): In a large bowl, combine the flours and water. Mix until no dry spots remain. Cover and let rest for 30 minutes. This hydrates the flour and begins gluten development.
3. Mix & Incorporate Salt (10 minutes): Add your active sourdough starter and salt to the autolysed dough. Mix thoroughly, either by hand or with a stand mixer, until everything is well combined and the dough starts to come together.
4. Bulk Fermentation & Stretch & Folds (3-6 hours): Cover the bowl. Over the next 2-3 hours, perform 3-4 sets of stretch and folds every 30-45 minutes. Gently stretch a portion of the dough up and fold it over itself until you’ve worked your way around the bowl. This builds strength. After the folds, let the dough rest until it has increased in volume by 30-50% and feels airy.
5. Pre-Shape (15-20 minutes rest): Gently tip the dough onto a lightly floured surface. Shape it into a loose round or rectangle, creating some tension on the surface. Cover and let it rest for 15-20 minutes.
6. Final Shape: Flour your hands lightly. Shape the dough into your desired boule (round) or batard (oval) shape, creating significant surface tension. It’s important to create a taut outer skin.
7. Cold Proof (8-16 hours): Place the shaped dough seam-side up into a floured banneton or a bowl lined with a floured towel. Cover with a plastic bag or plastic wrap and refrigerate for 8-16 hours. This deepens flavor and makes the dough easier to handle.
8. Preheat Oven & Dutch Oven (1 hour): When ready to bake your beautiful Sourdough Bread, preheat your oven to 450°F (232°C) with your Dutch oven inside for at least one hour.
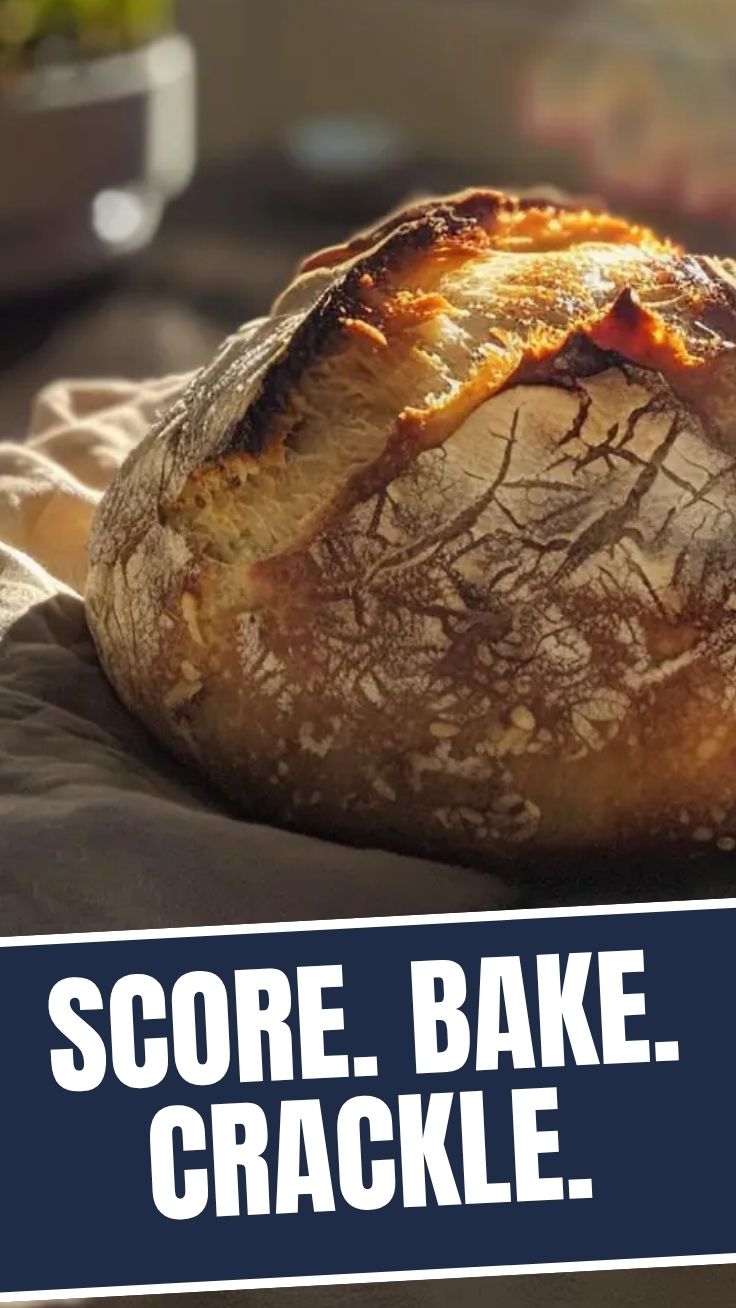
9. Score & Bake (45-50 minutes): Carefully remove the hot Dutch oven. Gently flip the dough onto a piece of parchment paper. Score the top of the dough with a razor blade or sharp knife (a single deep slash or a decorative pattern). Carefully lower the dough (with parchment) into the hot Dutch oven. Bake with the lid on for 25 minutes. Remove the lid and bake for another 20-25 minutes, or until deeply golden brown.
10. Cool Completely: Transfer the bread to a wire rack and let it cool for at least 1-2 hours before slicing. This allows the internal structure to set.
Nutritional Benefits & Advantages
Homemade sourdough bread offers several advantages over commercially produced loaves. The long fermentation process, driven by the Sourdough Starter, helps break down gluten and phytic acid, making the nutrients in the flour more bioavailable. This can potentially improve digestibility for some individuals, even those with mild gluten sensitivities. It also boasts a lower glycemic index, leading to a slower release of sugars into the bloodstream. Furthermore, a well-fed sourdough starter introduces beneficial lactic acid bacteria, contributing to gut health.
Tips, Variations & Cooking Advice
- Hydration: Don’t be afraid to adjust the water slightly based on your flour. Wetter doughs can be stickier but often yield a more open crumb.
- Flavor Boost: For more complex flavor, try adding 5-10% rye flour to your dough.
- Inclusions: After the third set of stretch and folds, gently fold in nuts, seeds, dried fruits, or cheeses.
- Shaping: Practice makes perfect! Watch videos on shaping techniques to build your confidence and develop that crucial surface tension.
- Oven Spring: Scoring isn’t just for aesthetics; it directs where your Sourdough Bread expands during baking, leading to a beautiful “ear.”
Common Mistakes to Avoid
- Inactive Starter: Baking with a weak or unfed starter will lead to a dense, flat loaf. Always ensure your Sourdough Starter is active.
- Under-proofed Dough: Insufficient bulk fermentation or cold proofing results in a dense crumb and poor oven spring. Look for signs of expansion and airiness.
- Over-proofed Dough: Dough that proofs too long can collapse in the oven, leading to a gummy texture.
- Not Cooling Enough: Slicing into hot sourdough traps steam and can make the crumb gummy. Patience is a virtue here!
- Inaccurate Measurements: Sourdough baking is a science; use a kitchen scale for precision.
Storage & Meal Prep Tips
Once your Sourdough Bread is completely cooled, store it at room temperature. A cut loaf can be stored cut-side down on a cutting board, or in a breathable bread bag or sealed plastic bag for 2-3 days. For longer storage, slice the cooled bread and freeze in an airtight bag for up to 3 months. Thaw individual slices or the whole loaf at room temperature or toast directly from frozen for a quick treat. Reheat whole loaves wrapped in foil in a 350°F (175°C) oven for 10-15 minutes or until warmed through.
Conclusion
Baking your own Sourdough Bread is a truly rewarding experience, transforming simple ingredients into a deeply flavorful and satisfying staple. Mastering the nuances of an active Sourdough Starter and understanding the fermentation process empowers you to create artisanal loaves right from your kitchen. We encourage you to embark on this delicious journey, experiment with flavors, and revel in the incredible taste and texture of your homemade creation. Share your sourdough triumphs with us!
FAQs
1. My dough isn’t rising; what’s wrong?
* The most common culprit is an inactive Sourdough Starter. Ensure it’s active and bubbly before you start. Cold room temperatures can also significantly slow fermentation.
2. Can I bake this without a Dutch oven?
Yes! Preheat a baking stone or heavy baking sheet in the oven. Place a pan of boiling water on the bottom rack for steam. Transfer the dough, score it, and bake at 450°F (232°C) with* steam for the first 15-20 minutes, then remove the water and continue baking until golden.
3. What if my dough is too sticky to handle?
* Slightly reduce the water next time, or handle the dough with wet hands or a well-floured dough scraper. Developing strong gluten through proper stretch and folds also helps reduce stickiness.
4. How do I make my Sourdough Bread more sour?
* A longer cold proof (12-16 hours) in the refrigerator allows more lactic acid to develop, increasing the sour flavor. You can also incorporate a small amount of rye flour into your starter.
5. My crust is too soft/not crispy enough.
* Ensure your Dutch oven (or baking environment) is preheated properly to a very high temperature. Baking the last 10-15 minutes directly on the oven rack (without the Dutch oven) can help crisp the bottom crust.
How to grow sourdough bread Sourdough Bread
Ingredients
Equipment
Method
- Combine 50g all-purpose flour, 50g whole wheat flour, and 100g room temperature water in a quart-sized glass jar. Stir well until no dry flour remains, then cover loosely with a lid or plastic wrap and let it sit at room temperature for 24 hours.
- Discard about 80% of the starter, leaving 50g in the jar. Add 50g all-purpose flour, 50g whole wheat flour, and 100g room temperature water. Mix thoroughly, cover loosely, and let it sit at room temperature for another 24 hours.
- Continue the feeding process as in Day 2-7 daily. Your starter is ready when it consistently doubles in size, is bubbly, and passes the float test within 6-8 hours after feeding.