Beat the Heat with a Luscious No-Bake Cheesecake (Summer) Recipe—No Oven Required!
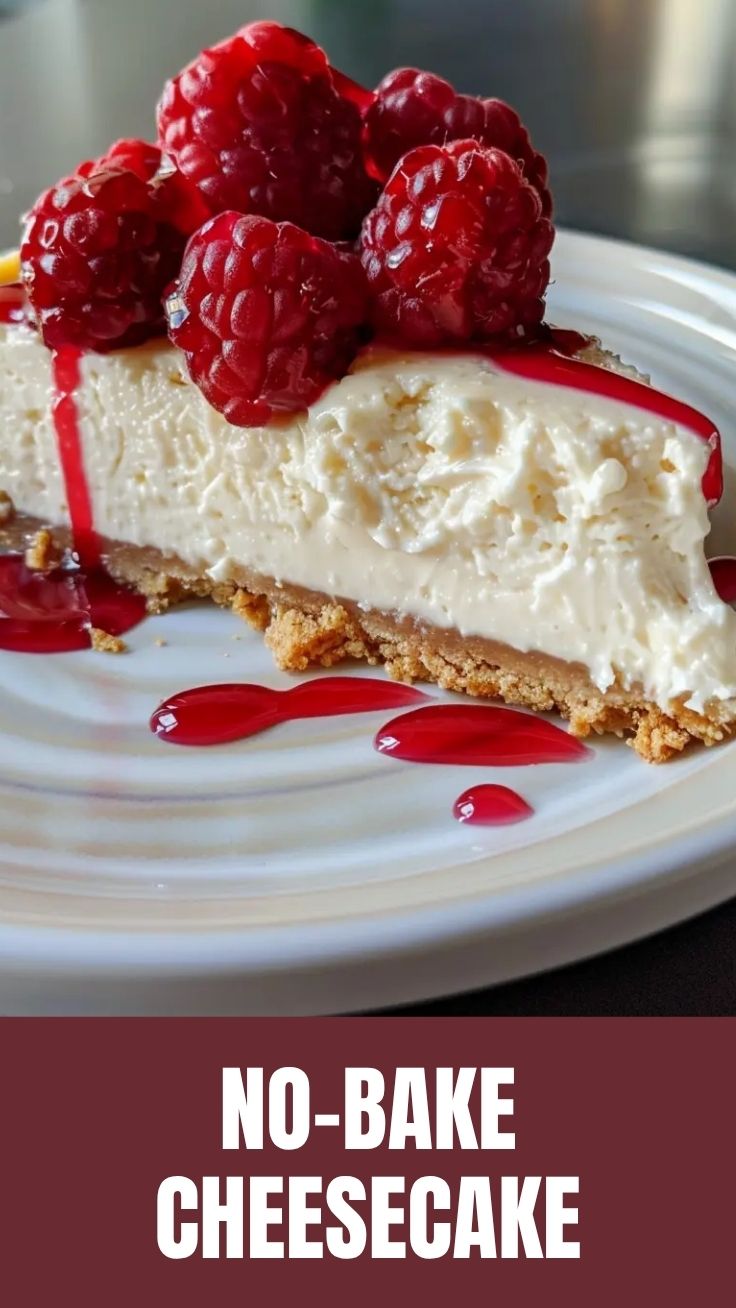
Is there anything more disappointing than craving a cool, creamy dessert on a scorching summer day, only to realize you have to turn on the oven and heat up the entire kitchen? You’re not alone. That’s exactly why mastering a No-Bake Cheesecake (Summer) recipe is a game-changer. Preparing this dessert at home is valuable because it gives you total control over the ingredients—no artificial stabilizers, just pure, velvety cream cheese and a crisp, buttery crust. Plus, it comes together in about 20 minutes of active work. Whether you’re dreaming of a classic vanilla finish or planning to top it with a vibrant fruit swirl, this method is your ticket to a perfect Strawberry Cheesecake without ever preheating the oven.
Ingredients & Kitchen Tools
For the Crust:
– 2 cups graham cracker crumbs (or digestive biscuits for a UK-style base). Substitute with gluten-free crackers if needed.
– 1/2 cup unsalted butter, melted. Use a vegan butter alternative for a dairy-free option.
– 2 tablespoons granulated sugar (optional, if your crumbs are unsweetened).
For the Creamy Filling:
– 16 oz (450 g) full-fat cream cheese, softened to room temperature. Low-fat versions will result in a less stable mousse.
– 1 cup heavy whipping cream (35% milk fat). Chill well before whipping.
– 1/2 cup powdered sugar, sifted. Adjust to taste based on sweetness preference.
– 1 teaspoon vanilla extract.
– 1 tablespoon lemon juice (adds brightness and helps structure the cheesecake).
For the Strawberry Topping (Optional):
– 2 cups fresh or frozen strawberries, hulled.
– 1/4 cup granulated sugar.
– 1 teaspoon cornstarch mixed with 1 tablespoon water (slurry).
Kitchen Tools:
– 9-inch springform pan
– Large mixing bowls (2)
– Electric hand mixer or stand mixer
– Spatula
– Saucepan (for the topping)
– Plastic wrap
Prep Time & Cooking Schedule
| Phase | Time | Notes |
|——-|——|——-|
| Active prep | 20 minutes | Crust assembly and cream cheese mixing. |
| Chilling (crust) | 30 minutes | Freeze crust while preparing filling. |
| Total chilling (cheesecake) | 6–8 hours | Overnight is best for a clean slicing texture. |
Context: The key advantage here is that the entire process is hands-off after the initial assembly. Plan ahead—start this in the morning, serve by dinner.
Step-by-Step Instructions
1. Prepare the Crust: In a bowl, combine graham cracker crumbs and sugar. Pour in melted butter and stir until the mixture resembles wet sand. Press firmly into the bottom of your springform pan using the flat bottom of a measuring cup. Freeze for 30 minutes.
2. Whip the Cream: In a chilled bowl, beat the heavy cream until stiff peaks form. Set aside in the refrigerator.
3. Cream the Cheese Base: In a separate large bowl, beat the softened cream cheese with powdered sugar, vanilla, and lemon juice until smooth and fluffy—about 3 minutes. Scrape down the sides.
4. Fold It Together: Gently fold the whipped cream into the cream cheese mixture using a spatula. Work in a “cut and turn” motion until no white streaks remain. This is where the texture of your No-Bake Cheesecake (Summer) truly shines—do not overmix, or it will deflate.
5. Assemble: Pour the filling over the chilled crust. Smooth the top with a spatula.
6. Chill: Cover with plastic wrap and refrigerate for at least 6 hours (overnight delivers the best structure for slicing). If you’re topping with fresh fruit, wait until the cheesecake is fully set (about 4 hours in) to add a thin layer of Strawberry Cheesecake topping—this prevents fruit juices from seeping into the filling.
7. Prepare the Strawberry Topping (Optional): In a saucepan over medium heat, combine strawberries and sugar. Cook for 5–7 minutes until berries soften. Add the cornstarch slurry, stir, and cook for 1 more minute until thickened. Cool completely before spreading over the set cheesecake.
Nutritional Benefits & Advantages
– Cream cheese is a good source of calcium and protein (about 2 g per ounce). It also contains probiotics if you choose a live-culture brand, which supports gut health.
– Heavy cream provides satiating fats that help stabilize blood sugar when consumed as part of a balanced meal.
– Strawberries are packed with vitamin C and antioxidants like ellagic acid, which combat oxidative stress.
– No-Bake method retains more heat-sensitive nutrients compared to baking, particularly in the fruit topping.
– Dietary advantage: This recipe is naturally low in sodium compared to many baked cheesecakes.
Tips, Variations & Cooking Advice
– Dairy-Free Adaptation: Use vegan cream cheese (such as Violife or Kite Hill), coconut cream whipped at high speed, and a plant-based butter alternative.
– Flavor Variations: Replace vanilla with almond extract for a nutty finish, or fold in 1/2 cup of crushed toasted pistachios.
– Gluten-Free Option: Use almond flour or a certified gluten-free graham cracker for the crust.
– Portion Change: For mini cheesecakes, use a 12-cup muffin tin lined with parchment strips—reduce chilling time to 3 hours.
– Want a lighter texture? Add 1 envelope of unflavored gelatin (bloomed in 2 tablespoons cold water, then melted) to the cream cheese mixture before folding in the whipped cream. This creates a mousse-like consistency.
Common Mistakes to Avoid
1. Using cold cream cheese: Cold cream cheese will create a lumpy filling. Always let it sit out for 30–45 minutes before mixing.
2. Overwhipping the cream: Stop at stiff peaks. If you go further, you’ll end up with butter granules and a grainy cheesecake.
3. Skipping the crust freeze: A warm crust will mix with the wet filling, creating a soggy base.
4. Adding fruit topping too early: Fresh strawberries release pectin and juice that can cause the top layer of the cheesecake to weep. Always cool the topping fully and apply after the filling has set.
5. Not scraping down the bowl: Cream cheese clings to the sides. Scrape twice during mixing to ensure no unmixed pockets.
Storage & Meal Prep Tips
– Refrigeration: Store in the springform pan, covered with plastic wrap, for up to 5 days. The texture remains best between days 1–3.
– Freezing: Yes! Wrap the fully set cheesecake (without fruit topping) in two layers of plastic wrap and one layer of foil. Freeze for up to 2 months. Thaw overnight in the refrigerator.
– Slicing hack: Run your knife under hot water, dry it, then slice. Repeat for each cut to get clean edges.
– Meal prep: Prepare the crust and store it in the freezer for up to 2 weeks. When ready, just whip the filling and assemble.
Conclusion
Mastering a No-Bake Cheesecake (Summer) is the secret weapon every home cook needs during the warmer months. With a velvety texture, a foolproof method, and the ability to customize it endlessly—whether you crave a simple vanilla finish or a vibrant Strawberry Cheesecake swirl—this recipe delivers consistently impressive results without heating up your kitchen. I encourage you to try it this weekend, snap a photo, and share your creation in the comments or on social media. Don’t forget to explore our other chilled dessert guides for more inspiration!
FAQs
Q1: Can I make this without a springform pan?
Yes! Use a deep 9-inch pie plate or a 8×8 inch square dish. To serve, scoop it out like a mousse cake rather than slices.
Q2: Can I use Greek yogurt instead of cream cheese?
Not as a direct swap. Greek yogurt has lower fat and higher moisture, which will cause the filling to be runny. A better option is a mix of 8 oz cream cheese and 1/2 cup strained Greek yogurt.
Q3: How do I prevent cracks in my No-Bake Cheesecake?
Cracks are rare with no-bake versions, but they can occur if you overmix the filling (incorporating too much air). Fold gently and do not over-whip the cream.
Q4: What if my cheesecake doesn’t set after 8 hours?
It could be due to low-fat cream cheese or warm room temperature. Place the pan in the freezer for 1 hour to firm it up, then return it to the fridge. Next time, ensure full-fat cream cheese is used.
Q5: Can I use frozen strawberries for the topping?
Absolutely. Thaw them first, drain excess liquid, then proceed. The cornstarch slurry will help thicken excess juice.
No-Bake Summer Cheesecake
Ingredients
Equipment
Method
- Combine graham cracker crumbs, melted butter, and sugar in a bowl; press the mixture firmly into the bottom of a 9-inch springform pan.
- Chill the prepared crust in the refrigerator for at least 15 minutes to set.
- In a large bowl, beat the softened cream cheese with sugar, vanilla extract, and lemon juice until smooth and creamy.
- In a separate chilled bowl, whip the cold heavy cream until stiff peaks form.
- Gently fold the whipped cream into the cream cheese mixture until fully combined and smooth.
- Pour the cream cheese filling over the chilled crust in the springform pan, spreading it evenly.
- Refrigerate the cheesecake for at least 4 hours, or preferably overnight, until thoroughly set.
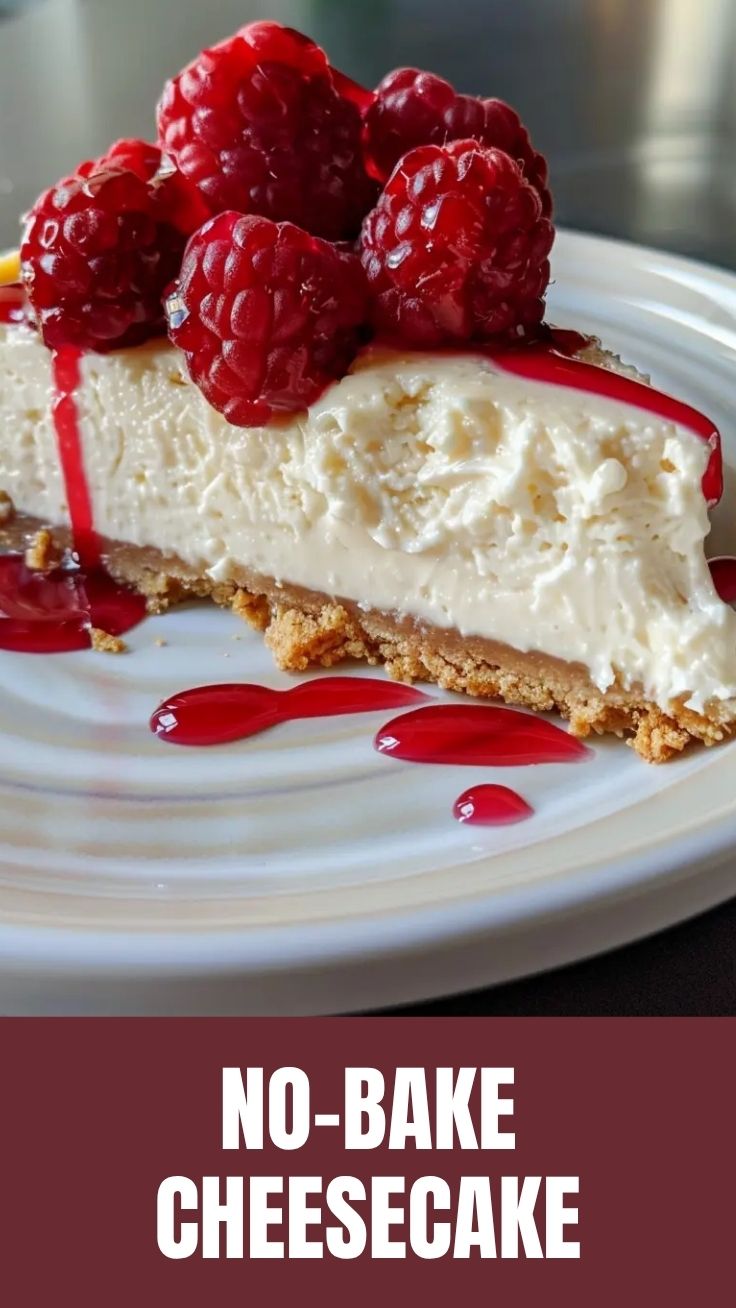
- Carefully remove the cheesecake from the springform pan before slicing and serving, optionally garnished with fresh berries or a drizzle of sauce.