The Ultimate Teriyaki Chicken Guide: A Savory Homemade Classic
Have you ever craved that glossy, sweet-savory takeout chicken but wanted complete control over the ingredients? Making Teriyaki Chicken at home isn’t just rewarding—it transforms your kitchen into a Japanese-inspired haven. This versatile dish delivers restaurant-quality flavor with simple pantry staples, cutting out preservatives and excess sodium found in delivery. Whether you love the classic stovetop version or prefer the smoky char of Grilled Chicken, mastering this recipe elevates your weeknight dinners instantly. Teriyaki Chicken and Grilled Chicken pair beautifully, offering two textures from one foundational recipe.
—
Ingredients & Kitchen Tools
Essential Ingredients
– Boneless, skinless chicken thighs (1.5 lbs) – Juicier than breasts; substitute with breasts if preferred
– Soy sauce (⅓ cup) – Use low-sodium for better salt control
– Mirin (¼ cup) – Japanese sweet rice wine; substitute: dry sherry + 1 tsp sugar
– Rice vinegar (2 tbsp) – Adds bright acidity
– Brown sugar (3 tbsp) – Packed; light or dark works
– Fresh ginger (1 tbsp, grated) – Skip dried; fresh is non-negotiable
– Garlic (3 cloves, minced) – Pressed or finely chopped
– Cornstarch (1 tbsp) – For thickening sauce
– Sesame oil (1 tsp) – Finishing touch
– Sesame seeds & green onions – Garnish
Tools & Utensils
– Large skillet or wok – Non-stick preferred for even caramelization
– Medium saucepan – For reducing sauce separately
– Whisk – Prevents cornstarch lumps
– Sharp chef’s knife – Clean cuts for chicken
– Meat thermometer – Ensures safe internal temp (165°F)
– Microplane or zester – Perfect ginger grating
Optional Substitutions
– Tamari – For gluten-free soy sauce swap
– Coconut aminos – Paleo-friendly alternative
– Honey or maple syrup – Replace brown sugar for different sweetness profiles
—
Prep Time & Cooking Schedule
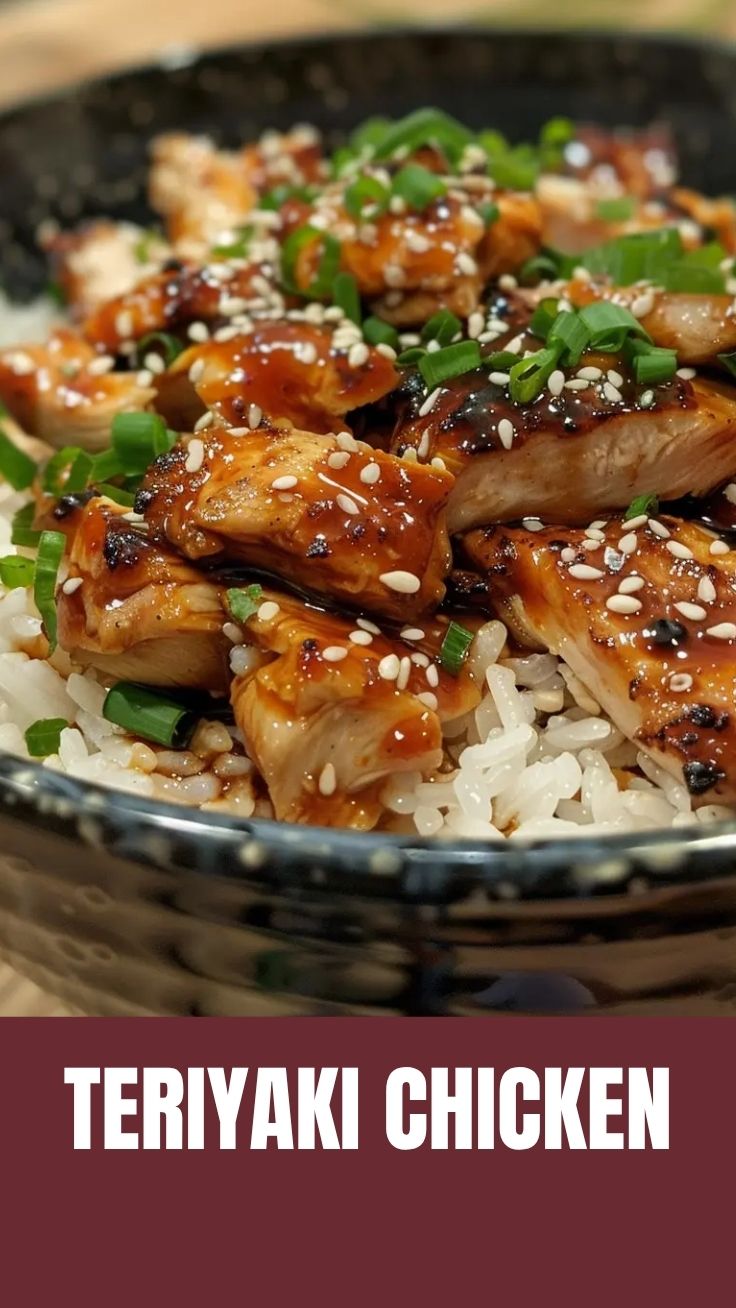
– Prep time: 15 minutes (washing, chopping, grating)
– Marinating time: 30 minutes minimum (2 hours ideal)
– Cooking time: 12–15 minutes total
– Resting time: 5 minutes before slicing
Plan ahead: Start marinating while preparing sides like steamed rice or stir-fried veggies. This dish comes together faster than delivery, especially if you prep sauce in advance and store refrigerated for up to 3 days.
—
Step-by-Step Instructions
1. Make the teriyaki sauce: In a small bowl, whisk together soy sauce, mirin, rice vinegar, brown sugar, grated ginger, minced garlic, and cornstarch until cornstarch dissolves completely. Set aside.
2. Prep the chicken: Pat chicken thighs dry with paper towels (crucial for browning). Slice into 1-inch strips or keep whole if preferred. Lightly season with white pepper (optional).
3. Sear the chicken: Heat 1 tbsp neutral oil in a large skillet over medium-high heat until shimmering. Add chicken in a single layer (work in batches if needed). Cook 4–5 minutes until golden brown, then flip. For a smoky version, prepare Grilled Chicken on an outdoor grill at 400°F for 6–8 minutes per side.
4. Glaze and finish: Reduce heat to medium. Pour prepared sauce over the chicken. Simmer 3–4 minutes, stirring occasionally, until sauce thickens and coats each piece. The sauce should cling like a glossy glaze—not pool watery.
5. Rest and garnish: Remove skillet from heat. Let chicken rest 5 minutes covered. Slice against the grain if using whole thighs. Drizzle remaining pan sauce on top. Sprinkle sesame seeds and sliced green onions.
Flavor checkpoint: Taste the sauce before serving. Adjust with extra soy sauce for saltiness or brown sugar for sweetness. This Teriyaki Chicken should balance salty, sweet, and savory in every bite. Similarly, properly seasoned Grilled Chicken develops a rich char that complements the sweet glaze.
—
Nutritional Benefits & Advantages
This homemade dish packs nutritional power while satisfying cravings:
– Lean protein: Chicken thighs offer 22g protein per serving, supporting muscle repair and satiety
– Ginger & garlic: Anti-inflammatory compounds boost immune function
– Lower sodium control: Homemade sauce contains nearly 40% less sodium than bottled versions
– No MSG or preservatives: Clean ingredients mean better digestion
– Healthy fats: Sesame oil provides antioxidants and heart-healthy monounsaturated fats
| Nutrient | Per Serving (4 oz) |
|———-|——————-|
| Calories | 285 |
| Protein | 24g |
| Carbohydrates | 14g |
| Fat | 12g |
| Sodium | 680mg |
—
Tips, Variations & Cooking Advice
Flavor Twists
– Spicy Teriyaki: Add 1 tsp sriracha or red pepper flakes to sauce
– Citrus Teriyaki: Replace rice vinegar with fresh orange juice + zest
– Honey Ginger: Swap brown sugar for 2 tbsp honey + extra minced ginger
– Garlic Lovers: Double garlic cloves and add garlic powder to the sear
Cooking Methods
– Oven-Baked: Marinate chicken, bake at 375°F for 25 minutes, brush with sauce last 5 minutes
– Slow Cooker: Combine all ingredients, cook on low 4 hours, then thicken sauce on stovetop
– Air Fryer: Cook chicken strips at 380°F for 12 minutes, toss in sauce halfway
Dietary Adaptations
– Gluten-free: Use tamari or coconut aminos instead of soy sauce
– Dairy-free: Naturally dairy-free—just skip butter-based sides
– Low-carb: Serve over cauliflower rice or zucchini noodles
– Paleo/Whole30: Use coconut aminos, omit brown sugar, add date paste
—
Common Mistakes to Avoid
1. Overcrowding the pan: Chicken steams instead of searing, resulting in pale, rubbery meat. Always leave space between pieces.
2. Sauce too thin: Did you skip the cornstarch slurry? Sauce needs that thickener to coat properly. Whisk cornstarch with cold water first to prevent lumps.
3. Burnt garlic: Add garlic halfway through cooking—garlic burns faster than ginger. Add it after flipping chicken.
4. Skipping the rest: Cutting chicken immediately releases juices, making it dry. Always rest 5 minutes.
5. Over-marinating: More than 4 hours breaks down chicken texture. Stick to 30 minutes–2 hours for optimal tenderness.
—
Storage & Meal Prep Tips
Refrigeration
– Store cooked Teriyaki Chicken in an airtight container with sauce
– Keeps fresh for 3–4 days in the refrigerator
– Separate sauce from chicken if storing longer to prevent sogginess
Freezing
– Freeze fully cooked chicken + sauce in freezer-safe bags (remove as much air as possible)
– Lasts up to 3 months
– Thaw overnight in refrigerator before reheating
Reheating Instructions
– Stovetop: Warm in a skillet over medium-low heat with 1 tbsp water; stir frequently for 3–4 minutes
– Microwave: Cover with damp paper towel; heat 45-second intervals, stirring between
– Avoid boiling: High heat will break the sauce and dry out chicken
Meal Prep Ideas
– Portion with steamed rice and broccoli in divided containers
– Use within 3 days for best texture
– Slice chicken before storing for quick assembly into wraps or salads
—
Conclusion
Mastering homemade Teriyaki Chicken unlocks endless meal possibilities—from quick weeknight dinners to impressive entertaining dishes. This recipe proves that authentic Asian flavors don’t require takeout. By controlling each ingredient, you create a healthier, more delicious version tailored to your preferences. Whether you enjoy it classic or experiment with Grilled Chicken for a smoky twist, this versatile dish becomes a reliable staple in your cooking repertoire. Try this recipe tonight—share your results on social media with #HomemadeTeriyaki and tag us! For more chicken inspiration, explore our chicken salad or stir-fry guides.
—
FAQs
1. Can I use chicken breasts instead of thighs?
Absolutely. Chicken breasts work well but cook faster (reduce cooking time by 2–3 minutes). Pound them to even thickness for consistent doneness. Note that breasts are leaner, so they may dry out more easily—watch internal temperature carefully.
2. What’s the best substitute for mirin?
Mix 3 tbsp dry sherry or white wine with 1 tbsp sugar as a direct replacement. Alternatively, use sake with a pinch of sugar for a closer flavor profile.
3. Why did my sauce turn out too salty?
This usually happens if you used standard soy sauce instead of low-sodium. Fix by adding 2–3 tbsp water or a splash of mirin to dilute. For future batches, reduce soy sauce to ¼ cup and adjust to taste.
4. Can I make this recipe completely sugar-free?
Yes! Replace brown sugar with monk fruit sweetener, erythritol, or allulose. Note that the sauce won’t caramelize as deeply, but flavor will remain excellent. Some keto cooks add ½ tsp molasses for color without carbs.
5. How do I prevent the chicken from sticking to the pan?
Ensure your pan is hot before adding oil. Use a well-seasoned cast iron or quality non-stick skillet. Avoid moving chicken too early—let it sear undisturbed for 4–5 minutes until naturally releases from the pan.
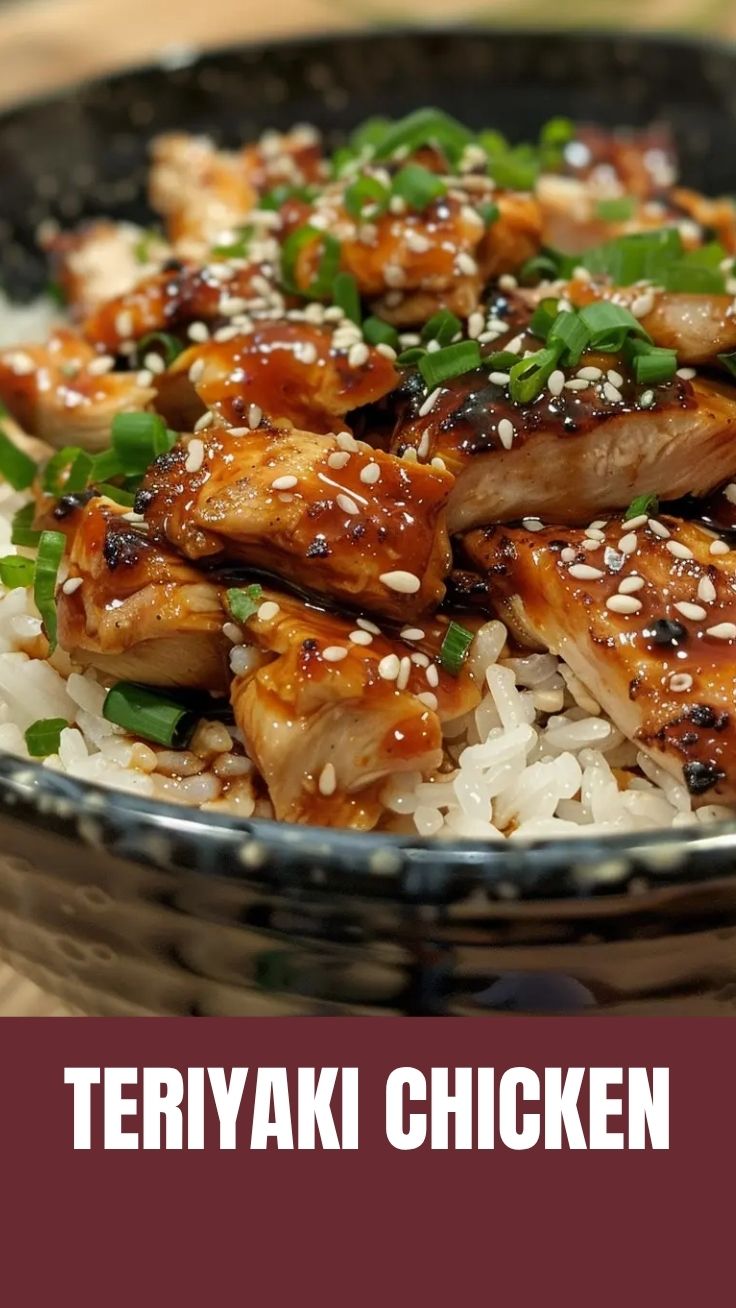
Proven way to grow 5 star Teriyaki ChickenTeriyaki Chicken
Ingredients
Equipment
Method
- Whisk together soy sauce, mirin, sake, sugar, grated ginger, and minced garlic in a bowl to create the teriyaki sauce.
- In a separate small bowl, dissolve cornstarch in water to make a slurry; set aside.
- Heat sesame oil in a large skillet over medium-high heat, then add chicken thighs and cook until browned on all sides.
- Pour the prepared teriyaki sauce over the chicken and bring it to a simmer.
- Reduce the heat to medium-low, cover the skillet, and let the chicken cook for 15-20 minutes, or until cooked through.
- Stir in the cornstarch slurry and continue to cook for a few more minutes until the sauce thickens to your desired consistency.
- Garnish with sesame seeds and sliced green onions before serving.