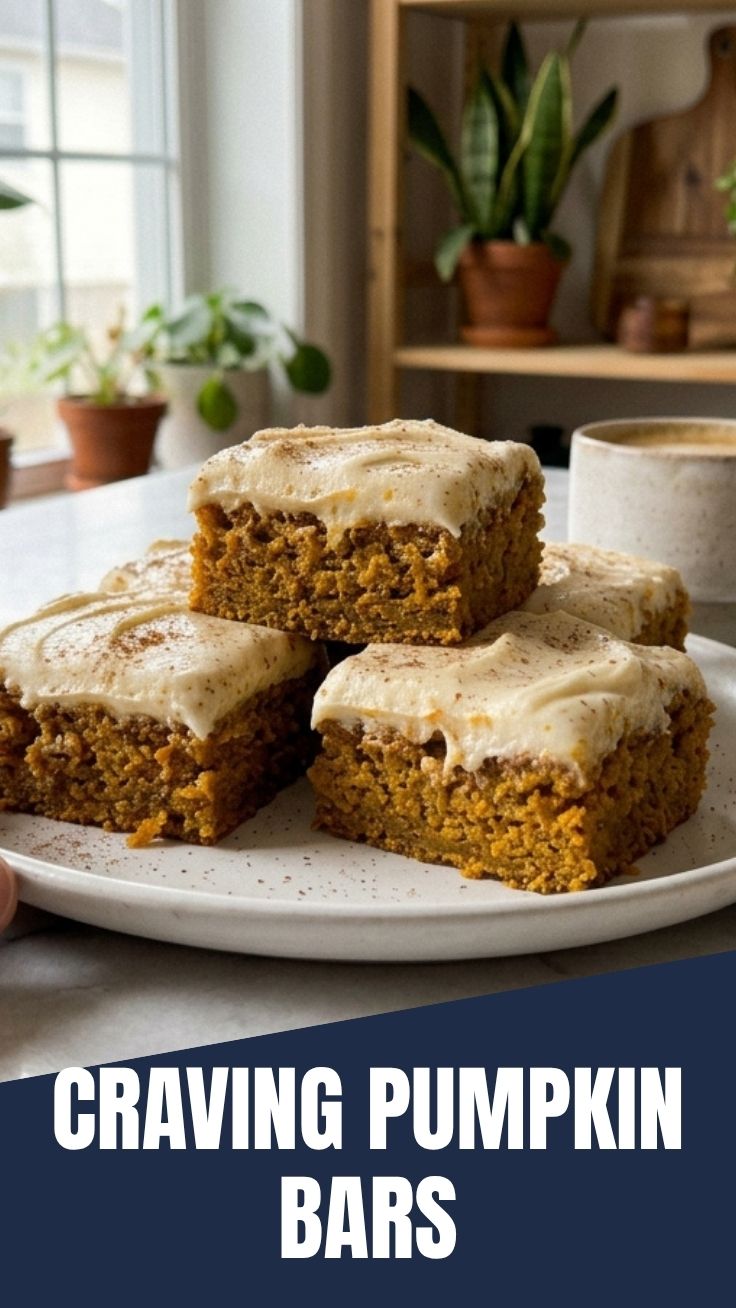
Why Homemade Pumpkin Bars Are the Ultimate Fall Treat
Are you tired of store-bought snacks that are loaded with preservatives and artificial flavors? There’s something deeply satisfying about pulling a pan of freshly baked Pumpkin Bars out of the oven. The aroma of cinnamon, nutmeg, and cloves fills your kitchen, promising a moist, spiced dessert that’s perfect for school lunches, afternoon cravings, or holiday gatherings. Making them from scratch gives you total control over ingredients, sweetness, and texture, plus it’s surprisingly easy. Whether you’re a seasoned baker or a beginner, this recipe for a Pumpkin Bars Recipe will become your go-to for wholesome, delicious treats. Let’s dive into everything you need to know.
Ingredients & Kitchen Tools
For the Bars
– 1 cup pumpkin puree – Use canned (unsweetened) or homemade roasted pumpkin. It adds moisture and natural sweetness.
– 1/2 cup vegetable oil – Or melted coconut oil for a lighter flavor. Keeps the bars tender.
– 3/4 cup granulated sugar – You can reduce to 1/2 cup if using very sweet pumpkin.
– 1/4 cup brown sugar – Adds depth and a slight chewiness.
– 2 large eggs – Room temperature for better incorporation.
– 1 tsp vanilla extract – Pure vanilla enhances the warm spices.
– 1 cup all-purpose flour – Or whole wheat pastry flour for more fiber.
– 1 tsp baking powder – Ensures a soft, cake-like crumb.
– 1/2 tsp baking soda – Helps the bars rise evenly.
– 1/2 tsp salt – Balances sweetness.
– 2 tsp pumpkin pie spice – Cinnamon, nutmeg, ginger, allspice. Make your own or use store-bought.
– Optional: 1/2 cup chopped pecans or chocolate chips – For extra crunch and indulgence.
Kitchen Tools
– 9×13-inch baking pan (or 8×8 for thicker bars)
– Mixing bowls (large and medium)
– Whisk or electric hand mixer
– Rubber spatula
– Measuring cups and spoons
– Parchment paper or non-stick spray
– Cooling rack
Prep Time & Cooking Schedule
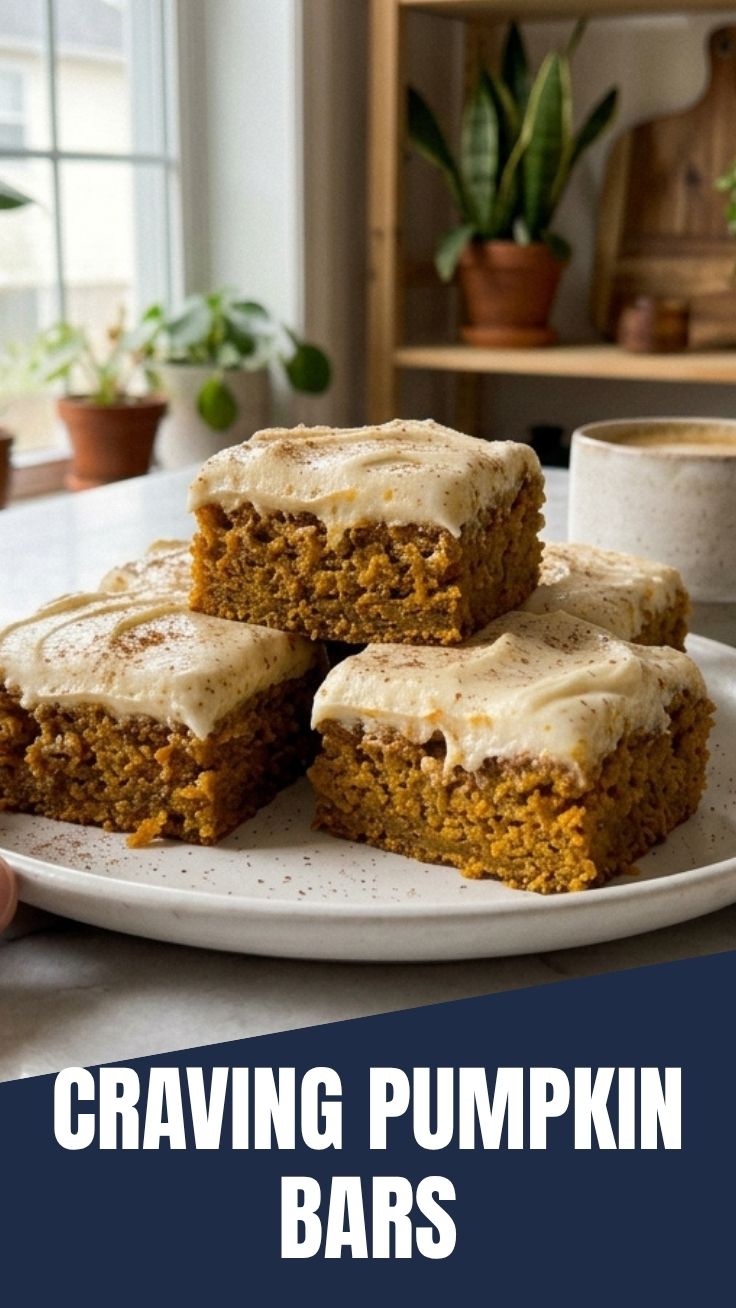
| Stage | Time | Notes |
|——-|——|——-|
| Prep Time | 15 minutes | Gather ingredients, preheat oven, line pan. |
| Bake Time | 25–30 minutes | Until a toothpick inserted in center comes out clean. |
| Cooling Time | 20 minutes | Let bars cool in pan for 10 minutes, then transfer to rack. |
| Total Time | 1 hour | Perfect for a quick after-school snack or weekend baking. |
Plan ahead: The bars taste even better the next day as the spices meld. You can bake them the night before and store covered at room temperature.
Step-by-Step Instructions
1. Preheat and prepare. Preheat your oven to 350°F (175°C). Line a 9×13-inch baking pan with parchment paper, leaving overhang for easy removal. Lightly grease the paper.
2. Mix wet ingredients. In a large bowl, whisk together the pumpkin puree, oil, granulated sugar, brown sugar, eggs, and vanilla extract until smooth and creamy. This should take about 1 minute.
3. Combine dry ingredients. In a separate bowl, whisk the flour, baking powder, baking soda, salt, and pumpkin pie spice. Make sure there are no lumps.
4. Fold together. Gradually add the dry mixture to the wet mixture, stirring gently with a spatula until just combined. Do not overmix – a few streaks are fine. Fold in optional pecans or chocolate chips now.
5. Pour and spread. Transfer the batter to the prepared pan and spread evenly. Tap the pan gently on the counter to release air bubbles.
6. Bake. Bake for 25–30 minutes, rotating the pan halfway through. The bars are done when the edges pull away slightly and a toothpick inserted in the center comes out clean (a few moist crumbs are okay). For a fudgier texture, bake on the shorter side.
7. Cool completely. Let the bars cool in the pan for 10 minutes, then lift out using the parchment overhang and transfer to a wire rack. Wait until fully cool before cutting – this prevents crumbling. For a perfectly executed Pumpkin Bars batch, always check the center temperature with a toothpick. And if you’re looking for an even more detailed guide, try this Pumpkin Bars Recipe that includes a cream cheese frosting variation.
Nutritional Benefits & Advantages
Pumpkin is a nutrient powerhouse. One cup of cooked pumpkin provides over 200% of your daily vitamin A needs (beta-carotene), plus vitamin C, potassium, and fiber. These Pumpkin Bars are lower in added sugar than many store-bought alternatives, and you can easily boost the fiber by using whole wheat flour. The combination of healthy fats (from oil or nuts) and complex carbohydrates makes them a satisfying snack that helps stabilize blood sugar. Plus, the spices – cinnamon and ginger – have anti-inflammatory properties. These bars are a great way to sneak vegetables into your family’s diet without anyone noticing.
Tips, Variations & Cooking Advice
– Flavor swaps: Replace pumpkin pie spice with 1 tsp cinnamon, 1/2 tsp nutmeg, 1/4 tsp ginger, and a pinch of cloves. Add a tablespoon of orange zest for a citrusy twist.
– Dietary adaptations: For gluten-free, use a 1:1 gluten-free baking flour blend. For dairy-free, the recipe is already dairy-free (no butter or milk). For vegan, substitute each egg with a flax egg (1 tbsp ground flaxseed + 3 tbsp water, let sit 5 minutes).
– Portion changes: Use an 8×8-inch pan for thicker, fudgier bars (bake 35–40 minutes). Double the recipe for a crowd.
– Alternative cooking methods: For a healthier twist, bake them as muffins (350°F for 18–20 minutes) or even as a loaf (50–55 minutes). The texture remains moist and tender.
Common Mistakes to Avoid
– Overmixing the batter: This develops gluten and makes the bars tough. Stir only until the flour disappears.
– Using cold eggs: They can cause the oil to seize, resulting in a dense texture. Let eggs sit at room temperature for 15 minutes.
– Skipping the parchment paper: Bars can stick badly. Always line the pan.
– Cutting while warm: The bars will crumble. Patience pays off – wait until they are completely cool.
– Overbaking: Pumpkin bars dry out quickly. Start checking at 20 minutes if your oven runs hot. The edges should be set but the center should still look slightly underdone.
Storage & Meal Prep Tips
– Room temperature: Store in an airtight container for up to 3 days. Place a paper towel in the container to absorb excess moisture.
– Refrigeration: Keeps for up to 5 days. Wrap tightly in plastic wrap or foil to prevent drying.
– Freezing: Wrap individual bars in plastic wrap, then place in a freezer-safe bag. Freeze for up to 3 months. Thaw overnight in the fridge or at room temperature for 30 minutes.
– Reheating: Warm in a 300°F oven for 5–7 minutes (or microwave for 15 seconds) to restore that fresh-baked texture. Avoid microwaving too long as it can make them rubbery.
Conclusion
These Pumpkin Bars are the perfect balance of easy preparation, wholesome ingredients, and irresistible flavor. Whether you’re prepping school snacks, hosting a fall gathering, or simply craving a spiced treat, this recipe delivers every time. The combination of moist pumpkin, warm spices, and a tender crumb makes them a family favorite. I encourage you to try this Pumpkin Bars Recipe this weekend – you’ll be amazed at how quickly they disappear. Share your results in the comments or tag me on social media. Happy baking!
FAQs
– Can I use fresh pumpkin instead of canned? Yes! Roast a sugar pumpkin, scoop out the flesh, and puree it. Drain any excess liquid – puree should be thicker than canned. Use the same amount (1 cup).
– Why are my bars too dense? Cause: Overmixing or too much liquid. Next time, measure flour correctly (spoon and level, don’t scoop). Also, make sure your pumpkin puree isn’t too watery.
– Can I reduce the sugar further? You can cut the granulated sugar to 1/2 cup, but the bars will be less sweet. The brown sugar adds moisture, so don’t reduce it below 2 tablespoons.
– How do I make a cream cheese frosting? Beat 4 oz softened cream cheese, 2 tbsp butter, 1 cup powdered sugar, and 1/2 tsp vanilla until smooth. Spread over cooled bars.
– Can I add nuts or chocolate chips? Absolutely! Fold in 1/2 cup of chopped pecans, walnuts, or dark chocolate chips before baking. For a nut-free version, use raisins or dried cranberries.