The Ultimate Guide to Perfectly Shredded Brussels Sprouts – A Crispy, Healthy Delight
Have you ever wondered why some Brussels sprouts taste like bitter rubber while others turn into golden, nutty, addictive bites? The secret lies in how you prepare them. When you master the art of cooking Brussels Sprouts, you unlock a world of flavor that transforms this humble veggie into a showstopper side dish. Making shredded Brussels sprouts at home isn’t just easy—it’s a game-changer for anyone who wants to eat more healthy vegetables without sacrificing taste. Whether you’re a busy parent, a meal-prepper, or a foodie, this recipe will show you how to get that perfect caramelized crunch every single time. Let’s dive into the simple steps that make shredded Brussels sprouts a must-have in your weekly rotation.
Ingredients & Kitchen Tools
Here’s what you need—plus a few optional swaps for flexibility.
Ingredients:
– 1 lb fresh Brussels sprouts (look for firm, bright green heads; avoid yellowing or loose leaves)
– 2 tbsp olive oil (or avocado oil for higher smoke point)
– 3 cloves garlic, minced (or 1 tsp garlic powder)
– ½ tsp salt (sea salt or kosher preferred)
– ¼ tsp black pepper, freshly ground
– 1 tbsp lemon juice (optional, for brightness)
– ¼ cup grated Parmesan (optional; omit for dairy-free)
Substitutions:
– Replace olive oil with coconut oil or ghee for a different flavor.
– No lemon? Use a splash of apple cider vinegar.
– For a nutty twist, add 2 tbsp toasted pine nuts or slivered almonds after cooking.
Kitchen Tools:
– Sharp chef’s knife (or a food processor with slicing disc for speed)
– Large cutting board
– Large skillet (12-inch cast iron works best for even browning)
– Wooden spoon or spatula
– Mixing bowl
– Microplane or zester (for optional lemon zest)
Prep Time & Cooking Schedule
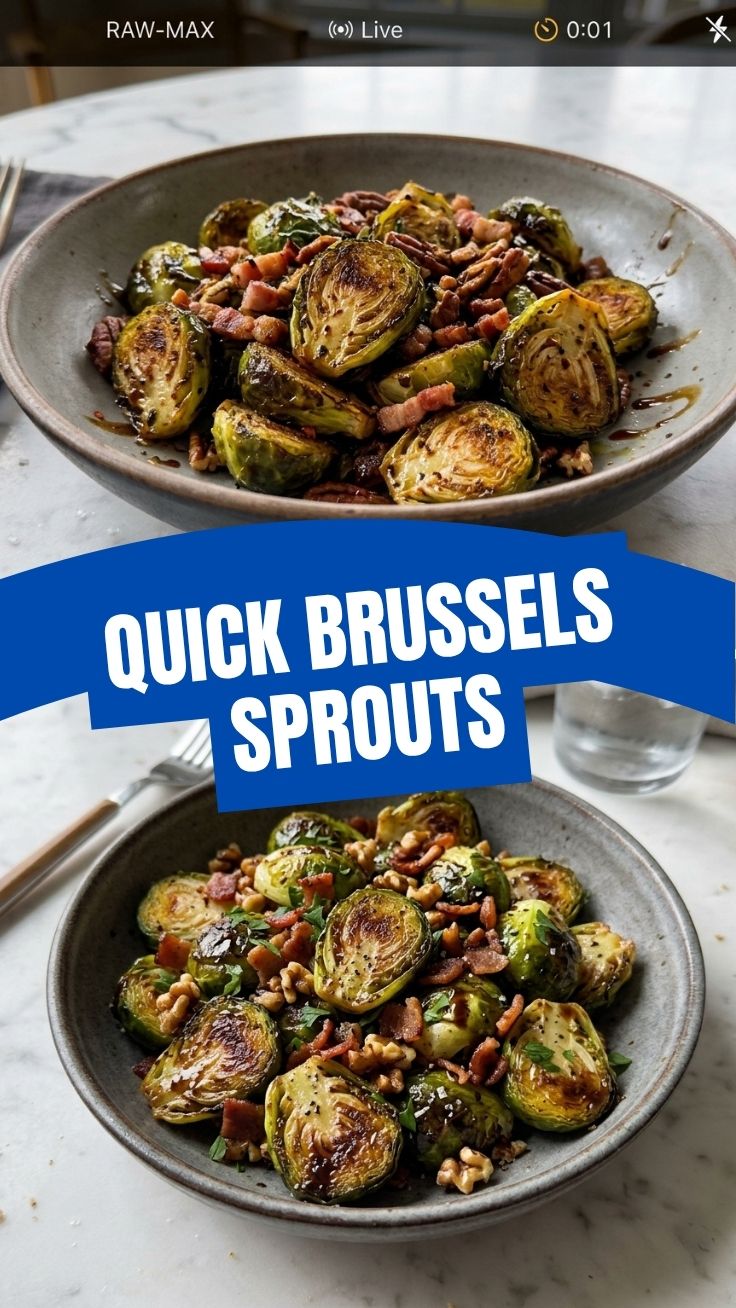
– Prep time: 10 minutes (washing, trimming, shredding)
– Cook time: 8–10 minutes (high heat for crisp edges)
– Resting time: 2 minutes (let them settle after cooking)
Planning tip: Shred the Brussels sprouts up to a day ahead and store in a sealed bag in the fridge. The cooking itself takes under 15 minutes, making this a perfect last-minute side for weeknight dinners or holiday feasts.
Step-by-Step Instructions
1. Prep the sprouts: Rinse Brussels sprouts under cold water. Trim the tough stem ends and remove any discolored outer leaves. Using a sharp knife, cut each sprout in half lengthwise, then lay flat and slice into thin ribbons about ⅛-inch thick. Alternatively, use a food processor with a slicing disc—just don’t overprocess.
2. Heat the skillet: Place your skillet over medium-high heat. Add olive oil and swirl to coat. Wait until the oil shimmers (about 30 seconds)—this ensures a good sear.
3. Start cooking: Add the shredded Brussels sprouts in a single layer. Don’t overcrowd; cook in batches if needed. Let them sit undisturbed for 2 minutes to develop a deep golden crust.
4. Add aromatics: Toss in minced garlic and stir-fry for 1 minute. Garlic burns fast, so keep it moving. Season with salt and pepper.
5. Finish crisp-tender: Continue cooking for 3–4 minutes, stirring every 45 seconds, until edges are browned and centers are tender but still have a slight bite. Shredded Brussels sprouts cook faster than whole ones—watch for that perfect texture.
6. Final touch: Remove from heat. Squeeze lemon juice over the top and toss. If using Parmesan, sprinkle now and let residual heat melt it slightly. Serve immediately.
Pro tip: Want extra crispiness? Increase heat to high for the last 2 minutes and add a tiny drizzle of honey or maple syrup. This balances bitterness and adds a beautiful glaze, turning these healthy vegetables into an irresistible caramelized treat.
Nutritional Benefits & Advantages
Shredded Brussels sprouts are nutrient-dense powerhouses. One cup (cooked) provides:
– Vitamin K: Over 130% of daily needs (supports bone health)
– Vitamin C: 80% DV (immune booster)
– Fiber: 4 grams (aids digestion and satiety)
– Antioxidants: Kaempferol and sulforaphane (linked to reduced inflammation)
Compared to whole roasted sprouts, shredding increases surface area, which means faster cooking and better caramelization without added fat. This makes healthy vegetables like Brussels sprouts more appealing to picky eaters. The quick sauté preserves more heat-sensitive vitamins than boiling or long roasting.
Tips Variations & Cooking Advice
– Flavor variations: Add crispy bacon bits, toasted walnuts, or dried cranberries after cooking. For an Asian twist, finish with sesame oil and soy sauce.
– Cooking method alternative: Oven-roast shredded sprouts at 425°F for 15 minutes, tossing halfway. Use parchment paper for easy cleanup.
– Dietary adaptations: This recipe is naturally gluten-free and vegan if you skip Parmesan. For low-FODMAP, omit garlic and use garlic-infused oil instead.
– Portion changes: Double the batch and use as a base for grain bowls with quinoa and roasted chickpeas.
Common Mistakes to Avoid
– Soggy results: The #1 mistake—washing sprouts and not drying them thoroughly. Wet sprouts steam instead of searing. Pat them bone-dry with a clean towel.
– Overcrowding the pan: Too many sprouts lowers pan temperature, causing steaming. Work in batches; the pan should never be more than half full.
– Underseasoning: Brussels sprouts need aggressive salt to counter bitterness. Taste early and adjust; a pinch of red pepper flakes also helps.
– Burnt garlic: Garlic cooks fast. Add it only in the last minute, not at the start.
Storage & Meal Prep Tips
– Refrigeration: Cool completely, then store in an airtight container. Keeps for up to 4 days.
– Freezing: Not recommended for sautéed sprouts—texture suffers. But frozen shredded raw sprouts work well; just thaw and pat dry before cooking.
– Reheating: Skillet over medium heat for 2–3 minutes with a tiny splash of water—brings back crispness. Avoid microwaving (turns them mushy).
– Meal prep hack: Cook a big batch on Sunday. Use cold sprouts in lunch salads or wrap in tortillas with hummus for a quick snack.
Conclusion
Mastering shredded Brussels sprouts opens the door to a world of effortlessly delicious, healthy vegetables that you’ll actually crave. By shredding them, you cut cooking time in half while maximizing flavor and nutrition. Whether you serve them alongside roast chicken, fold them into pasta, or enjoy them straight from the skillet, this technique guarantees consistent, crispy success. Try it tonight, and don’t forget to share your golden results in the comments—or tag us with your creative twists. Ready to elevate your veggie game? Your skillet is waiting.
FAQs
1. Can I use frozen Brussels sprouts for shredding?
Yes, but they release more water. Thaw completely, squeeze out moisture with a paper towel, then shred. Expect slightly less crispness than fresh.
2. Why are my shredded Brussels sprouts bitter?
Bitterness often comes from overcooking or old sprouts. Buy fresh (tight heads, no yellowing). Also, a pinch of sugar or a squeeze of lemon in the last minute neutralizes bitterness.
3. How do I make them extra crispy without deep frying?
Use a very hot pan (medium-high) and avoid moving the sprouts too early. Let them form a crust. A light dusting of cornstarch (1 tsp) before cooking also boosts crunch.
4. Can I make this dairy-free and vegan?
Absolutely. Omit Parmesan and use olive oil. For a cheesy flavor, add 1 tbsp nutritional yeast at the end.
5. What’s the best way to reheat leftovers without losing texture?
Reheat in a dry skillet over medium-high heat for 2 minutes. Add a splash of water and cover for 30 seconds to steam slightly, then uncover to re-crisp.
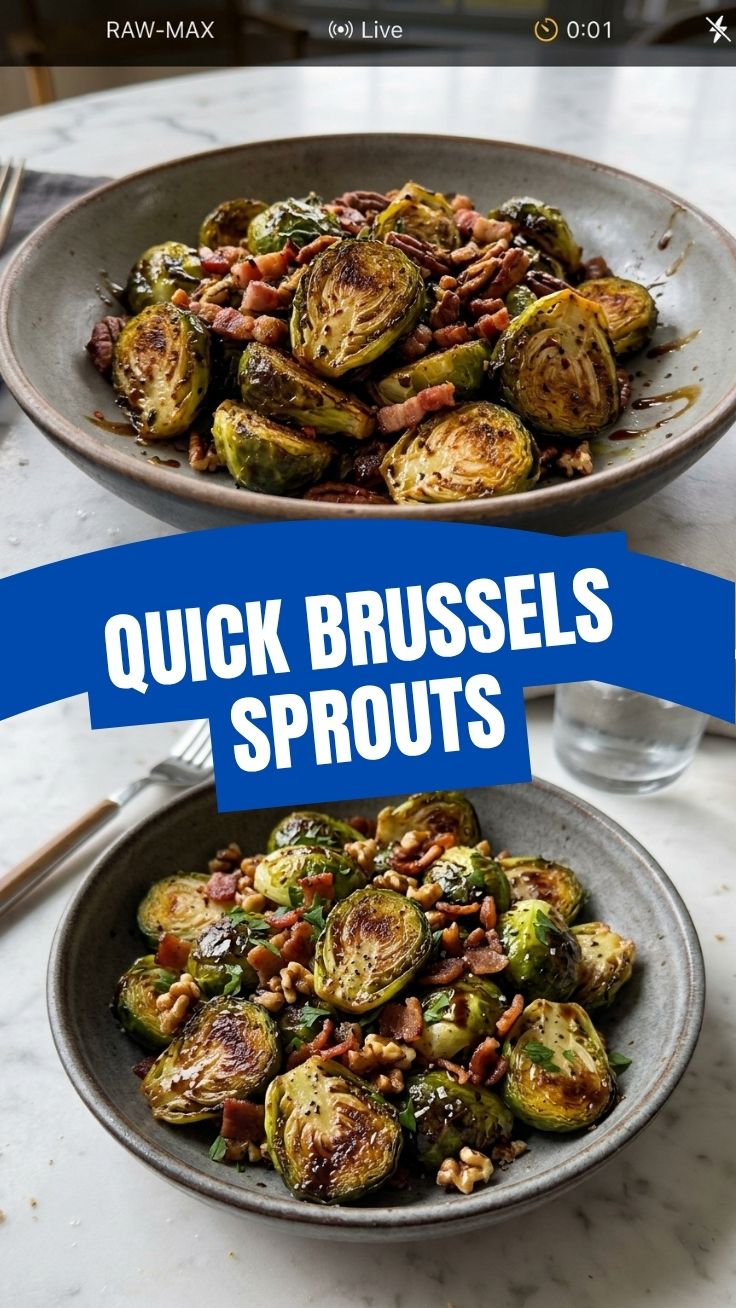
How to grow Brussels Sprouts in 7 easy steps
Ingredients
Equipment
Method
- Select a sunny spot in your garden that receives at least 6 hours of direct sunlight daily and has well-draining soil.
- Prepare the soil by enriching it with compost or aged manure to improve fertility and drainage. Aim for a pH between 6.0 and 7.0.
- If starting from seeds, sow them indoors 4-6 weeks before the last frost, about 1/2 inch deep. Transplant seedlings outdoors when they are 4-6 inches tall and after the danger of frost has passed.
- Space plants 18-24 inches apart in rows that are 2-3 feet apart, ensuring adequate air circulation.
- Water regularly, especially during dry spells, keeping the soil consistently moist but not waterlogged. Brussels sprouts need about 1-1.5 inches of water per week.
- Mulch around the base of the plants to retain moisture, suppress weeds, and regulate soil temperature.
- Provide support for taller plants using stakes to prevent them from toppling over, especially when laden with sprouts.
- Regularly inspect plants for common pests like cabbage worms, aphids, and flea beetles. Use insect netting or organic pest control methods if necessary.
- Ensure good air circulation and avoid overhead watering to prevent fungal diseases such as powdery mildew and downy mildew.
- Brussels sprouts are typically ready for harvest 90-100 days after planting. Begin harvesting from the bottom of the stalk when sprouts are firm and about 1-2 inches in diameter.
- Snap or cut the sprouts off the main stalk, removing any yellowing leaves as you go. Continue harvesting upwards as sprouts mature.
- In regions with mild winters, you can leave plants in the ground to continue producing sprouts. Provide a layer of mulch for insulation.
- For colder climates, consider harvesting the entire stalk before a hard freeze and storing it in a cool, dark place.
- Enjoy your fresh, home-grown Brussels sprouts! They can be roasted, steamed, sautéed, or added to various dishes.