The Ultimate Guide to a Protein-Packed Classic: Your New Go-To Lunch
Have you ever opened your fridge at noon, stared blankly at the leftovers, and wished you had something fresh, satisfying, and ready in under ten minutes? We have all been there. While a simple deli meat sandwich often feels like the default, there is a far superior option that delivers superior flavor, texture, and nutrition. Preparing a high-protein, creamy delight at home not only saves you money but also puts you in complete control of the ingredients, ensuring a healthier, more delicious meal than anything you can buy pre-made. This classic dish is the perfect canvas for creativity, and today, we are going to transform your lunch routine with the ultimate Tuna Salad recipe that changes everything.
Ingredients & Kitchen Tools
The beauty of this recipe lies in its simplicity and the quality of its components. Here is exactly what you will need.
Ingredients:
– Canned Tuna (2 cans, 5 oz each): Opt for tuna packed in water for a lighter texture or oil-packed for extra richness. Albacore offers a firmer, steak-like flake, while chunk light is more delicate and budget-friendly.
– Mayonnaise (⅓ cup): The creamy binder. For a tangier flavor, use full-fat mayo. For a lighter option, Greek yogurt or avocado can be substituted.
– Celery (1 stalk, finely diced): Provides a crucial crunch and freshness that cuts through the richness.
– Red Onion (¼ cup, finely chopped): Adds a sharp, pungent bite. Soak the diced onion in cold water for 5 minutes to mellow its flavor if desired.
– Fresh Lemon Juice (1 tablespoon): The acidity balances the fat and brightens the entire dish.
– Dijon Mustard (1 teaspoon): Adds a subtle heat and complexity.
– Fresh Dill (1 tablespoon, chopped) or 1 teaspoon dried: The herbaceous note is non-negotiable for classic flavor.
– Salt & Black Pepper (to taste): Essential for seasoning.
– Optional Add-ins: Chopped pickles, capers, hard-boiled egg, or a pinch of paprika.
Kitchen Tools:
– Mixing bowl (Medium-sized)
– Cutting board & Chef’s knife
– Can opener
– Fork or spatula (for mixing)
– Measuring spoons & cups
Prep Time & Cooking Schedule
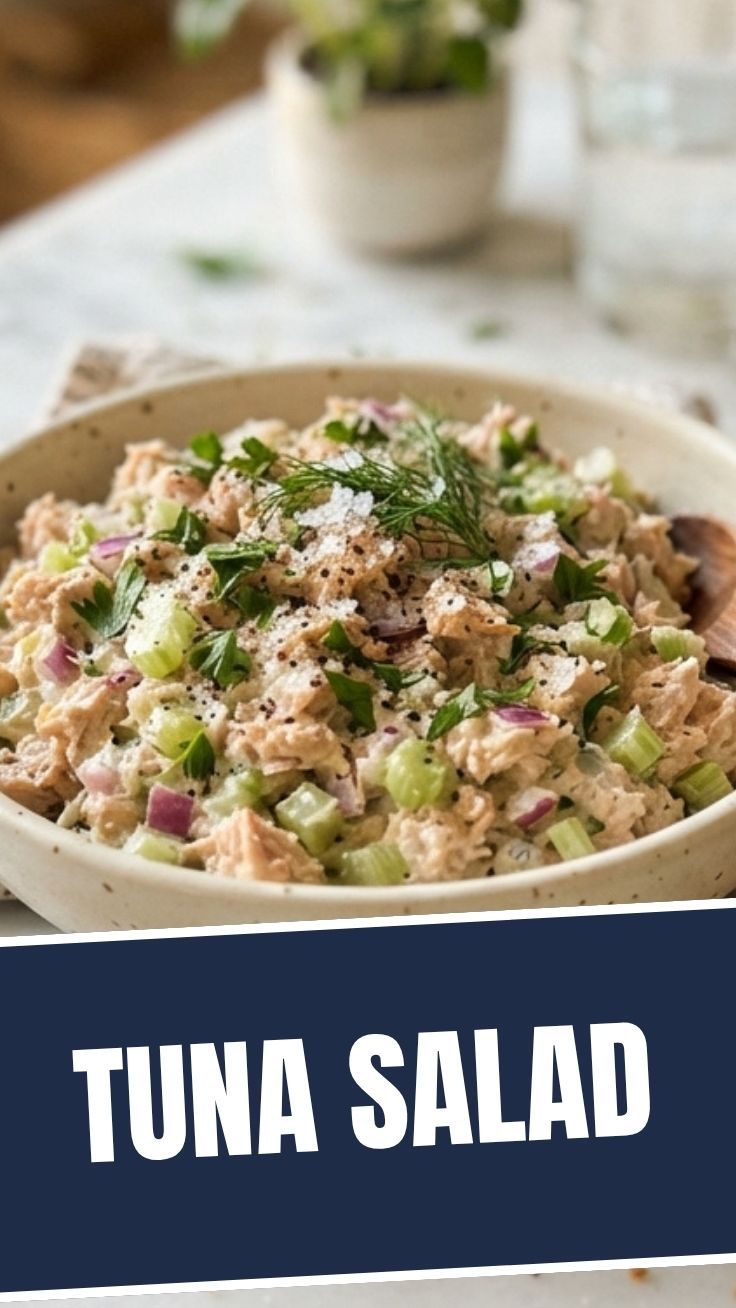
This is a “no-cook” masterpiece, making it perfect for busy weekdays. The active time is minimal, but a short rest in the refrigerator is highly recommended for flavor melding.
– Prep Time: 10 minutes
– Chill Time (Recommended): 30 minutes
– Total Time (with chilling): 40 minutes
How to Plan:
This recipe is ideal for meal prep. You can make the entire batch the night before. The flavors marry beautifully overnight, making your lunch the next day even better. If you are short on time, you can serve it immediately, but the texture and taste will be slightly less developed.
Step-by-Step Instructions
Follow these simple steps to create a perfectly balanced and flavorful dish.
1. Prepare the Tuna: Open the cans of tuna and drain them thoroughly. Press the tuna against the lid of the can or use a paper towel to squeeze out as much excess liquid as possible. This is the most critical step for preventing a watery final product. Place the drained tuna in your mixing bowl and use a fork to flake it into small, even pieces.
2. Chop the Vegetables: Finely dice the celery and red onion. The key here is uniformity; you want pieces that are small enough to distribute evenly but large enough to provide a noticeable crunch. Add them to the bowl with the tuna.
3. Combine the Dressing: In a small separate bowl, whisk together the mayonnaise, lemon juice, Dijon mustard, and fresh dill. This ensures the flavors are evenly incorporated before hitting the tuna.
4. Mix Everything: Pour the dressing over the tuna and vegetable mixture. Using a spatula or fork, gently fold everything together until all the tuna is coated, and the vegetables are evenly distributed. Avoid over-mixing, which can make the tuna mushy.
5. Season and Adjust: Taste your mixture. Add salt and black pepper to your preference. If it needs more tang, add another squeeze of lemon. If it tastes flat, add a pinch more salt. This is your chance to perfect the flavor.
6. Chill (Optional but Recommended): Cover the bowl and place it in the refrigerator for at least 30 minutes. This allows the flavors to meld and the texture to firm up.
7. Serve: Scoop the mixture onto your favorite bread, lettuce wraps, or crackers. For a heartier meal, try building a perfect Tuna Sandwich with fresh lettuce and tomato.
Nutritional Benefits & Advantages
This classic recipe is a powerhouse of nutrition. A single serving (about ½ cup) is packed with high-quality protein from the tuna, which is essential for muscle repair and satiety. Tuna is also a fantastic source of Omega-3 fatty acids, which support heart and brain health.
By making your own Tuna Salad, you control the fat content by choosing the type and amount of mayonnaise, significantly reducing unhealthy saturated fats found in many pre-packaged versions. The celery and onion add a dose of fiber and antioxidants, while the lemon juice provides a boost of Vitamin C. This dish is naturally low-carb and can easily be made gluten-free by serving it in a lettuce wrap or on its own.
Tips Variations & Cooking Advice
– Vary the Fat: Substitute half or all of the mayonnaise with plain Greek yogurt for a lighter, tangier, and higher-protein version. Mashed avocado also creates a creamy, dairy-free, and healthy-fat-rich alternative.
– Add a Crunch: Include chopped walnuts, pecans, or slivered almonds for a nutty flavor and extra protein. Diced apple or halved grapes also add a sweet, juicy crunch.
– Spice It Up: Add a pinch of cayenne pepper, a dash of hot sauce, or a tablespoon of finely chopped jalapeño for a spicy Tuna Sandwich.
– Herbal Swaps: Replace the dill with fresh parsley, chives, or tarragon for a completely different flavor profile. Curry powder (1-2 teaspoons) is another excellent, exotic option.
– Dietary Adaptations: This recipe is naturally gluten-free and low-carb. For a dairy-free version, use a vegan mayonnaise or avocado.
Common Mistakes to Avoid
1. Not Draining the Tuna Properly: This is the number one culprit for a watery, mushy salad. Squeeze the tuna dry. Your salad will be creamy, not wet.
2. Oversalting the Initial Mix: Tuna from a can can already be salty. Season after mixing the dressing and taste before adding salt. You can always add more, but you cannot take it away.
3. Using Bland Onions: Red onion is preferred for a reason; it has a bite. If your onion is mild, your salad will lack character. Soaking it in cold water removes the sting but keeps the flavor.
4. Overmixing: Mixing too vigorously will break the tuna into a paste-like consistency. Use a gentle folding motion to keep the texture flaky and pleasant.
5. Skipping the Chill Time: While edible immediately, the flavor is noticeably flat. The chill time is not just for temperature; it’s for flavor melding.
Storage & Meal Prep Tips
This recipe is an excellent candidate for meal prepping, saving you time throughout the week.
– Refrigeration: Store the prepared tuna salad in an airtight container in the refrigerator. It will stay fresh for 3-4 days. The flavors often improve after the first day.
– Freezing: Do not freeze this dish. The mayonnaise and dairy components will separate upon thawing, resulting in a grainy, watery texture. Freezing also ruins the crispness of the vegetables.
– Storage Hack: If you plan to make a Tuna Sandwich for lunch, store the tuna salad separately from the bread. Assemble the sandwich just before eating to prevent the bread from becoming soggy. For a lettuce wrap, store the lettuce leaves separately as well.
– Transportation: For a work or school lunch, place the tuna salad in a small container. Pack a separate bag of crackers, a lettuce cup, or slices of hearty bread. Assemble at your desk.
Conclusion
This simple yet transformative recipe proves that the best meals often come from mastering the basics. By focusing on quality ingredients, proper draining, and a perfectly balanced dressing, you can elevate a humble canned staple into a culinary highlight of your week. Whether you are building a classic Tuna Salad or crafting a satisfying Tuna Sandwich, this method guarantees a flavorful, nutritious, and incredibly satisfying result every single time.
Now, go ahead and make a batch. Your future self—the one with a delicious, protein-packed lunch ready to go—will thank you.
FAQs
1. Can I use oil-packed tuna?
Absolutely. Oil-packed tuna is richer and more flavorful. Simply drain it well, but do not press it as dry as water-packed tuna. You may want to slightly reduce the amount of mayonnaise you add to avoid an overly heavy salad.
2. My tuna salad tastes bland. What did I do wrong?
The most common reason is undersalting or a lack of acid. Tuna salad needs a good amount of salt to bring out its flavor. Also, ensure you added enough lemon juice. A final pinch of salt and an extra squeeze of lemon almost always fixes a bland batch.
3. How can I make this recipe egg-free or vegan?
For an egg-free version, use a vegan mayonnaise (like those made from aquafaba or avocado oil). For a completely vegan dish, replace the tuna with mashed chickpeas or crumbled firm tofu, and use vegan mayo. The rest of the ingredients remain the same.
4. Can I use a different type of fish?
Yes. This recipe works beautifully with canned salmon, mackerel, or sardines. Adjust the seasoning as needed, as some oily fish have a stronger flavor that pairs well with more lemon and herbs.
5. How do I prevent the red onion from being too strong?
If you find raw red onion overpowering, simply dice it and soak the pieces in a small bowl of ice water for 5-10 minutes before adding them to the mixture. Drain well before adding. This removes some of the sulfurous compounds, leaving a milder, sweeter flavor.
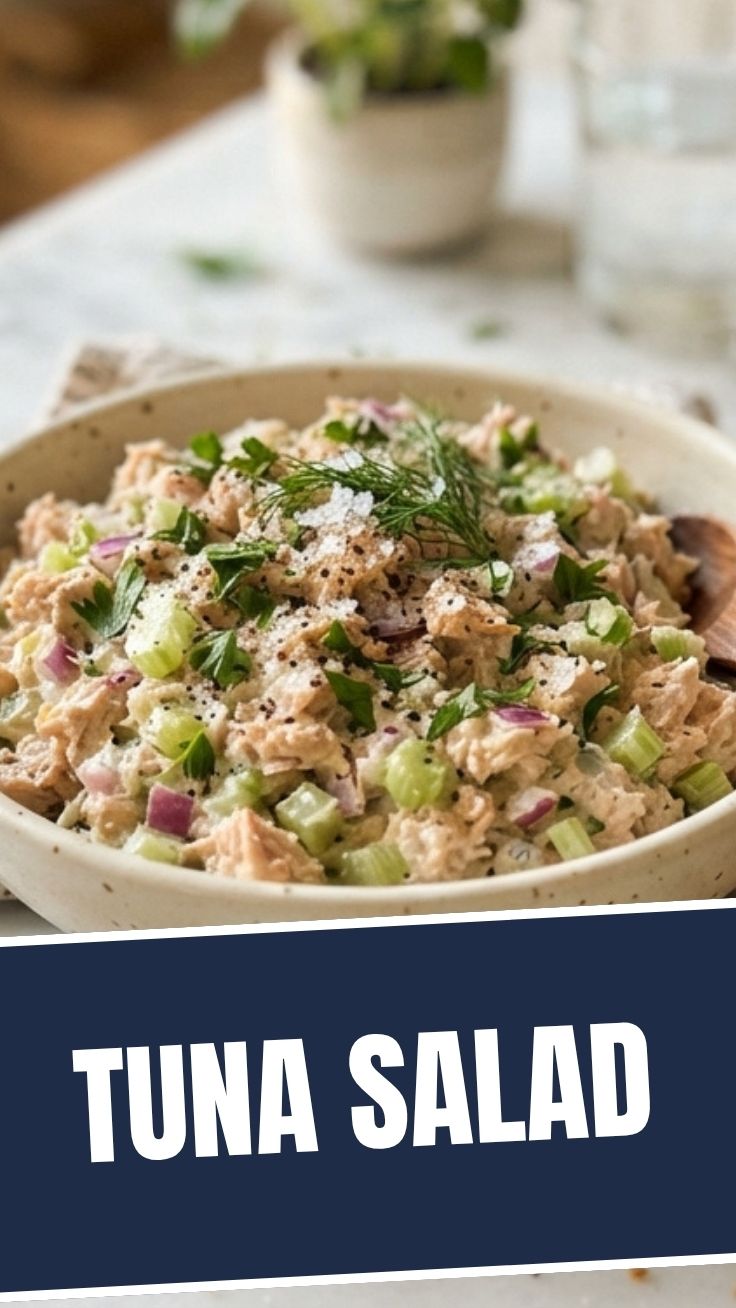
Quick way to grow Tuna Salad in 15 minutes.
Ingredients
Equipment
Method
- Drain the canned tuna thoroughly to remove excess liquid.
- In a medium bowl, combine the drained tuna, mayonnaise, chopped celery, and chopped red onion.
- Add Dijon mustard, salt, and black pepper to the mixture.
- Mix all ingredients well until evenly combined.
- Serve immediately on bread, crackers, or lettuce wraps, or chill for later.