The Ultimate Homemade Trail Mix: Energizing Hiking Snacks for Any Adventure
Have you ever reached for a store-bought trail mix only to find it loaded with artificial flavors, excessive sugar, and disappointing ingredients? You’re not alone. The solution? Crafting your own Trail Mix at home. Not only does this allow you to control every ingredient, but it also ensures you get the perfect balance of energy, taste, and nutrition. Whether you’re prepping for a long hike or need a quick school snack, this homemade Hiking Snacks recipe is your go-to. Let’s dive into why this DIY approach is a game-changer for your pantry and your health.
Ingredients & Kitchen Tools
Required Ingredients
– Rolled Oats (1 cup) – The base for crunch and sustained energy; opt for gluten-free if needed.
– Almonds (½ cup, raw) – Rich in healthy fats; sub with walnuts for a different texture.
– Dried Cherries (½ cup, unsweetened) – Natural sweetness and antioxidants; swap with cranberries or raisins.
– Dark Chocolate Chips (¼ cup, 70% cacao) – For a touch of indulgence; use dairy-free if desired.
– Coconut Flakes (¼ cup, unsweetened) – Adds tropical flavor; omit if calorie-conscious.
– Honey (2 tablespoons) – Binds the mix; sub with maple syrup for vegan option.
– Sea Salt (¼ teaspoon) – Enhances all flavors; use pink salt for extra minerals.
Kitchen Tools & Utensils
– Baking Sheet – For toasting ingredients; line with parchment paper for easy cleanup.
– Mixing Bowl – Large enough to toss everything; stainless steel or glass works best.
– Spatula – For even mixing; silicone preferred to avoid scratching bowls.
– Airtight Container – For storage; mason jars or BPA-free plastic containers ideal.
– Measuring Cups & Spoons – Precision is key; adjust based on your preferred sweet-salty ratio.
Optional Substitutions
– Protein Boost: Add ¼ cup roasted chickpeas or pumpkin seeds.
– Low-Sugar Option: Reduce honey to 1 tablespoon and increase dried fruit.
– Nut-Free Version: Replace almonds with sunflower seeds or toasted quinoa.
Prep Time & Cooking Schedule
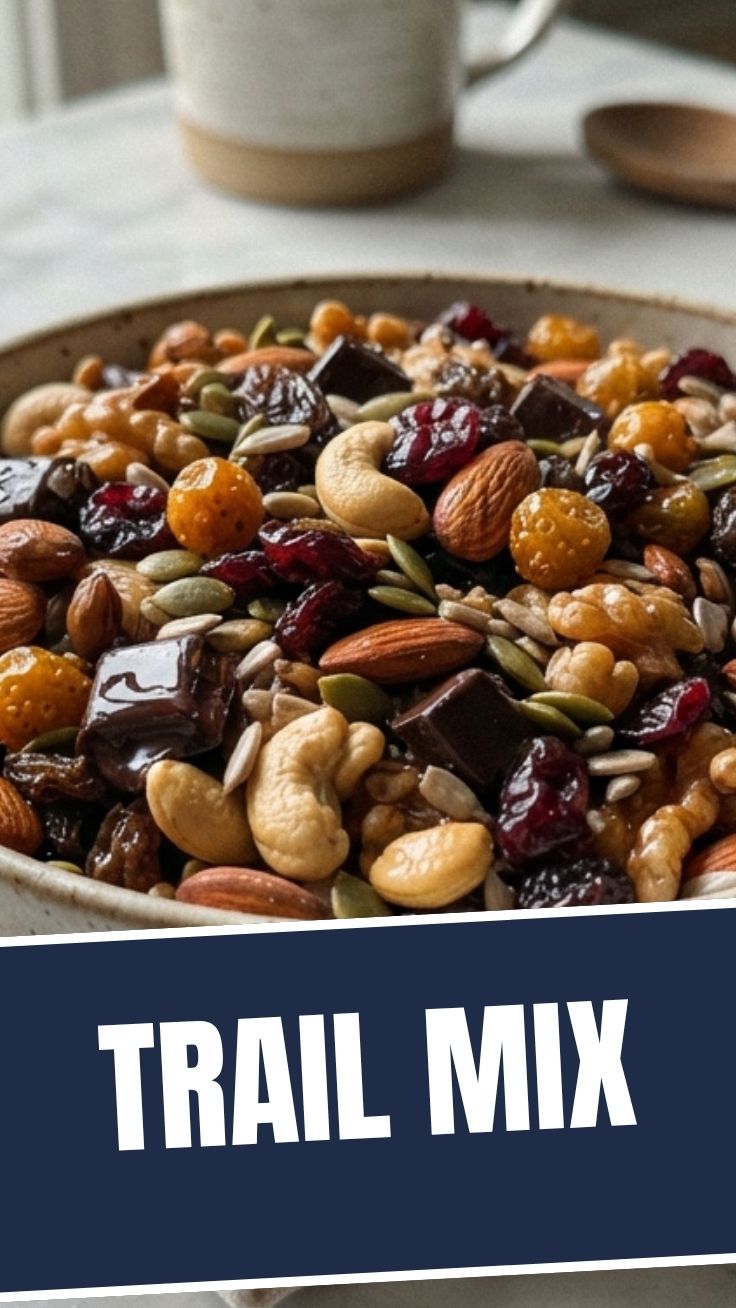
– Prep Time: 10 minutes – Includes measuring and gathering ingredients.
– Cook Time: 12 minutes – For toasting oats, almonds, and coconut flakes.
– Cooling Time: 15 minutes – Essential for achieving that signature crunch.
– Total Time: 37 minutes – Ideal for batch prepping on a Sunday afternoon.
Why this schedule matters: Toasting not only enhances flavor but also extends shelf life by reducing moisture. Plan this during a meal prep block to maximize efficiency—while the oven heats, you can wash dishes or chop veggies for other recipes.
Step-by-Step Instructions
1. Preheat Oven to 350°F (175°C) – Line your baking sheet with parchment paper to prevent sticking and simplify cleanup.
2. Toast Dry Ingredients – Spread oats, almonds, and coconut flakes evenly on the baking sheet. Bake for 8 minutes, stirring halfway through. Watch closely—nuts can burn fast. Look for a fragrant, golden color (around 7–9 minutes).
3. Add Honey and Salt – Remove from oven and drizzle honey over the warm mixture. Sprinkle sea salt, then toss gently with a spatula to coat evenly. Return to oven for 4 more minutes, checking at the 2-minute mark.
Pro Tip: For a savory kick, add ¼ teaspoon smoked paprika or chili flakes during this step.
4. Cool Completely – Transfer the mixture to a large mixing bowl. Allow to cool for 15 minutes without stirring. This step is critical—touching it too soon will release steam and ruin the crunch.
5. Combine with Dried Cherries and Chocolate – Once cooled, fold in dried cherries and dark chocolate chips. The residual heat will slightly melt the chocolate, creating delicious clusters.
Temperature Control: If your kitchen is warm, chill the dried fruit before adding to prevent premature melting.
6. Enjoy Immediately or Store – Taste and adjust sweetness or saltiness. For a more energizing Hiking Snacks experience, portion into small bags for grab-and-go convenience. This Trail Mix is designed to fuel your body without the crash.
Nutritional Benefits & Advantages
This homemade blend is a powerhouse of nutrients:
– Oats: Provide slow-digesting carbs for sustained energy, perfect for long hikes or school days.
– Almonds: Rich in vitamin E and magnesium, supporting muscle function and recovery.
– Dried Cherries: Contain anthocyanins, antioxidants that reduce post-exercise inflammation.
– Dark Chocolate: Boosts mood with flavonoids and provides a moderate caffeine lift without the jitters.
– Coconut Flakes: Offer medium-chain triglycerides (MCTs) for quick brain fuel.
Per Serving (¼ cup): Approximately 180 calories, 10g fat, 20g carbs, 5g protein, and 3g fiber. This balance keeps blood sugar stable, unlike sugary store-bought alternatives.
Tips Variations & Cooking Advice
– Tropical Twist: Swap almonds with macadamia nuts and add dried mango or pineapple.
– Spicy Savory: Use smoked almonds, omit honey, and add cumin and cayenne for a trail mix that pairs with lunch.
– Gluten-Free Adaptation: Ensure oats are certified gluten-free; used certified gluten-free pretzels for extra crunch.
– Vegan Option: Replace honey with brown rice syrup or agave nectar—it binds similarly without animal products.
– Portion Control: Pre-portion into ¼-cup servings using reusable snack bags; this prevents overeating and simplifies meal prep.
Common Mistakes to Avoid
– Over-toasting Dry Ingredients: Burnt nuts or oats impart a bitter taste. Set a timer and check at 7 minutes; remove immediately if browning too fast.
– Adding Chocolate Too Early: Warm chocolate melts into a sticky mess rather than creating chips. Always wait until the mixture is completely cool.
– Skipping the Salt: A pinch of salt balances sweetness and enhances every flavor. Without it, the mix tastes flat and sugary.
– Not Stirring Mid-Bake: Uneven toasting leads to soggy spots. Stir halfway through to ensure consistent crunch.
– Storing While Warm: Moisture from residual heat creates condensation, making the mix soft. Cool fully before sealing.
Storage & Meal Prep Tips
– Refrigeration: Store in an airtight container in the fridge for up to 3 weeks. This preserves freshness and prevents rancidity in nuts.
– Freezing: Portion into freezer-safe bags and freeze for up to 3 months. Thaw at room temperature for 15 minutes or eat straight from the freezer for a crunchy treat.
– Avoid Pantry Storage: While convenient, pantry storage (2 weeks max) risks moisture absorption and staleness. Always opt for fridge or freezer for longer shelf life.
– Reheating: If the mix loses crispness, spread on a baking sheet and warm at 300°F for 5 minutes. Cool before resealing.
Meal Prep Hack: Double the recipe and store in separate containers—one for pantry (eat within 2 weeks) and one for freezer (for future trips).
Conclusion
Crafting your own Trail Mix is more than a recipe—it’s a commitment to quality, flavor, and health. By controlling each ingredient, you avoid hidden sugars and artificial additives while creating a portable, energizing snack. This Hiking Snacks blend is tailored to your taste, whether you prefer sweet, savory, or spicy. The best part? It’s endlessly customizable and takes under 40 minutes from start to finish. Try this recipe this weekend, share your variations in the comments, and explore more healthy snack ideas on our site. Your next adventure deserves better fuel—start here.
FAQs
1. Can I use quick oats instead of rolled oats?
Quick oats work, but they have a finer texture and may become mushy during toasting. Use rolled oats for optimal crunch.
2. How can I make this nut-free for school lunches?
Replace almonds with roasted pumpkin seeds or sunflower seeds. Ensure your oats and chocolate are processed in nut-free facilities if allergies are severe.
3. Why did my chocolate melt into the mix?
This happens if the mixture isn’t fully cooled before adding chocolate. Wait at least 15 minutes after baking; you can even chill the bowl for 5 minutes.
4. Can I use fresh cherries instead of dried?
Fresh cherries have high moisture content and will spoil quickly. Stick to dried cherries for shelf stability and concentrated flavor.
5. How do I adjust the sweetness without losing binding?
Reduce honey to 1 tablespoon and add a splash of vanilla extract. The salt will enhance natural sweetness, so trust your taste buds.
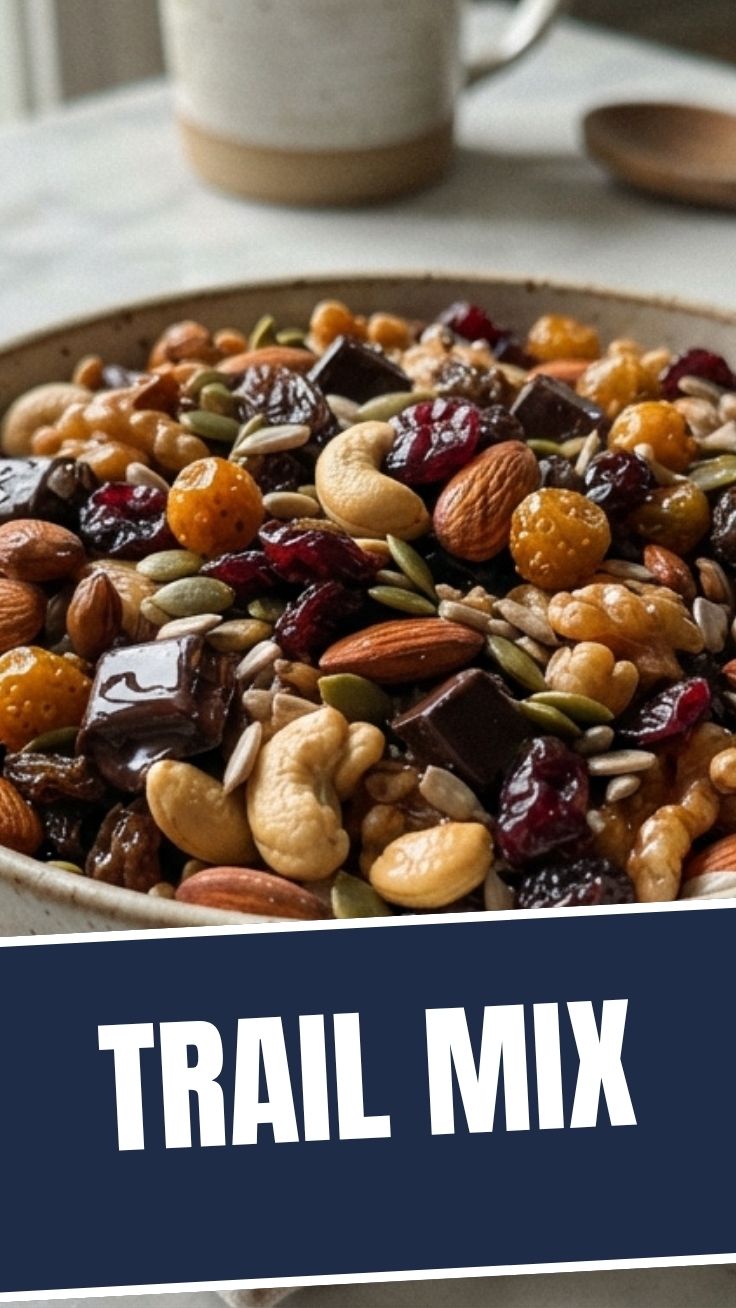
How to grow a 7-ingredient trail mix
Ingredients
Equipment
Method
- Select a large bowl as your "garden plot" to hold all your trail mix components.
- Combine all your chosen dry ingredients, such as nuts, seeds, dried fruit, and chocolate chips, in the bowl.
- Gently mix all the ingredients together, ensuring an even distribution of flavors and textures.
- Once combined, transfer your "harvested" trail mix into airtight containers for storage.
- Enjoy your homemade trail mix as a quick snack, for hiking, or any time you need an energy boost.