The Ultimate Guide to Perfectly Popped Popcorn: From Kernels to Gourmet Creations
Have you ever wondered why movie theater popcorn tastes so much better than what you make at home? The secret isn’t a special type of kernel or expensive equipment—it’s all about technique, temperature, and timing. Preparing popcorn from scratch at home not only saves money but also gives you complete control over flavors, ingredients, and nutritional content. Whether you’re craving a classic buttery snack or an adventurous gourmet creation, learning how to master Popcorn can transform your snacking experience. In this comprehensive guide, we’ll walk you through every step, from selecting the right equipment to troubleshooting common mishaps, so you can enjoy restaurant-quality results in your own kitchen.
Ingredients & Kitchen Tools
Essential Ingredients
– Popcorn kernels (1/2 cup): Use high-quality, fresh kernels for the best pop rate. Avoid old kernels that may have dried out.
– Oil (3 tablespoons): Coconut oil gives that classic theater flavor, while avocado oil is a neutral, high-smoke-point option. Canola or vegetable oil also works well.
– Salt (1 teaspoon, fine): Popcorn salt or finely ground sea salt adheres better than coarse salt.
– Butter (optional, 2-4 tablespoons): Clarified butter (ghee) prevents burning and provides richer flavor.
Optional Flavorings
– Nutritional yeast for cheesy flavor
– Cinnamon and sugar for sweet variations
– Smoked paprika or chili powder for heat
– Truffle oil for gourmet appeal
Kitchen Tools
– Large heavy-bottomed pot (6-8 quart) with lid: Stainless steel or enameled cast iron works best.
– Popcorn machine: For consistent results with less effort. Hot air poppers create fluffier kernels with less oil.
– Heat-resistant spatula or wooden spoon: For stirring and seasoning.
– Large mixing bowl: For tossing with seasonings.
– Measuring cups and spoons: For precision.
Substitutions
– No oil? Use water or broth for oil-free “stovetop” popping (watch carefully).
– No butter? Try coconut oil or ghee for dairy-free alternatives.
– No popcorn salt? Grind regular salt in a spice grinder or mortar and pestle.
Prep Time & Cooking Schedule
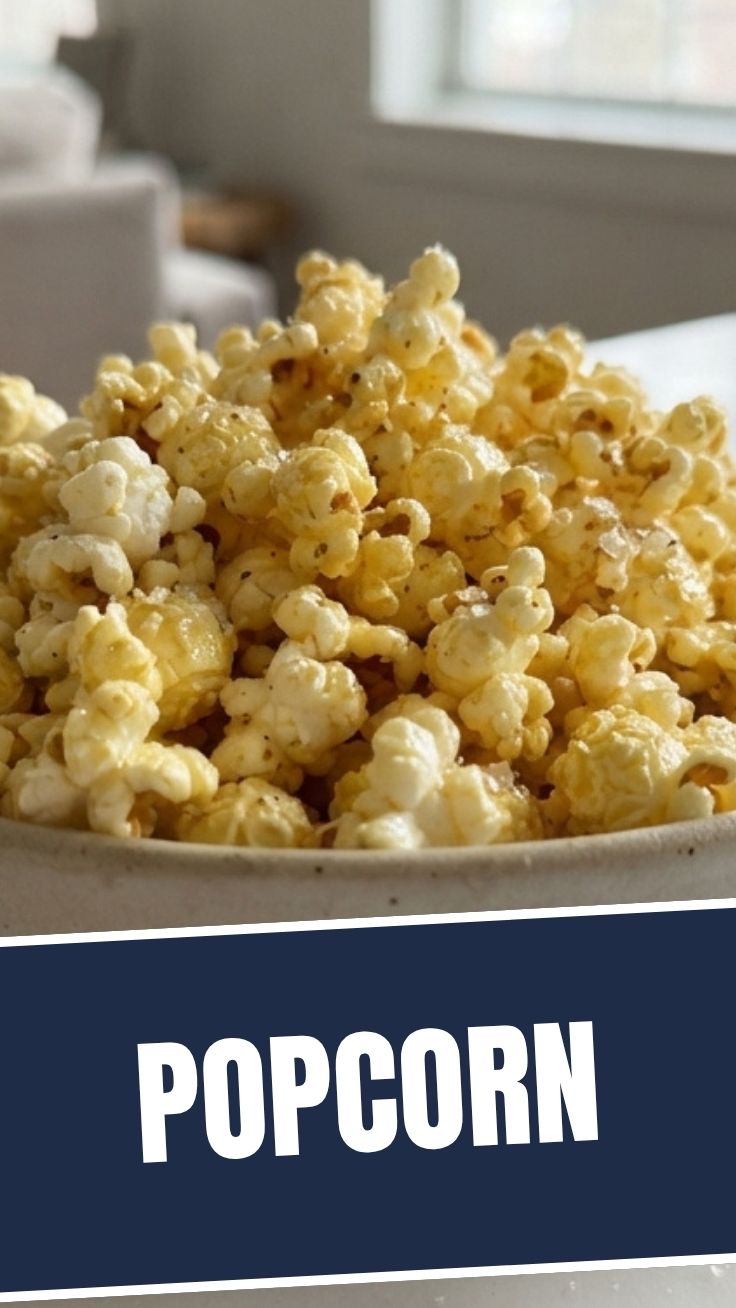
– Prep time: 5 minutes (gather ingredients, measure oil and kernels)
– Cooking time: 8-12 minutes (including oil heating and popping)
– Resting time: 2-3 minutes (for seasoning to adhere and kernels to settle)
– Total time: Approximately 15-20 minutes
Planning tip: For movie night, start popping just before the previews begin. Popcorn stays fresh and crispy for about 2-3 hours in an airtight container, but it’s best served within 30 minutes.
Step-by-Step Instructions
1. Heat the oil: Place the pot on medium-high heat and add the oil. Add 2-3 test kernels and cover the pot. When you hear them pop, the oil is ready.
2. Add the remaining kernels: Pour in the 1/2 cup of kernels in an even layer. Cover with the lid and shake gently to distribute the oil.
3. Listen and shake: Once popping begins, shake the pot occasionally to prevent burning. You’ll hear rapid popping that gradually slows down. This is where mastering Popcorn really matters—wait until there are 2-3 seconds between pops, then remove from heat immediately.
4. Season while warm: Transfer to a large bowl. For butter, melt it separately and drizzle over. Sprinkle salt and toss to coat evenly.
5. Serve immediately: For best texture, serve within 15-20 minutes. If using a Popcorn machine, follow manufacturer’s instructions for oil and kernel amounts.
Pro tip: For extra crispy kernels, let them sit in a single layer on a baking sheet for 5 minutes before serving.
Nutritional Benefits & Advantages
Popcorn is a whole grain packed with fiber—one serving (3 cups air-popped) provides about 3.5 grams of fiber, or 14% of the daily recommended intake. It’s also rich in polyphenols, antioxidants that help reduce inflammation and fight free radicals. Unlike many processed snacks, popcorn is naturally gluten-free, low in calories (about 90 calories per 3-cup serving when air-popped), and contains no added sugars or preservatives.
The key health advantage lies in preparation: air-popped or lightly oiled popcorn is a nutritious alternative to chips or pretzels. For those monitoring their heart health, using avocado oil adds heart-healthy monounsaturated fats, while nutritional yeast provides B vitamins and a cheese-like flavor without dairy.
Tips Variations & Cooking Advice
Flavor Variations
– Classic Movie Theater: Use coconut oil and fine popcorn salt. Add 2 tablespoons of clarified butter for authentic flavor.
– Spicy Chili Lime: Toss with chili powder, lime zest, and a pinch of cayenne.
– Sweet Cinnamon: Mix melted coconut oil with cinnamon and a touch of maple syrup before drizzling.
– Herb & Garlic: Combine dried rosemary, thyme, garlic powder, and grated Parmesan.
Dietary Adaptations
– Gluten-free: As long as no cross-contamination occurs, popcorn is naturally gluten-free.
– Dairy-free: Use coconut oil or avocado oil instead of butter. Nutritional yeast adds cheesy flavor.
– Low-sodium: Use herb-based seasonings like garlic powder, onion powder, and smoked paprika.
Cooking Method Variations
– Air popper: Produces fluffy, low-fat popcorn. Season immediately after popping for best adhesion.
– Microwave: Place 1/4 cup kernels in a paper bag, fold the top, and microwave 2-3 minutes. Watch carefully to avoid burning.
– Stovetop: Offers best control over oil amount and flavor development.
Common Mistakes to Avoid
– Mistake: Using too little oil causes dry, unpopped kernels. Solution: Use at least 2 tablespoons of oil per 1/2 cup of kernels.
– Mistake: Overcrowding the pot leads to steam instead of proper popping. Solution: Use a pot large enough to hold kernels in a single layer before they pop.
– Mistake: Opening the lid too early releases steam and creates soggy popcorn. Solution: Keep the lid on until popping slows significantly.
– Mistake: Adding salt too late means it won’t stick. Solution: Season immediately while kernels are still warm and slightly oily.
– Mistake: Storing popcorn while warm causes condensation and sogginess. Solution: Cool completely before storing in an airtight container.
Storage & Meal Prep Tips
– Refrigeration: Not recommended—popcorn absorbs moisture and becomes stale quickly.
– Freezing: Popcorn can be frozen for up to 3 months in a freezer-safe, airtight bag. Thaw at room temperature for 15 minutes before serving.
– Room temperature: Store in an airtight container away from heat and light for up to 1 week. Add a silica gel packet or a piece of bread to absorb excess moisture.
– Reheating: Spread on a baking sheet and warm in a 300°F oven for 5 minutes to restore crispiness. Avoid microwaving, which makes it tough.
Conclusion
Perfecting homemade popcorn is one of the most rewarding kitchen skills you can develop—it’s quick, affordable, and endlessly customizable. By mastering the art of temperature control, seasoning timing, and proper storage, you can create snacks that rival anything from the theater or gourmet shop. Remember that using a Popcorn approach means focusing on quality ingredients and technique, while a Popcorn machine can help maintain consistency for larger batches. Whether you’re preparing snacks for a party, a cozy movie night, or a healthy afternoon treat, these methods will ensure every kernel pops to perfection. Try this recipe today, share your flavor creations in the comments, and explore our guide to gourmet seasonings for endless inspiration!
FAQs
1. Why do my popcorn kernels burn before they pop?
Burning usually happens when the oil heats too quickly or the pot is too thin. Use medium-high heat and a heavy-bottomed pot that distributes heat evenly. Add test kernels first to ensure the oil is ready before adding the rest.
2. Can I use olive oil for popcorn?
Extra virgin olive oil has a low smoke point and will burn. Use light olive oil or refined avocado oil instead. For flavor, drizzle extra virgin olive oil over finished popcorn.
3. How do I prevent soggy popcorn?
Sogginess occurs from steam trapped in the pot or from storing warm popcorn. Keep the lid slightly ajar for the last 30 seconds of popping to release steam, and cool completely before storing.
4. Is air-popped or oil-popped popcorn healthier?
Air-popped popcorn has fewer calories and less fat (about 90 calories per 3 cups with no oil). Oil-popped popcorn has more flavor but more calories. For a middle ground, use just 1-2 teaspoons of oil per 1/2 cup kernels.
5. Why won’t my popcorn pop?
Old or dried-out kernels lose moisture needed for popping. Check the harvest date on your package—kernels older than 6 months may have reduced pop rates. Store kernels in an airtight container in a cool, dark place.
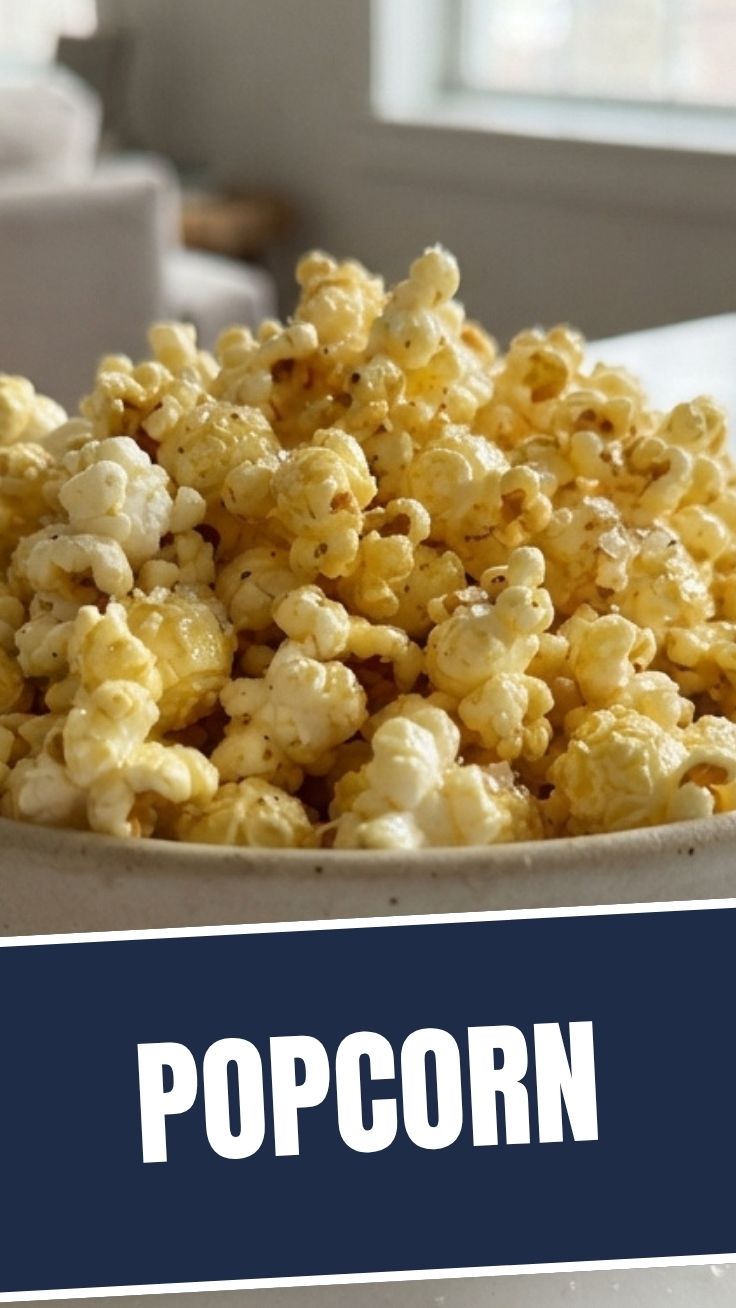
Best way to grow Popcorn in 5 StepsPopcorn
Ingredients
Equipment
Method
- Choose a sunny location with well-drained soil and plant popcorn seeds 1 inch deep and 6-8 inches apart in rows 30-36 inches apart.
- Ensure the soil pH is between 6.0 and 7.0 for optimal growth.
- Water regularly, especially during dry periods, providing about 1 inch of water per week.
- Fertilize with a balanced fertilizer when plants are 1 foot tall, and then again when they begin to tassel.
- Keep the area weed-free to prevent competition for nutrients and water.
- Plant popcorn in blocks of at least four rows to ensure good pollination, which is crucial for full kernel development.
- Harvest popcorn when the kernels are hard and the husks are dry and brown, typically in late summer or early fall.
- Check for readiness by piercing a kernel with your fingernail; if it leaves a dent, it's ready.
- After harvesting, remove the husks and hang the ears in a cool, dry, well-ventilated area for several weeks to dry completely.
- Once fully dried, remove the kernels from the cobs and store them in airtight containers in a cool, dark place.