Why Homemade Turkey Gravy Beats Store-Bought Every Time
Have you ever sat down to a holiday meal, only to find the gravy lacks that deep, savory richness that makes everything better? If you’ve been relying on store-bought packets or canned versions, you’re missing out. Learning to make Turkey Gravy from scratch is not only simpler than you think, but it also transforms your entire plate with natural flavor and silky texture. Preparing this essential condiment at home allows you to control the salt, avoid preservatives, and create a truly memorable dish that complements your Thanksgiving Turkey perfectly. Let’s dive into how you can master this holiday staple with confidence.
Ingredients & Kitchen Tools
Essential Ingredients
– Turkey drippings (from your roasted bird): The flavorful base; if short, use unsalted chicken broth.
– Butter (unsalted): Adds richness and helps create a smooth roux.
– All-purpose flour (or gluten-free flour blend): Thickens the gravy without lumps.
– Chicken or turkey broth (low-sodium): Adjusts consistency and deepens flavor.
– Salt and black pepper: Season to taste; start with ½ teaspoon salt.
– Fresh herbs (thyme or rosemary sprigs): Optional but recommended for aromatic depth.
Kitchen Tools
– Fat separator (or a glass measuring cup): Removes excess fat for a cleaner taste.
– Whisk (preferably balloon-style): Prevents lumps and ensures smooth texture.
– Saucepan (medium-sized): Even heat distribution for roux-making.
– Fine-mesh strainer: Strains out solids for a silky finish.
Optional Substitutions
– Broth swaps: Use vegetable broth for a vegetarian version; add soy sauce for umami.
– Dairy-free: Replace butter with olive oil or vegan butter; use cornstarch instead of flour.
– Flavor boosters: Add a splash of white wine or Worcestershire sauce.
Prep Time & Cooking Schedule
– Prep time: 5 minutes (gather ingredients, strain drippings)
– Cook time: 10–15 minutes (active stirring)
– Resting time: 5 minutes (thickens as it cools)
– Total time: Around 20 minutes
Plan to make your gravy after the bird rests, while the drippings are still warm. This timing ensures you capture the caramelized bits from the roasting pan—the secret to unmatched flavor.
Step-by-Step Instructions
1. Strain and separate drippings: After removing your roasted Thanksgiving Turkey, pour pan juices through a fine-mesh strainer into a fat separator or measuring cup. Let it sit for 2–3 minutes until fat rises to the top. Skim off most fat, reserving 4–5 tablespoons for the roux.
2. Make the roux: In a medium saucepan over medium heat, melt 4 tablespoons butter (or use the reserved fat). Whisk in 4 tablespoons all-purpose flour. Cook for 1–2 minutes, stirring constantly, until the mixture turns a golden-brown color—this is where the nutty flavor develops.
3. Add liquid gradually: Slowly pour in 2 cups of the defatted drippings plus enough broth to make 3 cups total, whisking continuously to prevent lumps. Start with a thin stream, then increase as the mixture thickens.
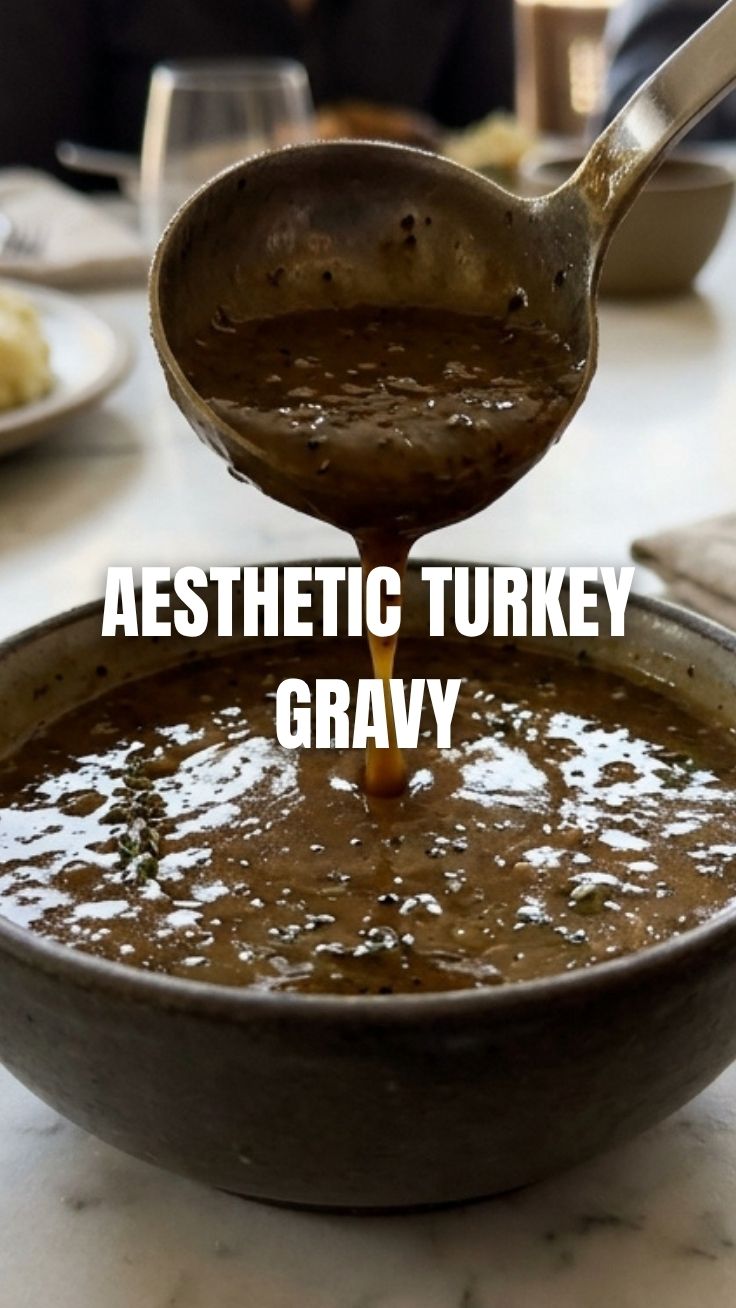
4. Simmer and season: Bring to a gentle boil, then reduce heat to low. Simmer for 3–5 minutes, stirring occasionally, until the gravy coats the back of a spoon. This is when you adjust texture and seasoning. To perfect your Turkey Gravy, add salt and pepper in small increments. For extra depth, stir in a few fresh thyme leaves.
5. Final strain and serve: Pour through a fine-mesh strainer for a silky finish (optional). Serve hot alongside your carved turkey.
Tip: If the gravy seems too thin, whisk in a slurry of 1 tablespoon cornstarch mixed with 2 tablespoons cold water. For a thinner consistency, add warm broth a tablespoon at a time.
Nutritional Benefits & Advantages
Homemade turkey gravy offers significant advantages over processed versions:
– Lower sodium: You control the salt—store-bought packets often contain 300–500mg per serving.
– No artificial additives: No MSG, preservatives, or stabilizers.
– Rich in protein: From the turkey drippings and broth, supporting muscle health.
– Healthy fats: Butter provides fat-soluble vitamins A, D, E, and K.
– Antioxidants: Fresh herbs like thyme add anti-inflammatory compounds.
A ¼-cup serving contains roughly 60–80 calories, 5–7g fat, and 2–3g protein—making it a nutrient-dense complement to your meal.
Tips Variations & Cooking Advice
Flavor Variations
– Herb-infused: Add sage, rosemary, or bay leaves while simmering.
– Mushroom gravy: Sauté sliced mushrooms in butter before adding flour; swap some broth with mushroom stock.
– Smoky twist: Use smoked paprika or a dash of liquid smoke.
– Wine-enriched: Deglaze the roasting pan with ¼ cup dry white wine before adding drippings.
Dietary Adaptations
– Gluten-free: Replace all-purpose flour with equal parts cornstarch or arrowroot powder.
– Dairy-free: Use olive oil or vegan butter; cornstarch works best for thickening.
– Low-fat: Remove all visible fat from drippings; use fat-free broth.
Alternative Methods
– Slow cooker: Combine all ingredients (except fresh herbs) and cook on low for 2–3 hours; thicken with cornstarch at the end.
– Instant Pot: Use the sauté function for roux, then add liquids and pressure cook for 5 minutes.
Common Mistakes to Avoid
– Skipping the roux cook time: Undercooked flour tastes raw and pasty. Cook until golden for nutty flavor.
– Adding liquid too fast: Prevents lumps. Add in a slow, steady stream while whisking.
– Over-seasoning early: Salt concentrates as liquid reduces. Season near the end.
– Using cold liquid: Creates lumps. Warm broth or drippings to room temperature before adding.
– Neglecting the strainer: Bits of herb stems or cooked skin can ruin the silky texture.
– Letting it cool uncovered: Skin forms quickly. Keep warm with a lid or reheat gently.
Storage & Meal Prep Tips
Refrigeration
– How long: 4–5 days in an airtight container.
– How to store: Cool to room temperature (within 2 hours), then transfer to a glass jar or container.
– Reheating: Reheat gently on the stovetop over low heat, whisking in a splash of broth if it thickens too much.
Freezing
– How long: Up to 3 months.
– How to freeze: Pour cooled gravy into freezer-safe bags or containers; leave ½-inch headspace for expansion. Label with date.
– Thawing: Overnight in the refrigerator; reheat slowly.
– Texture tip: Freezing may break down the starch structure slightly—whisk vigorously after reheating.
Meal Prep
– Make ahead: Prepare the roux base and liquid separately; combine and reheat before serving.
– Double batch: Freeze half for future use.
Conclusion
Making Turkey Gravy from scratch is a rewarding skill that elevates any holiday meal. By using natural drippings from your Thanksgiving Turkey, you create a rich, flavorful sauce that’s free from artificial additives and tailored to your taste. Remember to control your temperature, season gradually, and strain for a silky finish. Whether you’re a seasoned cook or a beginner, this recipe guarantees results that will impress your family and friends. Try it this holiday season, and don’t forget to share your gravy success stories in the comments below! If you enjoyed this recipe, explore our guide to perfect mashed potatoes or stuffing variations for a complete feast.
FAQs
Q1: Can I use cornstarch instead of flour?
Yes, cornstarch is a 1:1 substitute by volume for thickening. Mix with an equal amount of cold water before adding to avoid clumping.
Q2: My gravy turned out salty. How can I fix it?
Add a peeled raw potato slice to the simmering gravy for 10 minutes—the potato absorbs excess salt. Alternatively, dilute with unsalted broth.
Q3: Can I make gravy without drippings?
Absolutely. Use high-quality unsalted chicken broth plus 2–3 tablespoons of butter for richness. Add a dash of soy sauce or Worcestershire for depth.
Q4: How do I prevent lumps in my gravy?
Whisk continuously while adding liquid in a thin stream. If lumps form, blend the gravy with an immersion blender or strain through a fine-mesh sieve.
Q5: Can I make this gravy dairy-free?
Yes. Replace butter with olive oil, coconut oil, or vegan butter. Use cornstarch (mixed with cold water) instead of flour for thickening to avoid graininess.
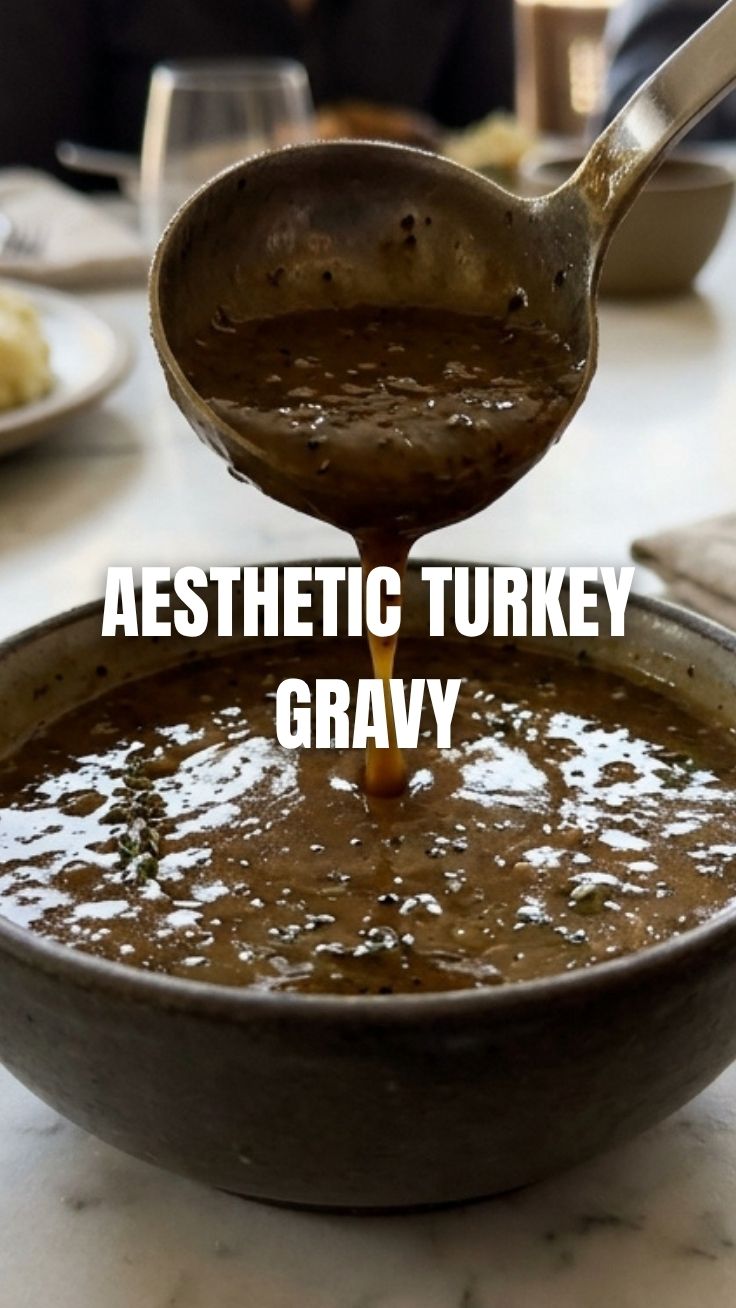
Quick way to grow delicious Turkey Gravy with 3 easy stepsTurkey Gravy
Ingredients
Equipment
Method
- Separate the turkey drippings from the fat, reserving 2 cups of the drippings.
- In a saucepan, whisk the flour into the reserved turkey drippings until smooth.
- Gradually whisk in the broth, bringing the mixture to a simmer.
- Continue to whisk until the gravy thickens to your desired consistency, then season with salt and pepper.