Are You Still Buying Store-Bought Desserts? This Homemade Recipe Changes Everything
What’s the one dessert that never fails to bring a smile to everyone’s face? That’s right, the classic Rice Krispie Treats are a staple of childhood nostalgia and simple dessert joy. While you can buy pre-packaged versions, nothing compares to making a batch of fresh Rice Krispie squares at home. The homemade version gives you control over texture, sweetness, and freshness—plus, you avoid the stale, hard edges that often come with store-bought options. Whether you’re preparing for a party, a school bake sale, or just a cozy weekend treat, learning this simple recipe will save you money and deliver far superior flavor.
Ingredients & Kitchen Tools
For the base recipe, you’ll need:
– 3 tablespoons unsalted butter – Adds richness and helps prevent sticking. Use salted butter if you prefer a subtle savory contrast, but reduce any added salt.
– 1 package (10 oz) marshmallows – Standard mini marshmallows melt fastest. For a gourmet twist, try vanilla bean or strawberry-flavored marshmallows.
– 6 cups crispy rice cereal – The classic choice. Gluten-free versions work perfectly, and puffed rice blends add extra crunch.
– 1/4 teaspoon salt – Balances sweetness and enhances flavor. Omit if using salted butter.
– Optional flavorings – 1 teaspoon vanilla extract, 1/2 cup chocolate chips, or 1/4 cup peanut butter for added depth.
Essential tools:
– Large non-stick pot or saucepan – Crucial for easy cleanup and even melting.
– Wooden spoon or silicone spatula – Heat-resistant and gentle on non-stick surfaces.
– 9×13-inch baking pan – Produces classic thick squares. A 9×9-inch pan yields thicker, extra-chewy treats.
– Parchment paper or butter wrapper – For lining the pan, ensuring effortless removal.
– Butter knife or offset spatula – For smoothing the mixture evenly.
Prep Time & Cooking Schedule
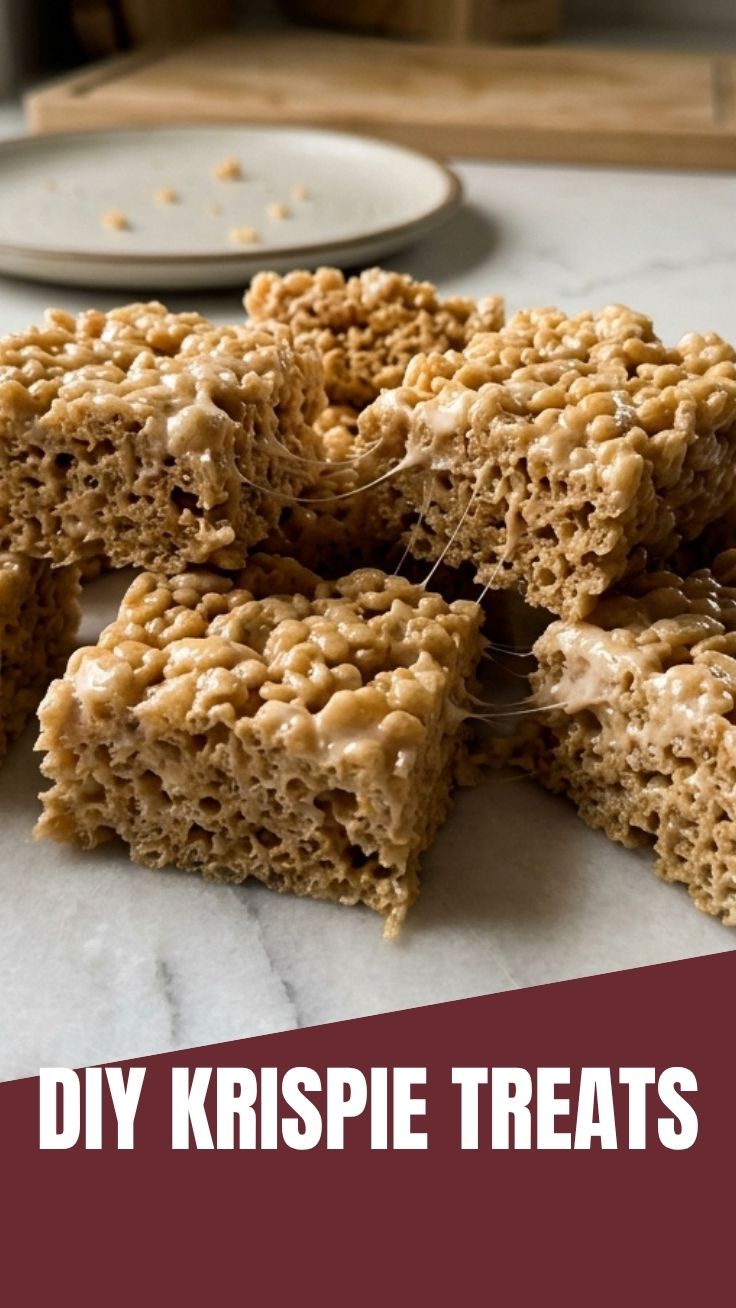
Timing is everything when making these treats. The entire process from start to finish takes about 20 minutes of active work, but you’ll need an additional 30 minutes of resting time for the treats to set properly.
– Prep time: 5 minutes – Gather ingredients, line your pan, and measure the cereal.
– Cooking time: 10 minutes – Melting butter and marshmallows, then combining with cereal.
– Resting time: 30 minutes – Allowing the mixture to cool and firm up at room temperature.
– Total time: 45 minutes – Perfect for a quick after-school or last-minute party dessert.
Plan accordingly: if you need them for an event, start making them at least one hour ahead so they have time to set completely.
Step-by-Step Instructions
1. Prepare your pan – Line a 9×13-inch baking dish with parchment paper, leaving some overhang on two sides. Lightly grease the paper with butter or non-stick spray. This step ensures your Rice Krispie Treats release effortlessly without tearing.
2. Melt the butter – In a large non-stick pot over low heat, melt the butter completely. Keep the heat low to prevent scorching—medium heat can burn the butter, giving a bitter taste.
3. Add marshmallows – Pour in the marshmallows and stir constantly with a wooden spoon. Watch for the marshmallows to fully melt into a smooth, creamy consistency. Temperature cue: the mixture should be bubbling gently, not sizzling aggressively. If you see brown spots, reduce heat immediately.
4. Remove from heat – Once the marshmallow mixture is completely smooth and glossy, take the pot off the burner. Quickly stir in the vanilla extract and salt if using. This is the critical moment for perfect texture—overcooking at this stage makes the treats hard and brittle.
5. Fold in cereal – Pour the crispy rice cereal into the pot. Use a folding motion to coat every piece evenly. Work quickly but gently to avoid crushing the cereal. For extra thick Rice Krispie squares, use a 9×9-inch pan instead of the standard 9×13.
6. Press into pan – Transfer the mixture to your prepared pan. Using a buttered spatula or a piece of parchment paper, gently press the mixture into an even layer. Texture trick: don’t press too hard—gentle pressure keeps the treats airy and light. Over-pressing creates dense, hard bars.
7. Cool and cut – Let the treats rest at room temperature for at least 30 minutes. Once firm, lift the parchment sling, transfer to a cutting board, and slice into squares using a sharp knife. Wipe the blade clean between cuts for neat edges.
Nutritional Benefits & Advantages
While these treats are undeniably a sweet indulgence, they offer some surprising benefits when made at home. The primary ingredient—crispy rice cereal—provides a quick source of carbohydrates for energy, making these a popular choice for kids before sports or after-school activities. The butter adds a small amount of healthy fats, and the marshmallows contribute minimal protein.
By making them yourself, you control the sugar content. Store-bought versions often contain preservatives, artificial flavors, and high-fructose corn syrup. Homemade batches allow you to use natural marshmallows, reduce sugar by using fewer marshmallows, or even add nutritious mix-ins like chopped nuts, seeds, or dried fruit for added fiber and healthy fats. Plus, you can easily adapt them for gluten-free diets by choosing certified gluten-free cereal.
Tips Variations & Cooking Advice
Flavor boosters:
– Chocolate drizzle – Melt 1/2 cup chocolate chips with 1 teaspoon coconut oil and drizzle over cooled treats.
– Peanut butter swirl – Stir 1/4 cup peanut butter into the marshmallow mixture before adding cereal.
– Cinnamon spice – Add 1 teaspoon cinnamon and 1/4 teaspoon nutmeg to the cereal for a warm, cozy flavor.
Dietary adaptations:
– Dairy-free – Substitute butter with coconut oil or vegan butter. Vegan marshmallows work perfectly.
– Gluten-free – Use certified gluten-free crispy rice cereal. Many mainstream brands are naturally gluten-free, but always check labels.
– Lower sugar – Use half the marshmallows and add 1/4 cup unsweetened applesauce to maintain moisture.
Alternative cooking methods: For a richer flavor, try browning the butter first—melt it over medium heat until it turns golden brown and smells nutty, then proceed with the recipe. This adds a sophisticated depth that elevates the entire treat.
Common Mistakes to Avoid
– Using high heat – Always melt butter and marshmallows on low heat. High heat scorches the mixture, turning it into a burnt, bitter mess.
– Overcooking the marshmallows – Once they’re fully melted, remove from heat immediately. Prolonged cooking makes the treats hard and brittle instead of soft and chewy.
– Pressing too firmly – Gentle pressure is key. Pressing down aggressively creates dense, compact bars that are difficult to bite into.
– Skipping the pan lining – Without parchment paper, the treats will stick stubbornly to the pan, making removal messy and frustrating.
– Cutting too early – Let the treats cool completely before slicing. Warm cutting causes them to crumble and lose their shape.
Storage & Meal Prep Tips
Room temperature storage: Place leftover treats in an airtight container separated by layers of parchment paper. They stay fresh for 3 to 4 days at room temperature. Avoid refrigerating them, as the cold environment dries them out and makes them hard.
Freezing instructions: For longer storage, wrap individual squares tightly in plastic wrap, then place them in a freezer-safe bag. They freeze well for up to 3 months. To thaw, let them sit at room temperature for about 30 minutes. Do not microwave frozen treats—they will become rubbery.
Reheating advice: If they become stale, place them in a 300°F oven for 3–5 minutes. This restores some of the original softness and chew. Alternatively, microwave a single square for 10 seconds to revive its texture.
Meal prep tip: Make a double batch on the weekend and freeze half for quick weekday desserts. They’re also perfect for packing in lunchboxes—just wrap each square individually.
Conclusion
Mastering the perfect Rice Krispie Treats is all about timing, technique, and using quality ingredients. Whether you cut them into traditional Rice Krispie squares, shape them into fun Halloween monsters, or experiment with chocolate drizzles and nut butters, this recipe is endlessly customizable and guaranteed to please a crowd. The best part? You now have the skills to make them perfectly every time—soft, chewy, and bursting with buttery flavor. Go ahead, whip up a batch today, and don’t forget to share your creations with friends and family. For more dessert inspiration, check out our other quick and easy recipes.
FAQs
1. Can I use regular marshmallows instead of mini marshmallows?
Yes, you can use large marshmallows, but they take longer to melt. Chop them into smaller pieces for faster, more even melting. Mini marshmallows are preferred because they melt quickly and uniformly.
2. Why are my Rice Krispie Treats hard and crunchy instead of soft?
Hard treats usually result from overcooking the marshmallow mixture or pressing the mixture too firmly into the pan. Always melt on low heat, remove from heat as soon as the marshmallows are smooth, and press gently.
3. Can I make these treats without butter?
Yes, you can substitute butter with coconut oil, margarine, or vegan butter. The texture will be slightly different—coconut oil yields a firmer, more coconut-flavored treat—but the recipe still works well.
4. How do I prevent the treats from sticking to the knife when cutting?
Spray your knife with non-stick cooking spray or lightly coat it with butter. Wipe the blade clean between cuts. Using a sharp knife also helps create clean, neat edges.
5. Can I add mix-ins like chocolate chips or nuts?
Absolutely! Fold in up to 1 cup of mix-ins after combining the cereal and marshmallow mixture. Add them gently to avoid crushing the cereal. Popular options include mini chocolate chips, crushed pretzels, toasted coconut, or chopped pecans.
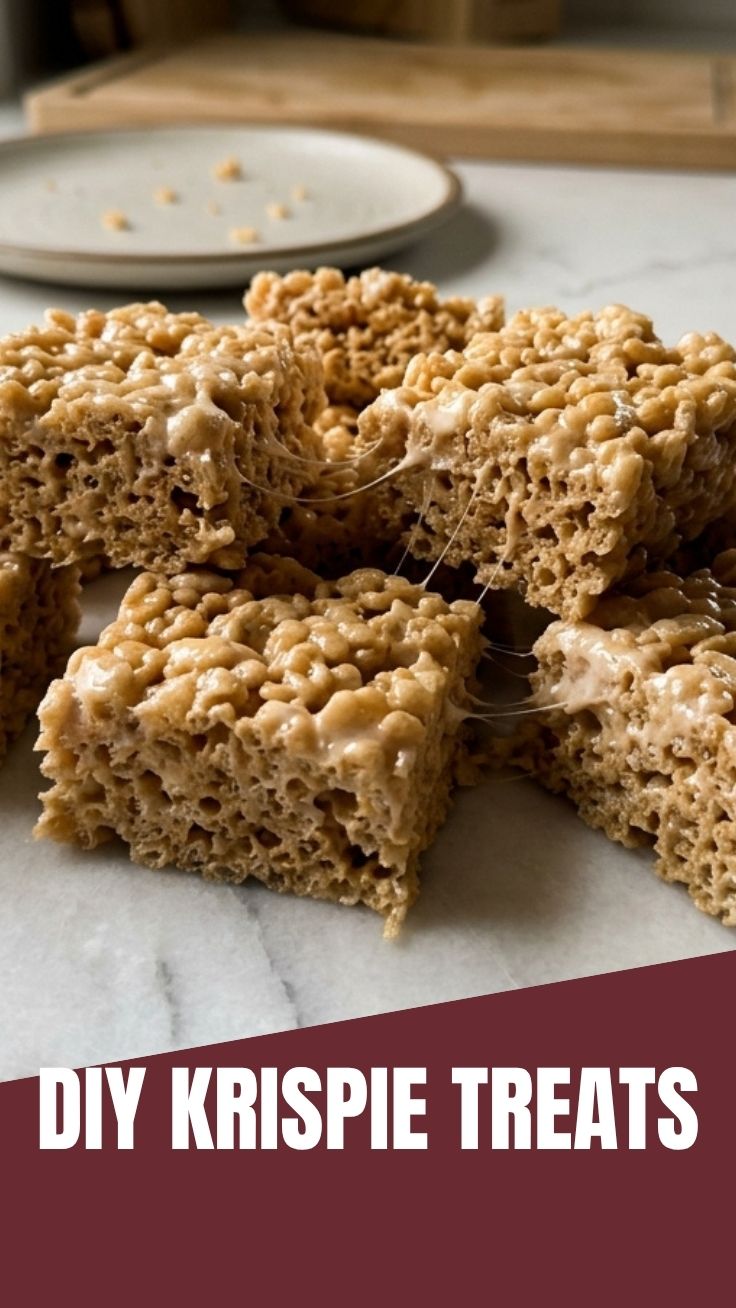
Quick way to grow a perfect batch of Rice Krispie Treats
Ingredients
Equipment
Method
- Melt butter in a large pot over low heat.
- Add marshmallows and stir until completely melted and smooth.
- Remove from heat and stir in the Rice Krispies cereal until well coated.
- Press the mixture evenly into a greased 9x13 inch pan.
- Let cool completely before cutting into squares and serving.