The Ultimate White Chicken Chili Recipe: Creamy, Comforting, and Perfectly Spiced
Are you tired of the same old chili recipes that leave you feeling heavy and uninspired? Imagine a bowl of creamy, tender chicken simmered in a rich broth with white beans, green chilies, and just the right amount of warmth. This white chicken chili is that game-changer. It’s lighter than traditional red chili yet packed with deep, savory flavor—and best of all, you can make it at home in under an hour. Not only does it save you money, but you can also control the heat, salt, and ingredients to suit your family’s taste. Whether you’re feeding a crowd or meal prepping for the week, this recipe delivers consistent, restaurant-quality results. Let’s dive into why homemade white chicken chili should be a staple in your kitchen, and how the addition of a little spicy chili kick can elevate it to new heights.
Ingredients & Kitchen Tools
Ingredients (serves 6–8):
– 1½ lbs boneless, skinless chicken breasts (or thighs for extra moisture)
– 2 tbsp olive oil (or avocado oil)
– 1 medium onion, diced (yellow or sweet)
– 4 cloves garlic, minced
– 2 cans (15 oz each) cannellini beans, drained and rinsed (or great northern beans)
– 1 can (4 oz) diced green chilies (mild or hot)
– 4 cups chicken broth (low-sodium preferred)
– 1 tsp ground cumin
– 1 tsp dried oregano
– ½ tsp cayenne pepper (adjust for heat)
– 1 cup heavy cream (or half-and-half for lighter version)
– 1 cup shredded Monterey Jack cheese (plus extra for topping)
– Salt and black pepper to taste
– Fresh cilantro and lime wedges for garnish
Kitchen Tools:
– Large Dutch oven or heavy-bottomed pot (5–6 quart capacity)
– Wooden spoon or silicone spatula
– Chef’s knife and cutting board
– Measuring cups and spoons
– Can opener
– Shredded cheese grater (or pre-shredded cheese)
– ladle for serving
Optional Substitutions:
– Swap chicken for leftover turkey or rotisserie chicken
– Use coconut milk instead of heavy cream for dairy-free
– Add corn or diced bell peppers for crunch
– Replace cayenne with chipotle powder for smoky heat
Prep Time & Cooking Schedule
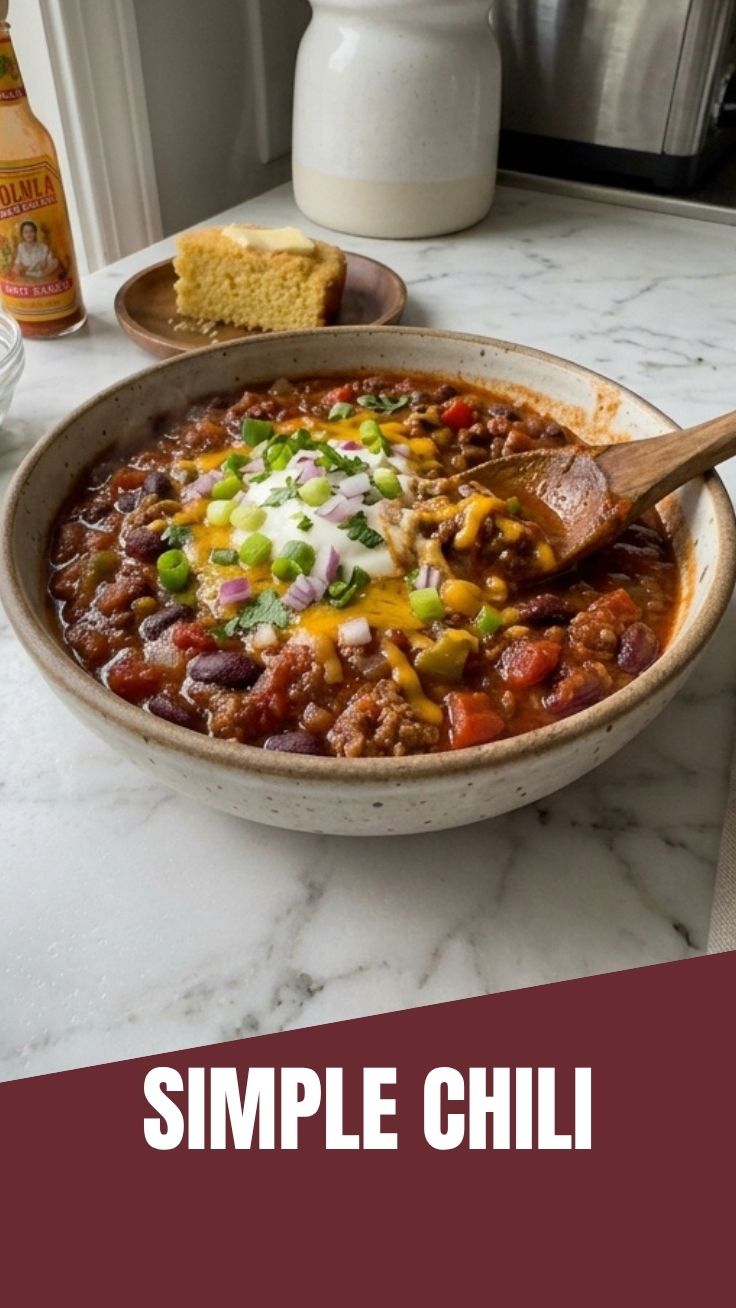
– Prep Time: 15 minutes (chopping, rinsing beans, mincing garlic)
– Cook Time: 30–35 minutes (including simmering)
– Resting Time: 5 minutes after cooking (allows flavors to meld)
– Total Time: Approximately 50 minutes
Planning Tip: This chili tastes even better the next day, so you can prepare it a day ahead. For a quick weeknight meal, start the onion and garlic while the chicken is still in the refrigerator. The active cooking time is only about 20 minutes—the rest is hands-off simmering.
Step-by-Step Instructions
1. Sear the Chicken
Heat olive oil in your Dutch oven over medium-high heat. Season chicken breasts with salt and pepper. Sear for 4–5 minutes per side until golden brown (don’t worry about cooking through). Transfer chicken to a plate.
2. Sauté Aromatics
In the same pot, add diced onion and cook for 3 minutes until translucent. Add minced garlic and cook for 30 seconds, stirring constantly to avoid burning.
3. Build the Base
Stir in cumin, oregano, and cayenne pepper. Cook for 1 minute until fragrant. Pour in chicken broth, scraping up any browned bits from the bottom. Add the green chilies and drained beans.
4. Simmer the Chili
Return the seared chicken to the pot. Bring to a boil, then reduce heat to low, cover, and simmer for 20 minutes. The chicken should reach an internal temperature of 165°F.
5. Shred & Finish
Remove chicken to a cutting board. Shred using two forks. Return shredded chicken to the pot. Reduce heat to low, then stir in heavy cream and Monterey Jack cheese. Let the cheese melt completely—this takes about 2 minutes. Taste and adjust salt, pepper, or heat. For extra depth, add a pinch of smoked paprika.
Chef’s Tip: If you prefer a thicker white chicken chili, mash half the beans before adding them. For a more spicy chili profile, add a diced jalapeño with the onions or a dash of hot sauce at the end.
6. Serve
Ladle into bowls. Top with extra shredded cheese, fresh cilantro, a squeeze of lime, and tortilla strips. Enjoy with crusty bread or cornbread.
Nutritional Benefits & Advantages
This white chicken chili is not only delicious but also nutritious. A typical serving provides around 350–400 calories, 30g protein, 18g fat, and 20g carbohydrates. The cannellini beans are rich in fiber and plant-based protein, promoting digestive health and steady energy levels. Chicken breast offers lean protein essential for muscle repair, while green chilies deliver vitamin C and capsaicin, which may boost metabolism. Using low-sodium broth and controlling added salt makes this recipe heart-friendly. Plus, the inclusion of cheese and cream provides calcium—though you can easily lighten it up. This chili is naturally gluten-free, and with a few swaps (dairy-free creamer), can become a versatile option for many dietary needs. The balance of protein, healthy fats, and complex carbs makes it a satisfying meal that keeps you full without weighing you down.
Tips, Variations & Cooking Advice
– Flavor Variations: Swap cumin for chili powder or add a tablespoon of tomato paste for a subtle red tint. For a smoky version, use fire-roasted green chilies and add 1 teaspoon smoked paprika.
– Ingredient Swaps: Use shredded rotisserie chicken to cut prep time. Replace heavy cream with full-fat coconut milk for a dairy-free, slightly sweet twist.
– Cooking Methods: This recipe also works in a slow cooker—sear chicken first, then add all ingredients (except cream and cheese) and cook on low for 6 hours. Stir in dairy at the end. For Instant Pot, use sauté mode for searing, then pressure cook on high for 10 minutes with a natural release.
– Portion Changes: Double the recipe for a crowd—just use a larger pot and increase simmer time by 5 minutes. For a lower-fat version, skip the cream and cheese and instead blend half the beans with broth to create creaminess.
– Dietary Adaptations: To make it keto-friendly, replace beans with extra chicken and cauliflower florets. For vegan, use jackfruit, vegetable broth, and cashew cream.
Common Mistakes to Avoid
– Overcooking the Chicken: Simmering too long makes chicken dry. Always remove it once it reaches 165°F—if you’re using shredded rotisserie, add it only during the final 5 minutes.
– Curdling the Cream: Adding heavy cream to a boiling pot can cause separation. Always reduce heat to low before stirring in cream and cheese, and avoid high heat after.
– Skipping the Sear: Searing the chicken builds deep flavor through the Maillard reaction. Don’t skip this step—it’s the secret to a rich broth.
– Under-seasoning: White chicken chili needs enough salt to balance the cream. Taste before serving; you may need more salt or a splash of lime juice.
– Using Pre-shredded Cheese: Pre-shredded cheese contains anti-caking agents that prevent smooth melting. Shred your own block of Monterey Jack for a silky texture.
Storage & Meal Prep Tips
– Refrigeration: Store cooled chili in an airtight container for up to 4 days. The flavors deepen overnight, making it even better the next day.
– Freezing: This chili freezes beautifully for up to 3 months. Let it cool completely, then transfer to freezer-safe bags or containers. Leave headspace for expansion. Thaw overnight in the refrigerator.
– Reheating: Reheat gently on the stovetop over medium-low heat, stirring occasionally. Add a splash of broth or water if it has thickened too much. For microwave, heat in 1-minute intervals, stirring between each. Avoid rapid boiling to prevent dairy separation.
– Meal Prep: Portion into individual containers for quick lunches. Pair with a side salad or cornbread for a complete meal. The chili also works well as a filling for burritos or over rice.
Conclusion
This white chicken chili is the perfect weeknight winner—creamy, flavorful, and easy to adapt. By making it at home, you control every ingredient, from the level of spicy chili heat to the amount of cheese. With just 15 minutes of prep and a handful of simple steps, you can enjoy a hearty bowl that rivals any restaurant version. I encourage you to try this recipe tonight, share your twist in the comments, or explore our other chili-inspired dishes. Your family will thank you, and your meal prep will never be the same.
FAQs
1. Can I use canned chicken instead of fresh?
Yes, but the texture will be softer and less flavorful. If using canned, drain it, add during the last 5 minutes, and expect a more shredded consistency. Fresh seared chicken yields far better taste.
2. How do I make this chili less spicy?
Skip the cayenne pepper and use mild green chilies. If it’s still too hot, add a tablespoon of sour cream or extra cheese to mellow the heat. You can also add a pinch of sugar to balance spice.
3. Why did my chili turn out watery?
This can happen if you added too much broth or didn’t simmer it uncovered long enough. To thicken, mash a cup of beans with a fork and stir back in, or let it simmer uncovered for 10–15 minutes until reduced.
4. Can I make this without heavy cream?
Absolutely. Use half-and-half, whole milk, or coconut cream for a dairy-free version. For an ultra-creamy texture without dairy, blend one cup of cooked beans with broth until smooth and stir it in.
5. How do I store leftover white chicken chili?
Cool completely, then refrigerate in an airtight container for up to 4 days. For freezing, use freezer-safe bags (remove as much air as possible) and label with date. Thaw overnight in fridge before reheating.
—
Ready to spice up your dinner rotation? Pin this recipe, share it with a friend, and don’t forget to tag us in your chili creations!
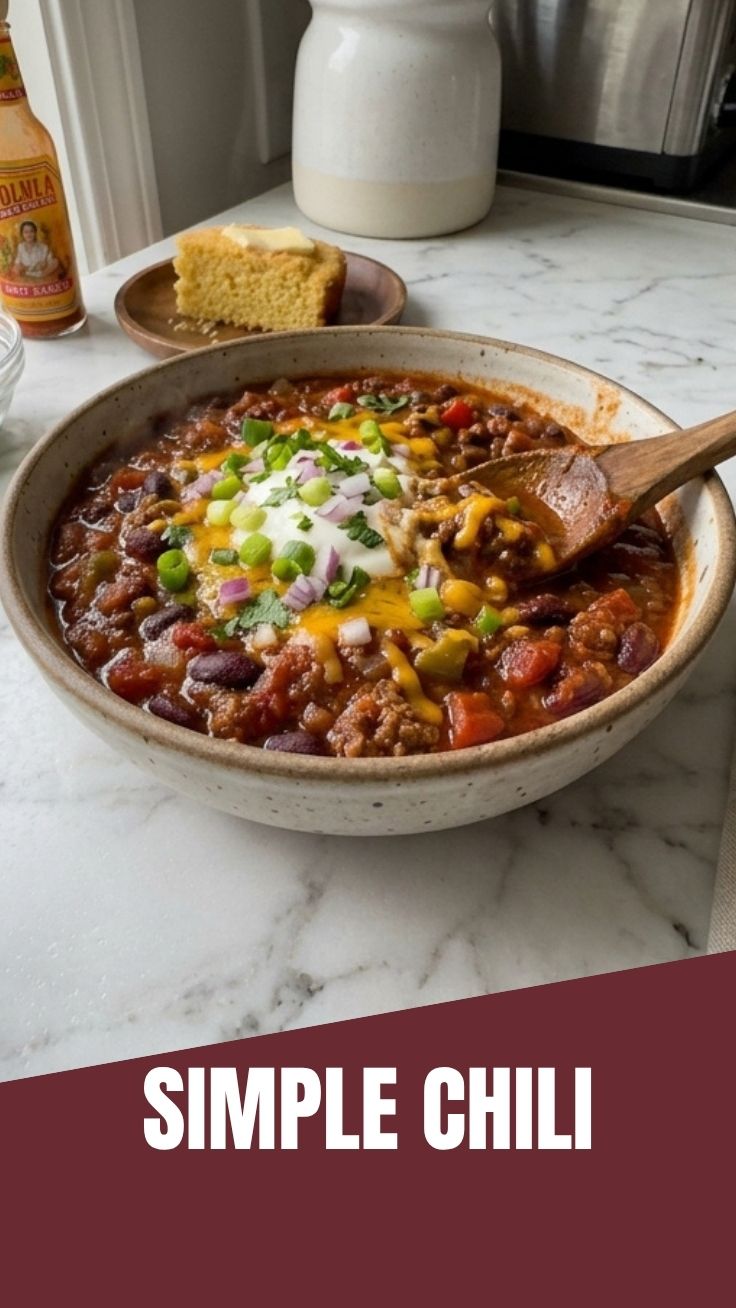
Quick way to grow 5 Chili plants easily
Ingredients
Equipment
Method
- Mix potting mix with perlite in a 5:1 ratio to ensure good drainage and aeration for your chili plants.
- Fill the small pots with this prepared soil mixture, leaving about an inch of space from the rim.
- Plant 2-3 chili seeds in the center of each small pot, about 0.5 cm deep.
- Gently cover the seeds with soil and lightly water the pots until the soil is moist.
- Place the pots in a warm spot with indirect sunlight and keep the soil consistently moist.
- Once seedlings are 10-15 cm tall, select the strongest plant from each pot and carefully transplant it into a larger pot filled with fresh potting mix.
- Water thoroughly after transplanting and begin regular feeding with liquid fertilizer every two weeks.