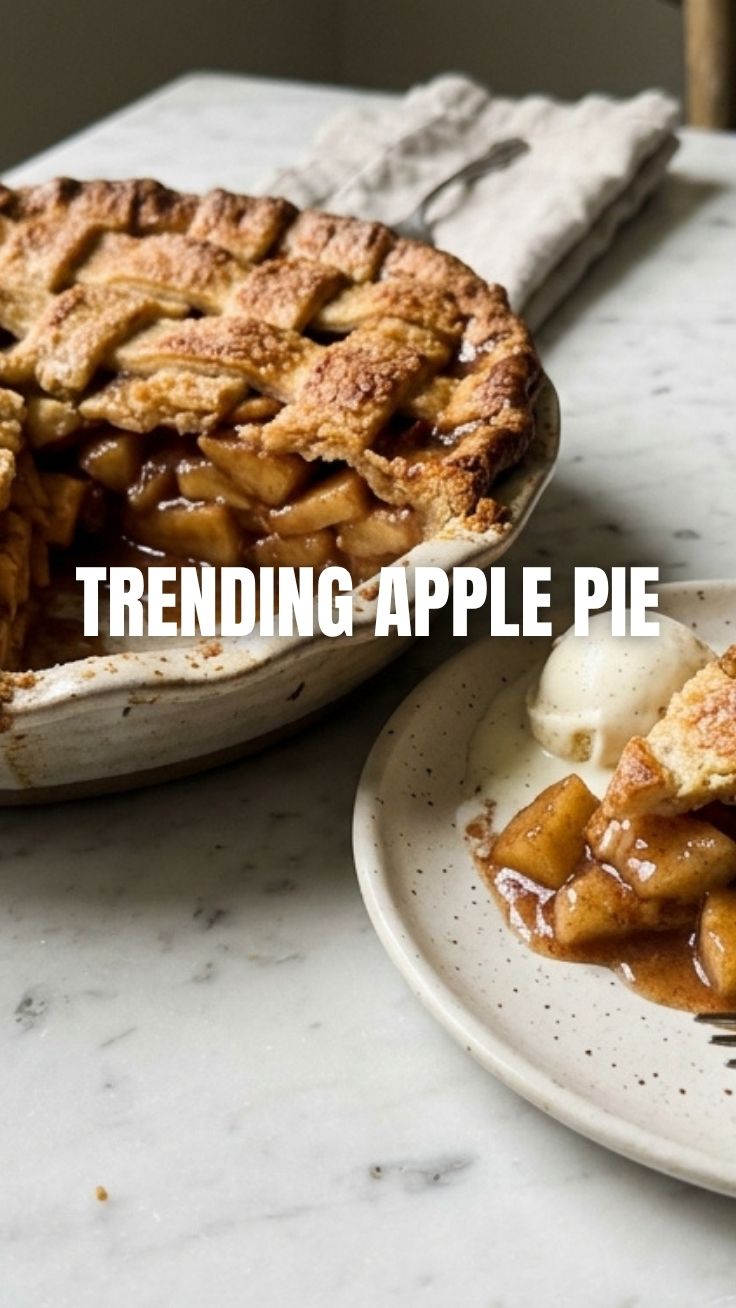
The Ultimate Guide to Baking the Perfect Homemade Apple Pie
Have you ever bitten into a store-bought pie and felt something was missing? The secret to an unforgettable Apple Pie isn’t just in following a recipe—it’s about understanding the alchemy of perfectly spiced fruit encased in a flaky, buttery crust. When you prepare this iconic treat at home, you control every ingredient, from the variety of apples to the precise level of cinnamon warmth. This isn’t just another entry among countless dessert recipes; it’s a skill worth mastering. By baking from scratch, you avoid preservatives and artificial thickeners while unlocking deeper, fresher flavors that frozen alternatives simply cannot match. Let’s transform your kitchen into a bakery.
Ingredients & Kitchen Tools
For the Crust (Double Crust – 9-inch pie)
– 2½ cups all-purpose flour – Sifted; provides structure without toughness.
– 1 cup cold unsalted butter – Cut into cubes; keep ice-cold for flakiness.
– 1 tsp salt – Balances sweetness; fine sea salt works best.
– 1 tbsp granulated sugar – Minimal sweetness; adds light browning.
– 6–8 tbsp ice water – Add gradually; too much water makes dough sticky.
– Optional substitution: Use gluten-free 1:1 flour blend with xanthan gum; add 1 tsp apple cider vinegar for tenderness.
For the Filling
– 6–7 medium apples (Granny Smith, Honeycrisp, or Braeburn) – Tart-sweet balance; avoid Red Delicious (too mushy).
– ¾ cup granulated sugar – Adjust based on apple sweetness.
– 2 tbsp brown sugar – Adds molasses depth.
– 2 tsp ground cinnamon – Essential warmth; freshly ground preferred.
– ¼ tsp ground nutmeg – Earthy contrast; freshly grate for intensity.
– 2 tbsp cornstarch – Thickens juices without cloudiness; arrowroot powder works as substitute.
– 1 tbsp lemon juice – Prevents browning and brightens flavor.
– 2 tbsp unsalted butter – Dot over filling; small pieces encourage rich bubbling.
Essential Tools
– 9-inch glass or ceramic pie dish (glass heats evenly)
– Rolling pin (preferably tapered; uniform thickness)
– Pastry cutter or food processor (for butter incorporation)
– Parchment paper or silicone baking mat (prevents sticking)
– Pastry brush (for egg wash)
– Aluminum foil or pie shield (protects crust edges)
Prep Time & Cooking Schedule
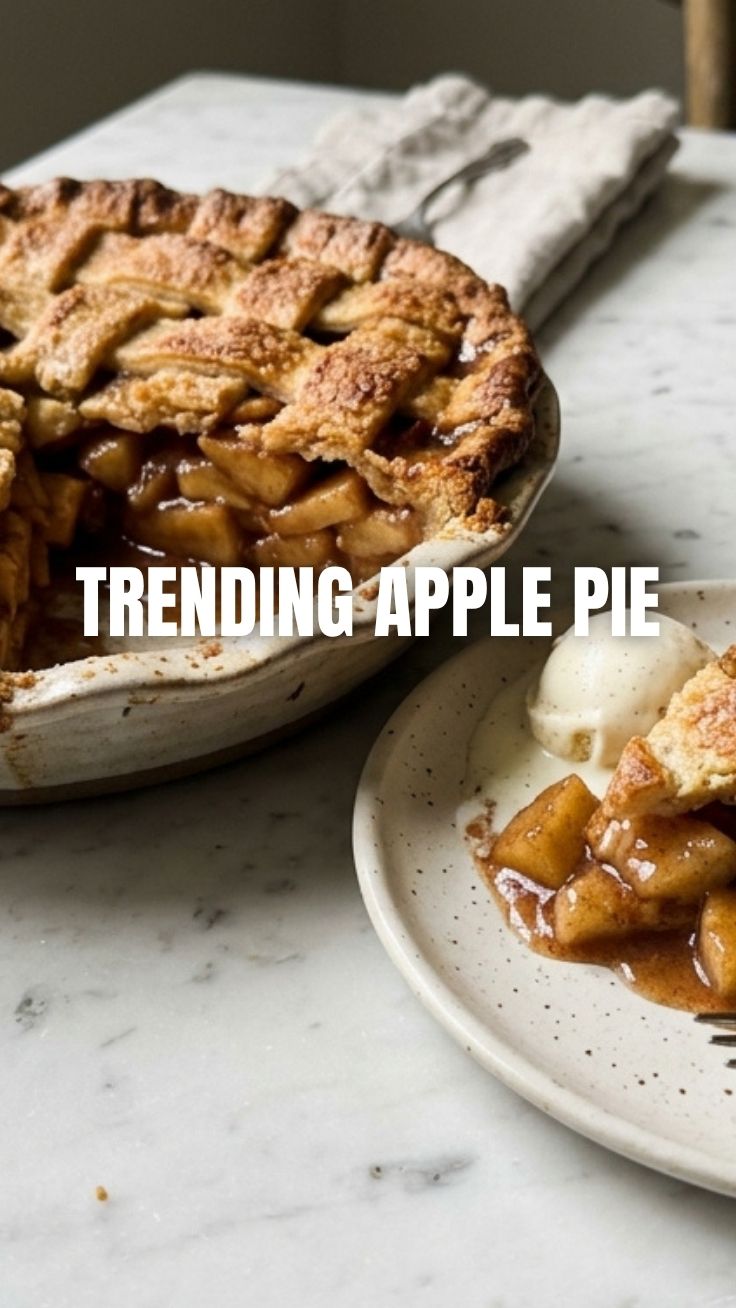
Timing is critical—rushing ruins crust texture. Plan for 2½ hours total, including resting periods:
– Prep time: 40 minutes (peeling, slicing, making dough)
– Dough chilling: 30–60 minutes minimum (overnight enhances flavor)
– Filling maceration: 15 minutes (draws out excess liquid)
– Bake time: 50–60 minutes at initial 425°F (220°C), then reduce to 375°F (190°C) after 20 minutes
Pro tip: Bake on the lower oven rack for a crisp bottom crust. Place a baking sheet underneath to catch spills—this prevents burnt sugar smoke and messy cleanup.
Step-by-Step Instructions
1. Make the dough: In a large bowl, whisk flour, salt, and sugar. Cut in cold butter cubes using a pastry cutter until pea-sized crumbs form. Drizzle 4 tbsp ice water, tossing with a fork. Add more water, 1 tbsp at a time, just until dough holds together when squeezed. Divide into two discs, wrap tightly in plastic, and refrigerate for at least 30 minutes.
2. Prepare the filling: Peel, core, and slice apples into ¼-inch thick wedges (uniform slices ensure even cooking). Toss with lemon juice, both sugars, cinnamon, nutmeg, and cornstarch. Let sit 15 minutes—this step makes that difference between runny pie and perfect Apple Pie. Among dessert recipes, this maceration technique is often overlooked but prevents soggy bottoms.
3. Assemble: Roll one dough disc on a floured surface to 12-inch diameter. Transfer to pie dish, pressing gently into corners. Pour apple mixture into crust, mounding slightly in center. Dot with butter pieces. Roll second disc and place on top. Crimp edges decoratively, cut 4–5 steam vents. Brush top with egg wash (1 egg + 1 tbsp water) and sprinkle coarse sugar.
4. Bake with precision: Place pie on preheated baking sheet. Bake at 425°F for 20 minutes. Reduce oven temperature to 375°F, cover crust edges with foil if browning quickly, and continue baking 30–40 minutes until filling bubbles through vents and crust is deep golden brown. Cool on wire rack at least 3 hours—rushing leads to runny slices.
Nutritional Benefits & Advantages
One serving (⅛ of pie) provides approximately 420 calories, 8g fiber (from apples with skin), and 20% daily vitamin C. Apples contain pectin, a soluble fiber that supports gut health and cholesterol management. Cinnamon offers anti-inflammatory antioxidants, while the moderated sugar content (25g per slice) makes this a smarter choice than many processed desserts. For perspective: a fast-food apple pie contains comparable sugar but lacks fiber and uses hydrogenated oils.
Tips Variations & Cooking Advice
– Flavor twist: Add ½ cup dried cranberries or ¼ cup bourbon to the filling for adult complexity.
– Dietary adaptation: Replace butter with coconut oil (solid, not melted) for dairy-free crust; use oat flour blend for gluten-free.
– Shortcut method: Skip the top crust entirely and make a crumble topping with ½ cup rolled oats, ¼ cup flour, ¼ cup brown sugar, and 3 tbsp melted butter—bake 5 minutes less.
– Portion control: Bake in 4-inch mini pie tins (reduce baking time to 25–30 minutes).
Common Mistakes to Avoid
| Mistake | Solution |
|———|———-|
| Soggy bottom crust | Blind-bake bottom crust for 10 minutes at 375°F before adding filling, or bake on lower rack with preheated pizza stone underneath. |
| Hollow gap under top crust | Cut extra steam vents and mound filling higher; apples shrink significantly during baking. |
| Burnt edges too quickly | Use a silicone pie shield or foil ring after first 20 minutes; check at 25-minute intervals. |
| Runny filling after cooling | Increase cornstarch to 3 tbsp for very juicy apples; always cool completely (fillings set as they cool). |
Storage & Meal Prep Tips
– Refrigeration: Cover loosely with foil and refrigerate up to 4 days. Reheat slices at 350°F for 10 minutes to restore crispness.
– Freezing (unbaked): Assemble completely, omit egg wash, wrap in plastic + foil, freeze up to 3 months. Bake directly from frozen at 375°F for 65–75 minutes (add 15 minutes to bake time).
– Freezing (baked): Cool completely, wrap tightly, freeze up to 2 months. Thaw overnight in fridge; rebake at 350°F for 15 minutes.
– Reheating tip: Avoid microwaves—they turn pastry soggy. Use oven or air fryer at 350°F for 5–7 minutes.
Conclusion
You now hold the blueprint for a showstopping Apple Pie that rivals any bakery creation. The beauty of this approach lies in its flexibility: master the core technique, then experiment with spice profiles or crust designs. Remember that patience during cooling is as vital as proper preheating. This particular dessert recipes gem rewards attention to detail—from the butter temperature to the steam vents. Whether you’re celebrating autumn harvest or surprising loved ones, the aroma alone will bring everyone to the kitchen. Share your results on social media with the hashtag #HomemadePieVictory, and don’t hesitate to double the recipe for holiday gatherings.
FAQs
Can I use pre-made pie crust?
Yes, but refrigerated rolled crusts (not frozen deep-dish) work better. Blind-bake the bottom crust to prevent sogginess, and brush edges with water to seal properly.
Why did my filling taste sour?
Underripe apples or excessive lemon juice. Taste your apples first—if very tart, reduce lemon juice to 1 tsp and increase sugar by 2 tbsp.
How do I fix a crust that keeps shrinking?
Overworking the dough develops too much gluten. Handle minimally, chill thoroughly, and avoid stretching dough when transferring to dish.
Can I make this vegan?
Absolutely. Use cold coconut oil or vegan butter (1:1 swap) for crust; for filling, replace butter with 2 tbsp maple syrup. Ensure cornstarch is used rather than arrowroot for best thickening.
My pie overflowed in the oven—why?
Too much filling or insufficient cornstarch. Leave ½-inch space below crust rim, and toss apples with 2½ tbsp cornstarch if using very juicy varieties like McIntosh.
How do I create decorative lattice without breaking dough?
Work with cold dough; if it cracks, microwave briefly (5 seconds) to soften. Use a pizza cutter for clean strips, and weave gently without stretching.