Homemade Blackberry Jam: The Sweet Taste of Summer in a Jar
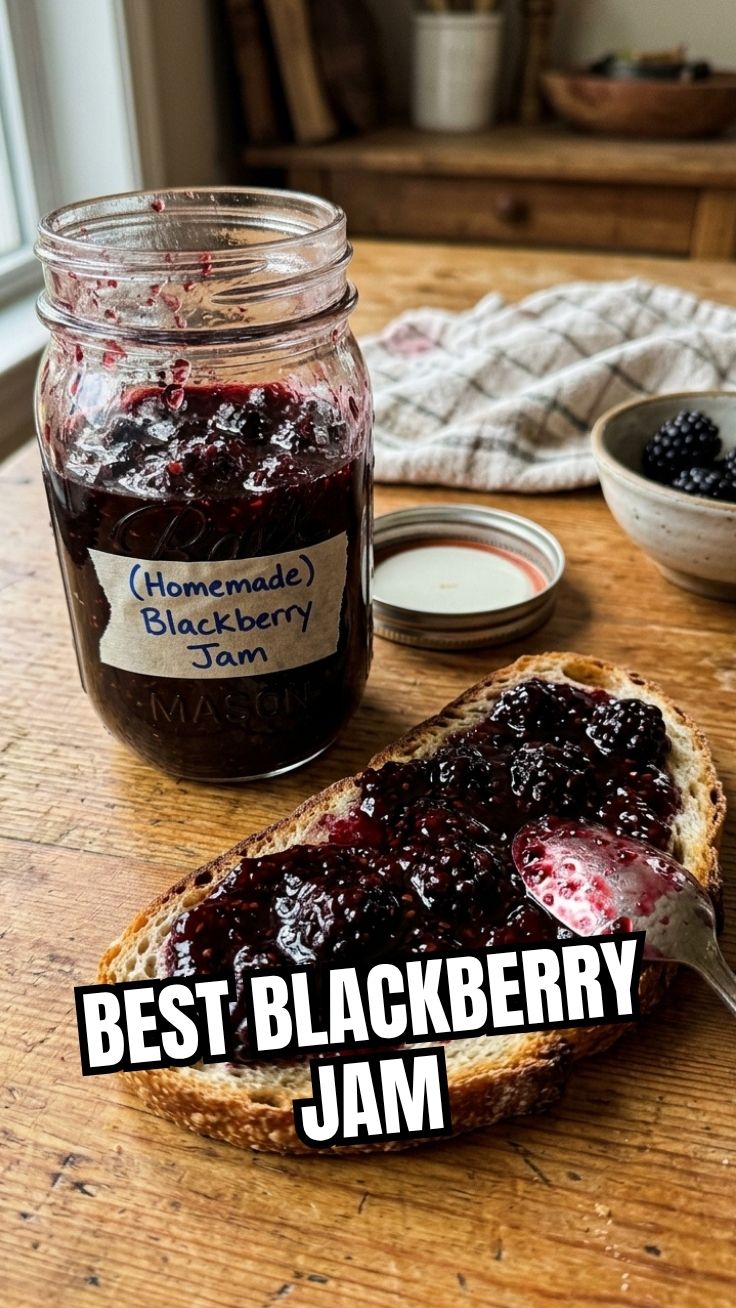
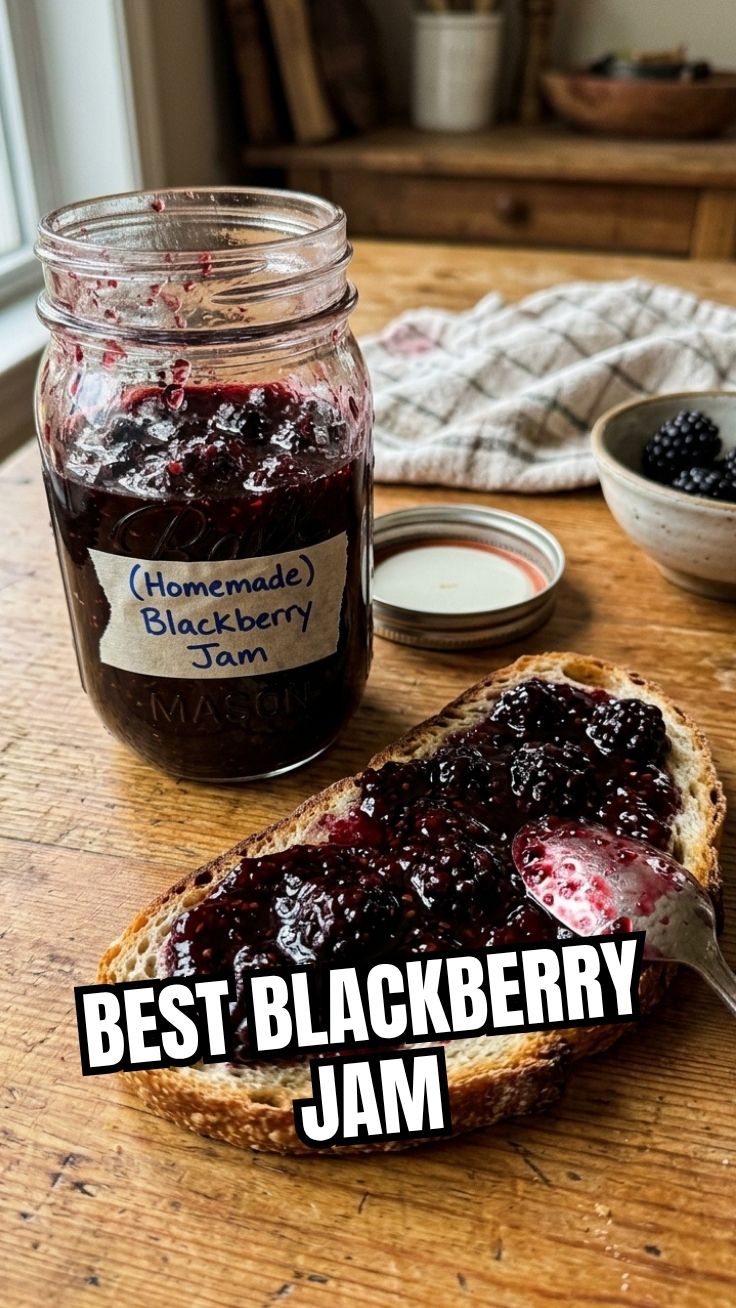
Have you ever tasted a spoonful of summer so bright and tangy that it instantly transports you to a sun-drenched berry patch? That’s exactly what happens when you make your own Blackberry Jam (Homemade) from scratch. Store-bought versions often rely on excessive sugar and pectin, but crafting a batch at home lets you control sweetness, texture, and purity—while preserving the deep, wine-like flavor of fresh blackberries. Whether you’re spreading it on buttered toast, swirling it into yogurt, or using it as a filling for pastries, this recipe delivers vibrant color and rich complexity. And if you’re looking for a variation with a slightly firmer set, a Blackberry preserves recipe can give you chunkier, more rustic results. Today, we’re focusing on a classic jam that balances fruit and sugar beautifully, using simple techniques that even beginners can master.
Ingredients & Kitchen Tools
Ingredients
– 4 cups fresh blackberries – Use ripe but firm berries for the best pectin content; frozen (thawed) work too.
– 2 cups granulated sugar – Adjust to taste; jam needs sugar for preservation and gel, but you can reduce by ¼ cup for a tarter jam.
– 1 tablespoon lemon juice – Freshly squeezed; adds acidity to help the jam set and brighten flavor.
– Optional: ½ teaspoon butter – Prevents foaming during cooking (unsalted preferred).
– Optional: 1 packet liquid pectin – Only if berries are very ripe and you want a firmer gel; skip for a softer, spreadable jam.
Kitchen Tools
– Large heavy-bottomed pot – Stainless steel or enamel; avoids scorching.
– Wooden spoon or silicone spatula – For stirring without scratching.
– Jar funnel – For mess-free filling.
– Clean glass jars – 4 half-pint jars with new lids and bands; sterilized.
– Canning rack or tongs – For safe hot jar handling.
– Thermometer – Optional but helpful for reaching 220°F (104°C) gelling point.
Prep Time & Cooking Schedule
– Prep time: 15 minutes (washing, mashing berries, sterilizing jars)
– Cooking time: 20–30 minutes (active boiling and stirring)
– Resting time: 10–15 minutes (after removing from heat, before jarring)
– Total time: About 1 hour (plus cooling overnight for set)
Plan to make this when you have an uninterrupted window—jam requires your full attention during the rolling boil phase to prevent scorching or overflowing.
Step-by-Step Instructions
1. Prepare the berries. Rinse blackberries and remove any stems or leaves. In the pot, gently mash them with a potato masher or fork—leave about half intact for texture. Stir in sugar and lemon juice. Let sit for 10 minutes to draw out juice.
2. Start cooking. Place pot over medium-high heat. Stir constantly until sugar dissolves completely. Add butter if using to reduce foam.
3. Boil to setting point. Increase heat to high and bring to a full rolling boil that cannot be stirred down. Cook for 10–15 minutes, stirring frequently. Skim off foam if desired. Use a thermometer to check for 220°F (104°C) at sea level, or perform the “plate test”: spoon a small amount onto a chilled plate, let cool 30 seconds, then push with finger—if it wrinkles, it’s done.
4. Test and adjust. Remove from heat. Stir in any extra lemon juice if flavor needs brightening. For a chunkier style, consider a Blackberry preserves recipe that cooks whole berries for a shorter time; here we aim for a smooth jam consistency.
5. Fill jars. Ladle hot jam into sterilized jars, leaving ¼-inch headspace. Wipe rims, seal with lids and bands. Process in a boiling water bath for 10 minutes for shelf stability, or simply refrigerate for up to 3 weeks without processing.
Pro tip: The jam will thicken as it cools, so don’t overcook. And remember: a perfectly set Blackberry Jam (Homemade) relies on the natural pectin from slightly underripe berries. If using very ripe fruit, add a tablespoon of powdered pectin dissolved in water.
Nutritional Benefits & Advantages
Blackberries are a powerhouse of antioxidants, particularly anthocyanins and vitamin C. A 2-tablespoon serving of this jam (about 50 calories) delivers fiber, manganese, and vitamin K with no artificial additives. Homemade jam lets you control sugar content—typically 50–60% less than commercial brands—and avoid high-fructose corn syrup. Plus, the cooking process preserves many heat-stable nutrients. It’s also a fantastic way to use seasonal berries, reducing food waste and supporting local farms.
Tips, Variations & Cooking Advice
– Flavor boost: Add a cinnamon stick or a splash of balsamic vinegar during cooking for depth.
– Low-sugar version: Use a low-sugar pectin and reduce sugar to 1 cup. The jam will be softer.
– No-pectin method: Cook longer (40–50 minutes) until mixture thickens naturally, stirring frequently.
– Vegan/gluten-free: This recipe is naturally vegan and gluten-free—no modifications needed.
– Spiced jam: Stir in ½ teaspoon vanilla extract or grated ginger after removing from heat.
– Herb twist: Add a few fresh thyme or rosemary sprigs while cooking, then remove before jarring.
Common Mistakes to Avoid
– Not testing the set: Guessing can lead to runny jam. Always use a thermometer or plate test.
– Overcooking: This causes a caramelized, stiff jam that loses fresh berry flavor. Boil only until set.
– Skipping sterilization: Bacteria can spoil your jam. Boil jars and lids for 10 minutes.
– Filling jars too full: Headspace is critical for sealing. Use a funnel and measure.
– Forgetting to skim: Foam holds air bubbles that can cause mold. Remove it early.
Storage & Meal Prep Tips
Refrigeration: Unopened jam lasts 3–4 weeks. Once opened, consume within 2 weeks. Keep tightly sealed.
Freezing: Pour cooled jam into freezer-safe containers, leaving 1-inch headspace. Freeze for up to 1 year. Thaw overnight in fridge—texture remains excellent.
Water bath canning: For shelf stability, process sealed jars in boiling water for 10 minutes (adjust for altitude). Store in a cool, dark place for up to 18 months.
Reheating: If jam crystallizes, reheat gently in a saucepan with a splash of water, stirring until smooth. Avoid microwave—uneven heating can ruin texture.
Conclusion
Making your own preserves is both a rewarding kitchen project and a way to capture peak summer flavor year-round. With just three main ingredients and a little patience, you can create a Blackberry Jam (Homemade) that outshines any commercial product. The key lies in trusting the process—from the initial maceration to the precise boil—and tasting as you go. For a chunkier, more fruit-forward alternative, explore a Blackberry preserves recipe that keeps whole berries intact; the technique shifts slightly but the joy remains the same. Whether you gift jars to friends or hoard them for yourself, this recipe will become a staple. Try it this weekend, and share your results—we’d love to hear how your jam turned out!
FAQs
1. Can I use frozen blackberries?
Yes. Thaw them first and drain excess liquid. Reduce sugar slightly because frozen berries are often sweeter. The jam may require a few extra minutes of boiling.
2. My jam didn’t set—can I fix it?
Absolutely. Pour the jam back into the pot, add 1 tablespoon of lemon juice and 1 teaspoon of pectin powder, then bring to a boil again for 2 minutes. Retest.
3. How do I know if my jars are sealed properly?
After cooling, press the center of each lid. If it doesn’t pop up, it’s sealed. You can also listen for a popping sound as they cool.
4. Can I reduce the sugar without ruining the jam?
Yes, but you’ll need low-sugar pectin. Without it, reduce sugar to only 25% of fruit weight and accept a softer set. The jam will need refrigeration.
5. Why does my jam taste too tart?
Blackberries vary in acidity. Next time, taste the raw berries and add a pinch of baking soda to neutralize the acid, or increase sugar by ¼ cup. You can also stir in a tablespoon of honey after cooking.
Blackberry Jam (Homemade)
Ingredients
Equipment
Method
- Wash and sort the blackberries, discarding any bruised or overripe fruit.
- In a large pot, combine the blackberries, sugar, and lemon juice.
- Bring the mixture to a boil over medium-high heat, stirring constantly, then reduce heat and simmer for about 20-30 minutes, or until thickened.
- Carefully ladle the hot jam into sterilized jars, leaving 1/4 inch headspace.
- Process the jars in a boiling water bath for 10 minutes to seal.