Indulge Your Sweet Tooth: The Ultimate Guide to Fudgy, Melt-in-Your-Mouth Brownies
Ever wondered what makes a truly unforgettable dessert experience? Is it the rich aroma wafting from the oven, the first bite of pure bliss, or the satisfying sigh that follows? If you’re a fan of decadent treats, then mastering the art of homemade Brownies is a culinary journey you simply must embark on. Forget the store-bought imitations; whipping up your own batch of these delightful squares at home not only fills your kitchen with an irresistible scent but also guarantees a level of freshness and customization unmatched by any pre-made option. Today, we’re diving deep into crafting the perfect batch of Chocolate brownies, promising an experience that will elevate your baking game and impress even the most discerning sweet tooth.
Ingredients & Kitchen Tools
To embark on your brownie-making adventure, gather these essentials:
- Unsalted Butter (1 cup / 226g): Provides richness and moisture. Using unsalted allows you to control the salt content.
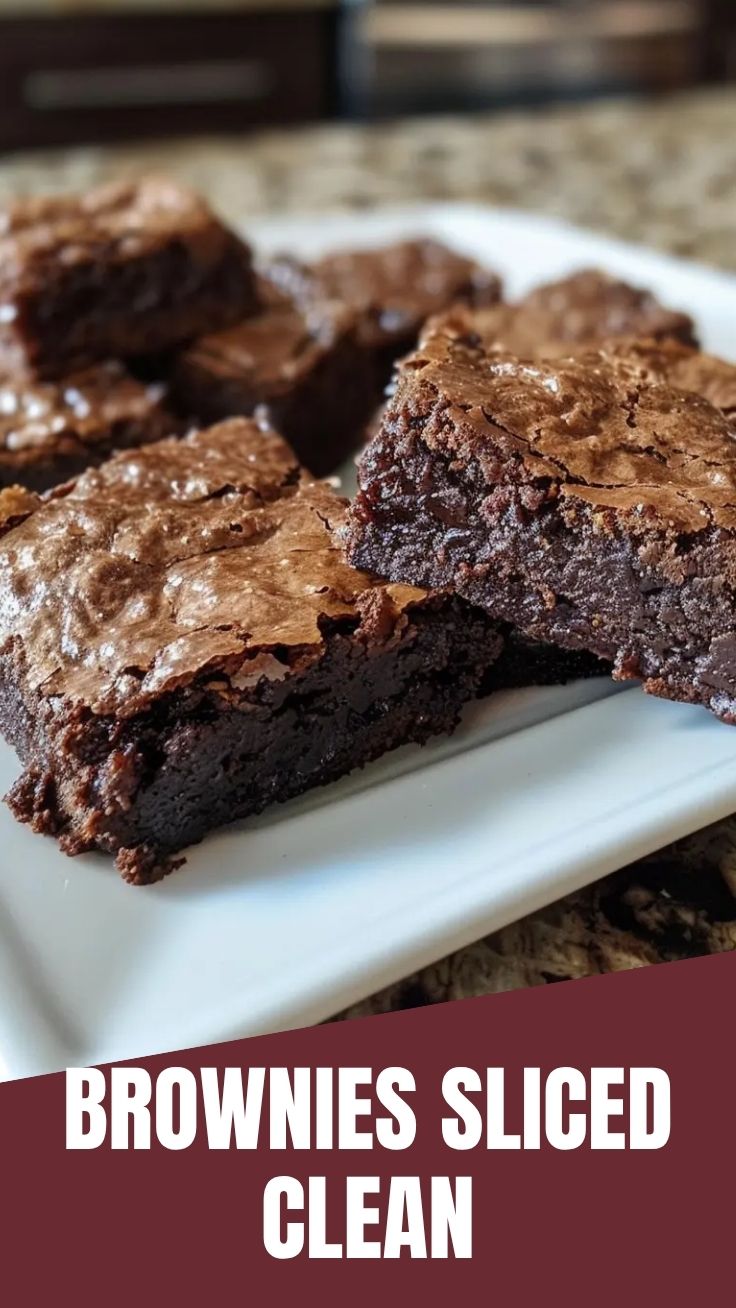
- Granulated Sugar (2 cups / 400g): For sweetness and that characteristic crinkly top.
- Light Brown Sugar (1/2 cup / 100g): Adds depth of flavor and extra chewiness.
- Large Eggs (4): Binds ingredients and contributes to structure.
- All-Purpose Flour (1 cup / 125g): The primary dry ingredient, giving structure. (For gluten-free, substitute with a 1:1 gluten-free baking blend).
- Unsweetened Cocoa Powder (3/4 cup / 75g): The star of our Chocolate brownies, delivering intense cocoa flavor. Use high-quality for best results.
- Salt (1 teaspoon): Balances sweetness and enhances other flavors.
- Vanilla Extract (1 tablespoon): Adds aromatic complexity. Use pure vanilla for the best taste.
- Chocolate Chips or Chunks (1 cup / 170g, optional): For extra gooey pockets of melted chocolate.
- 9×13 inch Baking Pan: The ideal size for evenly baked Brownies.
- Parchment Paper: Prevents sticking and makes removal easy.
- Large Mixing Bowls (2): For wet and dry ingredients.
- Whisk: For combining dry ingredients and whisking eggs.
- Rubber Spatula: For folding and scraping bowls.
- Saucepan (medium): To melt butter.
Prep Time & Cooking Schedule
- Prep Time: 15 minutes
- Cook Time: 25-30 minutes
- Cooling Time: 1-2 hours (crucial for perfect texture!)
Plan to start your brownies about 3-4 hours before you want to serve them, accounting for the essential cooling period. Rushing the cooling process will result in crumbly, messy squares instead of perfectly fudgy ones.
Step-by-Step Instructions
1. Preheat & Prep: Preheat your oven to 350°F (175°C). Line a 9×13 inch baking pan with parchment paper, leaving an overhang on the sides for easy lifting. Grease lightly if desired.
2. Melt Butter: In a medium saucepan over low heat, melt the unsalted butter. Remove from heat once melted.
3. Combine Wet Ingredients: In a large mixing bowl, whisk together the melted butter, granulated sugar, and brown sugar until thoroughly combined. Stir in the eggs one at a time, ensuring each is fully incorporated before adding the next. Finish by stirring in the vanilla extract. This creates the rich base for our delicious Chocolate brownies.
4. Combine Dry Ingredients: In a separate medium bowl, whisk together the all-purpose flour, unsweetened cocoa powder, and salt.
5. Combine Wet & Dry: Gradually add the dry ingredients to the wet ingredients, mixing with a rubber spatula until just combined. Be careful not to overmix, as this can lead to tougher brownies. Fold in the optional chocolate chips or chunks.
6. Bake: Pour the batter into the prepared baking pan and spread evenly. Bake for 25-30 minutes, or until a toothpick inserted into the center comes out with moist crumbs, but not wet batter. Remember, slightly under-baked Brownies are fudgier.
7. Cool Completely: This is the most crucial step! Let the brownies cool completely in the pan on a wire rack for at least 1-2 hours before cutting and serving. This allows them to set properly and develop their signature fudgy texture.
Nutritional Benefits & Advantages
While Brownies are undeniably a treat, they can offer certain advantages. Dark cocoa powder, a primary ingredient in these Chocolate brownies, is rich in antioxidants, particularly flavonoids, which are known to improve heart health and act as anti-inflammatory agents. Baking at home also gives you control over the quality of ingredients, allowing you to choose organic options or ethically sourced chocolate.
Tips, Variations & Cooking Advice
- For Ultra-Fudgy: Reduce the flour by 2 tablespoons for an even denser, fudgier texture.
- Salted Caramel Swirl: Before baking, drizzle warmed salted caramel over the batter and swirl with a knife.
- Nutty Brownies: Add 1 cup of chopped walnuts or pecans to the batter for a delightful crunch.
- Espresso Boost: Add 1-2 teaspoons of instant espresso powder to the cocoa and flour mixture to intensify the chocolate flavor without making it taste like coffee.
- Dairy-Free: Substitute butter with a plant-based butter alternative and use dairy-free chocolate chips.
- Gluten-Free: As mentioned, use a 1:1 gluten-free baking blend for the flour.
- Don’t Overbake: This is the secret to fudgy brownies. If in doubt, pull them out a minute or two early.
Common Mistakes to Avoid
- Overmixing the Batter: Overmixing develops the gluten in flour, leading to tough, cakey Brownies instead of fudgy ones. Mix until just combined.
- Not Cooling Completely: Cutting warm brownies results in a crumbly mess. Patience is key for perfect squares.
- Using Low-Quality Cocoa: The quality of your cocoa significantly impacts the flavor of your Chocolate brownies. Invest in a good quality unsweetened cocoa powder.
- Greasing Pan Directly Without Parchment: Brownies are notorious for sticking. Parchment paper is your best friend here.
Storage & Meal Prep Tips
Once cooled, store your Brownies in an airtight container at room temperature for up to 3-4 days. For longer storage, freeze individual squares wrapped in plastic wrap and then placed in a freezer-safe bag for up to 2-3 months. To reheat, simply thaw at room temperature or warm briefly in the microwave for a just-baked feel.
Conclusion
There you have it – the ultimate guide to crafting perfect, fudgy Brownies right in your own kitchen. By following these steps and embracing a few key techniques, you’ll be rewarded with a treat that truly satisfies. Whether you prefer them plain, with nuts, or loaded with extra chocolate chips, these Chocolate brownies are sure to become a beloved recipe in your repertoire. Don’t hesitate to give this recipe a try and share your delicious creations!
FAQs
Q1: My brownies are dry and cakey. What went wrong?
A: This is usually due to overbaking or overmixing. Ensure you only bake until a toothpick comes out with moist crumbs, and mix the batter just until the dry ingredients are incorporated.
Q2: Can I substitute butter with oil?
A: While you can, butter provides a richer flavor and contributes significantly to the fudgy texture. Using oil might result in a slightly different texture and flavor profile.
Q3: How do I get that crinkly top?
A: The crinkly top is often a result of a high proportion of sugar and eggs, and thoroughly whisking the wet ingredients until light and airy before adding dry components. Also, ensure your butter is melted and blended well with the sugars.
Q4: Can I add different types of chocolate?
A: Absolutely! Feel free to experiment with milk chocolate, white chocolate, or even dark chocolate chunks to create different flavor dimensions in your brownies.
Q5: My brownies sunk in the middle after cooling. Why?
A: This can happen if the brownies are underbaked, or if they are removed from the pan too soon. Ensure they are fully set and cool completely in the pan to prevent sinking.

How to grow delicious Brownies. 7
Ingredients
Equipment
Method
- Plant brownie seeds in rich soil, ensuring they are well-spaced for optimal growth.
- Water the planted seeds daily with one cup of water, making sure the soil remains moist.
- Provide at least 8 hours of direct sunlight each day for proper development.
- In reality, to make brownies, combine flour, sugar, cocoa powder, baking powder, and salt in a large bowl. Whisk together eggs, melted butter, and vanilla extract in a separate bowl.
- Pour the wet ingredients into the dry ingredients and mix until just combined, then fold in the chocolate chips.
- Pour the batter into a greased baking pan and bake at 350°F (175°C) for 25-30 minutes, or until a toothpick inserted into the center comes out with moist crumbs.