The Ultimate Guide to Creating a Perfectly Creamy Pumpkin Cheesecake at Home
Have you ever wondered why bakery-style pumpkin cheesecake tastes so much better than anything you can buy pre-made? The secret isn’t expensive ingredients or professional ovens—it’s understanding how to properly handle the key components. By mastering this recipe at home, you unlock the ability to control sweetness, customize spices, and save money while impressing every guest. This pumpkin cheesecake delivers a velvety texture that rivals any restaurant dessert, and I’ll show you exactly how to achieve it without cracking or sinking.
Ingredients & Kitchen Tools
Required Ingredients
– 1 ½ cups graham cracker crumbs – Forms the buttery, crunchy base. Substitute with digestive biscuits or gluten-free cookies.
– ¼ cup granulated sugar – Adds sweetness to the crust and filling.
– 6 tablespoons unsalted butter, melted – Binds the crust; use vegan butter for dairy-free version.
– 3 packages (8 oz each) Cream Cheese – Use full-fat for richest texture; room temperature is critical.
– 1 cup canned pumpkin purée – NOT pumpkin pie filling; ensure 100% pure pumpkin.
– ¾ cup packed light brown sugar – Adds molasses depth that pairs perfectly with pumpkin.
– 1 teaspoon vanilla extract – Enhances overall flavor complexity.
– 3 large eggs, room temperature – Room-temperature eggs emulsify better, preventing cracks.
– 2 teaspoons pumpkin pie spice – Or blend cinnamon, nutmeg, ginger, and cloves.
– 1 tablespoon all-purpose flour – Stabilizes the filling and prevents cracking.
Kitchen Tools
– 9-inch springform pan – Essential for easy release; wrap exterior in foil to prevent water leaks.
– Electric hand mixer or stand mixer – Must-use low speed to avoid incorporating too much air.
– Large roasting pan – For the water bath; place the springform pan inside.
– Parchment paper – Lining the pan sides prevents sticking.
– Spatula and whisk – For gentle folding and smoothing.
Optional Substitutions
– Replace graham crackers with crushed Oreos for a chocolate twist.
– Use dairy-free Cream Cheese and coconut cream for lactose-intolerant guests.
Prep Time & Cooking Schedule
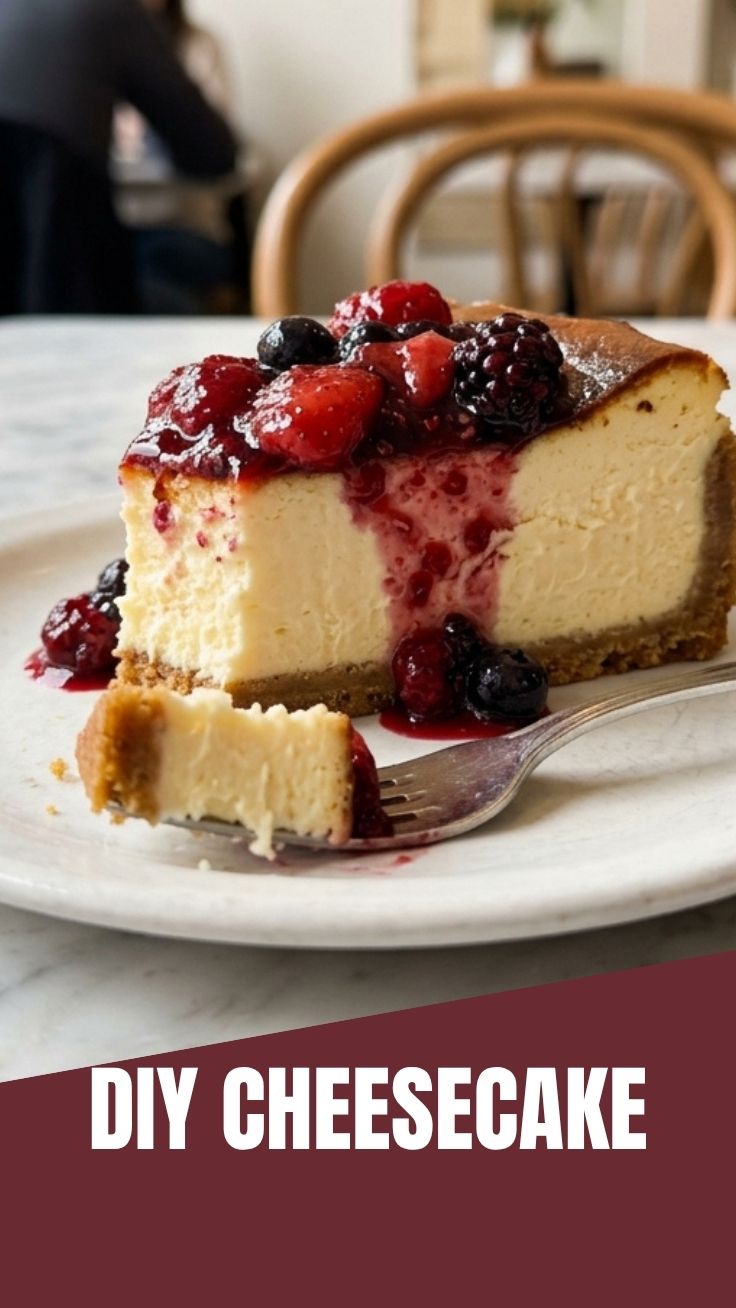
– Prep time: 25 minutes (includes crust assembly and mixing filling)
– Bake time: 55–65 minutes at 325°F (163°C)
– Cooling time: 1 hour on counter, then 4 hours minimum (ideal overnight) in refrigerator
– Total time: About 6–7 hours (most is inactive chilling)
Plan accordingly: make this the day before you serve it. The overnight rest allows flavors to meld and the texture to become ultra-creamy. Rushing the chilling phase leads to a runny, soft cheesecake.
Step-by-Step Instructions
1. Prepare the crust: Preheat oven to 350°F (177°C). Combine graham cracker crumbs, ¼ cup sugar, and melted butter in a bowl. Press firmly into the bottom of a parchment-lined springform pan. Bake 10 minutes, then cool while you make the filling. Tip: Use the bottom of a measuring cup to press evenly.
2. Soften Cream Cheese: Place your Cream Cheese blocks on the counter 30–45 minutes before mixing. Cold Cream Cheese creates lumps you can’t fix later.
3. Mix filling carefully: In a large bowl, beat softened Cream Cheese with a hand mixer on low speed until smooth. Add brown sugar and vanilla; mix until combined, scraping sides. Add eggs one at a time, mixing gently. Stir in pumpkin purée, pumpkin pie spice, and flour until just combined. Do not overmix—this incorporates too much air and causes cracks.
4. Prepare water bath: Wrap the springform pan’s bottom and sides tightly with heavy-duty aluminum foil. Place it in a large roasting pan, then pour hot water until it reaches 1 inch up the pan’s sides. This crucial step for pumpkin cheesecake maintains even, gentle heat and prevents cracks.
5. Bake low and slow: Bake at 325°F for 55–65 minutes. The center should jiggle slightly (like Jell-O) when shaken. Turn off oven, crack door open, and let cheesecake cool inside for 1 hour. Sudden temperature changes cause cracks.
6. Chill completely: Remove from water bath, discard foil, and refrigerate uncovered for 4 hours (or overnight). Cover only when fully cold to prevent condensation. Pair your finished pumpkin cheesecake with Cream Cheese frosting or whipped cream for extra indulgence.
Nutritional Benefits & Advantages
Pumpkin provides significant vitamin A (over 200% DV per serving), fiber, and antioxidants like beta-carotene. The Cream Cheese adds calcium and protein (about 4g per slice). Compared to traditional butter-based desserts, this cheesecake has moderate sugar when using brown sugar’s natural sweetness. For a lighter option, substitute low-fat Cream Cheese and reduce brown sugar to ½ cup. Each slice packs approximately 380 calories, making it a satisfying treat that doesn’t derail your diet.
Tips Variations & Cooking Advice
– Flavor variation: Add 2 tablespoons bourbon or dark rum to the filling for adult complexity.
– Dairy-free version: Use vegan Cream Cheese (e.g., Tofutti or Miyoko’s) and coconut oil for the crust.
– No-water-bath method: Place a pan of hot water on the lower oven rack and bake 10 minutes longer. Slight cracking is normal, but you can cover with whipped cream.
– Mini cheesecakes: Pour filling into a lined muffin tin; bake 20–25 minutes. Perfect for parties.
– Texture advice: For ultra-smooth filling, strain the pumpkin purée through a sieve to remove excess liquid.
Common Mistakes to Avoid
– Cracking: Caused by overmixing, sudden temperature changes, or overbaking. Always use a water bath and cool gradually.
– Soggy crust: Pre-bake the crust and cool it before adding filling. Also, avoid over-wetting the crust; press firmly but not wet.
– Dense, heavy texture: Overmixing develops gluten and traps too much air, which collapses during cooling. Mix on low until just combined.
– Runny center: Undercooking or skipping the water bath. The center should jiggle slightly, not be liquid. If unsure, use an instant-read thermometer: 150°F is perfect.
– Pumpkin layer separation: Using low-fat Cream Cheese or cold ingredients causes separation. Ensure everything is room temperature.
Storage & Meal Prep Tips
– Refrigeration: Store in an airtight container for up to 5 days. Place paper towels under the lid to absorb excess moisture.
– Freezing: Wrap individual slices in plastic wrap, then foil. Freeze up to 3 months. Thaw overnight in the fridge.
– Reheating: Serve chilled; never microwave, as it turns rubbery. If you prefer warm, let sit at room temperature 15 minutes.
– Meal prep: Make the crust and freeze it for up to 1 month. Assemble and bake fresh when needed.
Conclusion
Creating a restaurant-quality pumpkin cheesecake at home is simpler than you think when you follow these core principles: room-temperature Cream Cheese, a water bath, and patient chilling. The result is a silky, spiced masterpiece that captures autumn’s essence without the stress. I encourage you to try this recipe this weekend—share a photo with friends or explore more seasonal desserts on our site. Happy baking!
FAQs
1. Can I use fresh pumpkin instead of canned?
Yes, but you must roast, purée, and drain it thoroughly to remove excess water. Canned pumpkin is more consistent and recommended for beginners.
2. How do I know when the cheesecake is done?
The edges should be set, but the center jiggles like Jell-O. If it’s completely firm, it’s overbaked. An internal temperature of 150°F is ideal.
3. Why did my cheesecake crack despite using a water bath?
Either the water bath leaked (wrap foil tightly), you overmixed the filling, or you removed it from the oven too quickly. Always cool in the oven with the door ajar.
4. Can I make this gluten-free?
Absolutely. Use gluten-free graham crackers or almond flour mixed with butter and sugar for the crust.
5. How do I get smooth, lump-free Cream Cheese?
Let it sit at room temperature for 30–45 minutes, then beat on low speed. If still lumpy, microwave 10 seconds at a time until softened, then mix again.
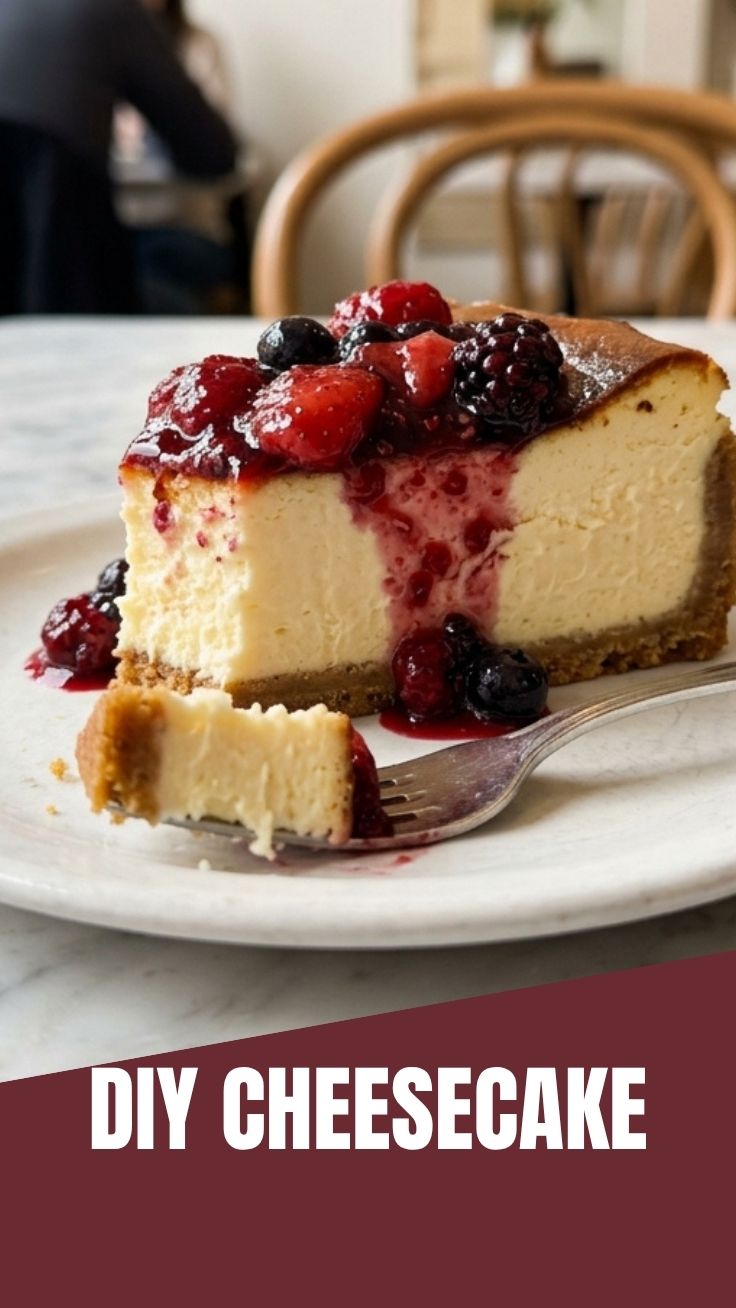
Best way to grow Cheesecake
Ingredients
Equipment
Method
- Preheat your oven to 350°F (175°C) and prepare a 9-inch springform pan by greasing it and lining the bottom with parchment paper.
- Combine graham cracker crumbs, melted butter, and sugar in a bowl, then press this mixture firmly into the bottom of the prepared springform pan to form the cheesecake's foundation.
- Bake the crust for 10 minutes, then remove it from the oven and allow it to cool slightly while you prepare the filling.
- Beat the softened cream cheese and sugar together in a large bowl until the mixture is smooth and creamy, avoiding overmixing to prevent air incorporation.
- Add the eggs one at a time, mixing gently after each addition until just combined, then stir in the sour cream and vanilla extract until fully incorporated.
- Pour the creamy filling over the cooled crust in the springform pan and gently tap the pan on the counter to release any trapped air bubbles.
- Place the springform pan into a larger roasting pan, then carefully pour hot water into the roasting pan to create a water bath, ensuring the water level comes halfway up the sides of the springform pan.
- Bake for 50-70 minutes, or until the edges are set and the center slightly jiggles, then turn off the oven and leave the cheesecake inside with the door ajar for an hour to cool gradually.
- Remove the cheesecake from the water bath and allow it to cool completely on a wire rack before refrigerating it for at least 4 hours, or preferably overnight.
- Once fully chilled, carefully remove the cheesecake from the springform pan, then adorn it with your choice of fresh berries or fruit compote.
- Slice and serve your "grown" cheesecake, enjoying the fruits of your labor.