The Ultimate Guide to Baking a Moist and Decadent Chocolate Cake at Home
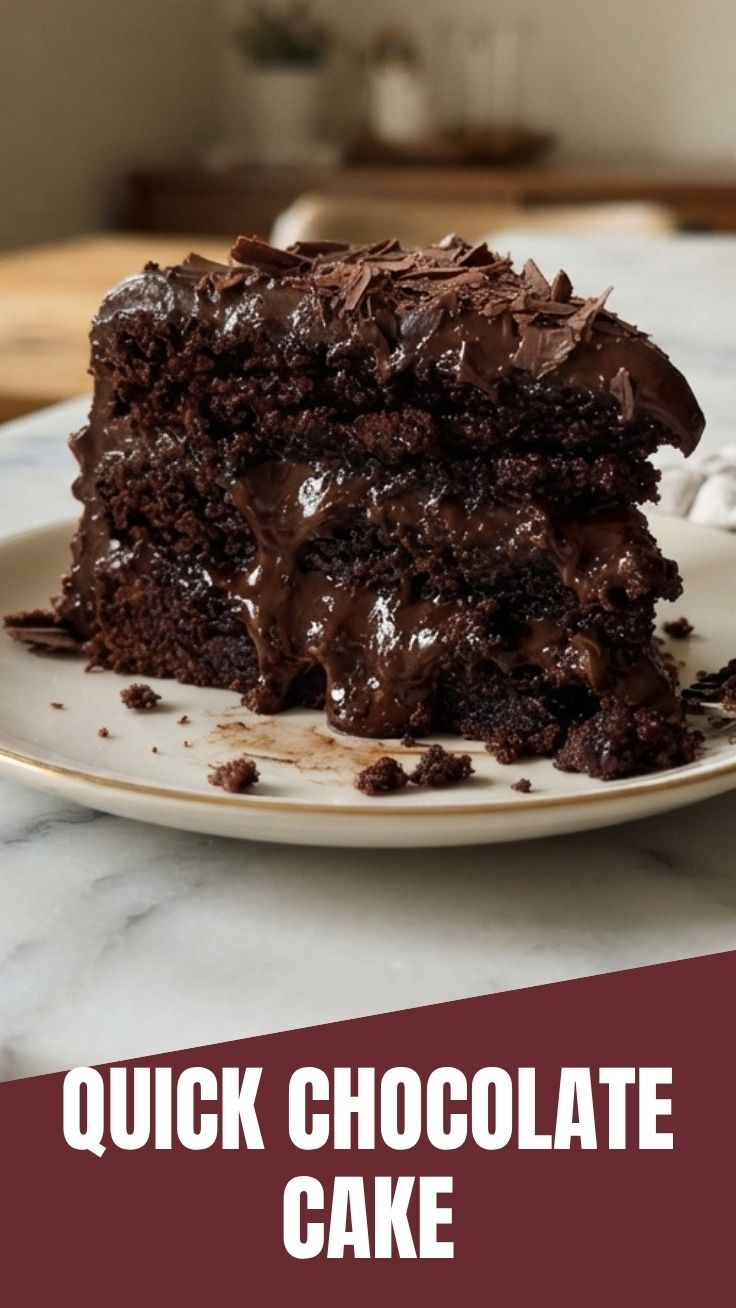
Have you ever bitten into a slice of store-bought cake only to feel disappointed by its dry texture or artificial taste? There’s nothing quite like the satisfaction of pulling a perfectly baked, rich, and fudgy Chocolate Cake from your own oven. Not only does homemade baking fill your kitchen with an irresistible aroma, but it also allows you to control the quality of every single ingredient. Whether you’re celebrating a birthday, hosting a dinner party, or simply craving a sweet indulgence, mastering this recipe is a game-changer. Today, we’ll walk through every detail to ensure your dessert is moist, deeply flavorful, and crowned with a silky-smooth Frosting that truly steals the show.
Ingredients & Kitchen Tools
For the Batter:
– All-purpose flour (2 cups) – Provides structure; sift for a lighter crumb.
– Unsweetened cocoa powder (¾ cup) – Use Dutch-processed for a deeper, more intense chocolate flavor.
– Granulated sugar (1¾ cups) – Sweetens and helps retain moisture.
– Baking soda (1½ tsp) – Essential for rise; do not substitute with baking powder alone.
– Salt (1 tsp) – Balances sweetness and enhances chocolate notes.
– Buttermilk (1 cup, room temperature) – The acid tenderizes gluten, yielding a velvety texture.
– Vegetable oil (½ cup) – Keeps the crumb moist longer than butter.
– Eggs (2 large, room temperature) – Adds richness and structure.
– Vanilla extract (2 tsp) – Rounds out the chocolate flavor.
– Hot coffee (1 cup, freshly brewed) – Deepens the cocoa profile without tasting like coffee.
For the Frosting:
– Unsalted butter (1 cup, softened) – Base for a creamy, spreadable consistency.
– Powdered sugar (3½ cups) – Sweetens and thickens.
– Cocoa powder (½ cup) – Sifted to avoid lumps.
– Heavy cream (¼ cup) – Adds luscious richness.
– Vanilla extract (1 tsp) – Aromatic lift.
Kitchen Tools:
– 9-inch round cake pans (2) – Grease and line with parchment.
– Stand mixer or hand mixer – For creaming and whipping.
– Rubber spatula – For folding batter without overmixing.
– Wire cooling rack – Prevents soggy bottoms.
– Offset spatula – For smooth frosting application.
Optional substitutions: Replace buttermilk with 1 cup milk + 1 tbsp lemon juice; use coconut oil instead of vegetable oil; substitute gluten-free flour blend for a GF version.
Prep Time & Cooking Schedule
| Stage | Time | Notes |
|——-|——|——-|
| Ingredients at room temp | 30 minutes | Eggs, buttermilk, and butter must warm up for proper emulsion. |
| Batter preparation | 15 minutes | Whisk dry ingredients separately; combine wet and dry gently. |
| Baking | 30–35 minutes | Oven at 350°F (177°C). Test with a toothpick—clean means done. |
| Cooling in pans | 10 minutes | Run a knife around edges, then invert onto rack. |
| Complete cooling | 1 hour | Do not frost a warm cake; it will melt the buttercream. |
| Frosting assembly | 20 minutes | Level domes if needed, then crumb coat and final layer. |
Total active time: Approximately 1 hour 45 minutes. Plan to start at least 3 hours before serving.
Step-by-Step Instructions
1. Preheat and prepare pans. Set oven to 350°F (177°C). Grease two 9-inch round pans with butter, dust with cocoa powder (not flour—no white streaks), and line bottoms with parchment paper.
2. Whisk dry ingredients. In a large bowl, combine flour, cocoa powder, sugar, baking soda, and salt. Sift if lumpy. This aerates the mix for a lighter crumb.
3. Combine wet ingredients. In a separate bowl, whisk buttermilk, oil, eggs, and vanilla until smooth. Gradually pour into the dry mixture, stirring gently until just combined—overmixing develops gluten, making the cake tough.
4. Add hot coffee. Slowly stream in the freshly brewed hot coffee while stirring continuously. The batter will look thin and soupy. This is normal! The hot liquid blooms the cocoa, amplifying the chocolate depth.
5. Bake with precision. Divide batter evenly into prepared pans. Bake for 30–35 minutes. The edges will pull away from the pans, and a toothpick inserted in the center should come out clean or with a few moist crumbs. Cool in pans for 10 minutes, then transfer to a wire rack to cool completely.
6. Make the frosting. Beat softened butter until creamy. Gradually add sifted powdered sugar and cocoa powder, alternating with heavy cream. Add vanilla, then whip on medium-high for 2 minutes until light and fluffy.
7. Assemble and frost. Place one cake layer on a plate. Spread a generous layer of Frosting on top. Add the second layer, then apply a thin crumb coat. Refrigerate for 15 minutes, then finish with a thick, smooth layer. The result is an irresistible chocolate cake with a creamy, decadent finish that feels like a bakery masterpiece.
Nutritional Benefits & Advantages
This homemade chocolate cake isn’t just a treat for your taste buds—it offers surprising nutritional perks when made from scratch. Cocoa powder is rich in flavonoids, which are antioxidants linked to improved heart health and reduced inflammation. Using buttermilk provides calcium and probiotics for digestive wellness. By controlling the sugar and oil, you can reduce empty calories compared to store-bought versions. Plus, baking at home eliminates preservatives and artificial trans fats, making this a cleaner indulgence. Pairing it with a dark cocoa frosting adds a dose of magnesium and iron, supporting energy metabolism.
Tips Variations & Cooking Advice
– Flavor boosters: Add 1 tsp espresso powder to the batter for a mocha twist. Stir in dark chocolate chips for molten pockets.
– Dietary adaptations: For a gluten-free cake, swap flour with a 1:1 gluten-free baking blend. For a dairy-free version, use almond milk with apple cider vinegar as buttermilk, and coconut cream in the frosting.
– Baking method: If you prefer cupcakes, reduce baking time to 18–22 minutes. For a sheet cake, bake for 25–30 minutes.
– Portion tip: Double the recipe for a three-layer celebration cake, adjusting baking time by 5 minutes.
Common Mistakes to Avoid
– Overmixing the batter – This develops gluten, leading to a dense, rubbery texture. Mix until just combined; lumps are okay.
– Skipping the coffee – Water can replace coffee, but the subtle acidity in coffee enhances chocolate depth without adding caffeine flavor.
– Frosting a warm cake – The buttercream will melt and slide off. Always cool completely (about 1 hour).
– Using cold ingredients – Cold eggs and buttermilk won’t emulsify properly, resulting in a curdled batter and uneven crumb.
Storage & Meal Prep Tips
– Room temperature: Store in an airtight container for up to 2 days. Keep away from direct sunlight.
– Refrigeration: For longer storage, refrigerate for up to 5 days. Wrap tightly in plastic wrap to prevent drying.
– Freezing: Wrap unfrosted layers in plastic, then foil. Freeze for up to 3 months. Thaw overnight in the refrigerator before frosting.
– Reheating: For a freshly baked feel, microwave a slice for 10–15 seconds. The frosting will soften but remain delicious.
Conclusion
Now you have all the tools to create a show-stopping dessert that rivals any bakery. By following this guide, you’ve learned how to achieve a moist, tender crumb and a velvety frosting that complements the richness perfectly. Whether you’re a novice baker or a seasoned pro, this chocolate cake recipe is your ticket to homemade bliss. I encourage you to try it this weekend, share your creation on social media, or experiment with add-ins like raspberries or caramel. Don’t forget to explore our other dessert recipes for more inspiration—your next baking adventure awaits!
FAQs
1. Can I use milk instead of buttermilk?
Yes. Add 1 tablespoon of lemon juice or white vinegar to 1 cup of whole milk. Let it sit for 5 minutes before using—it mimics buttermilk’s acidity perfectly.
2. My cake came out dry. What went wrong?
Overbaking is the most common culprit. Check your oven temperature with an oven thermometer. Also, ensure you measured flour correctly (spoon and level, never scoop directly from the bag).
3. Can I make the frosting less sweet?
Absolutely. Reduce powdered sugar by ½ cup and add 2 tablespoons more heavy cream. For a less sweet alternative, use cream cheese frosting instead.
4. Why does my cake have a sunken center?
This usually happens if the oven door is opened too early (before 20 minutes) or if baking soda is expired. Always preheat fully and avoid peeking.
5. How do I prevent the frosting from cracking?
If your frosting looks dry, add a tablespoon of warm cream or milk and whip again. Always store the assembled cake in a cool place; extreme temperature changes cause cracking.
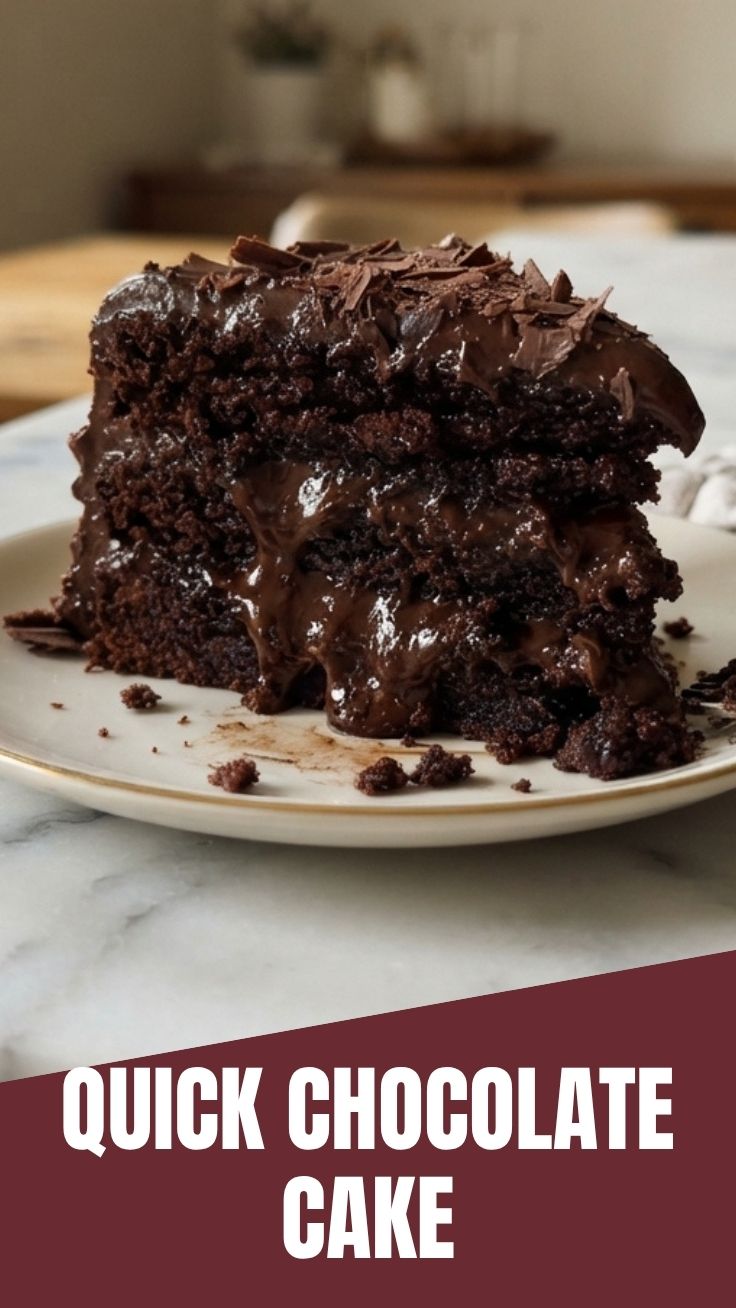
Proven way to grow a rich Chocolate Cake in 7 days. Chocolate Cake
Ingredients
Equipment
Method
- Gather your dry ingredients: cocoa powder, sugar, and flour. Imagine these as the fundamental "seeds" of your chocolate cake, ready to absorb flavor and form.
- With a gentle stirring motion, visualize mixing the dry ingredients in a large bowl. This initial blending symbolizes the careful preparation for your cake's growth.
- Add eggs, milk, and oil (or melted butter) to your dry ingredients. Whisk them together, imagining the batter gaining richness and depth with each addition.
- Introduce vanilla extract, baking powder, and baking soda to the mixture. Picture these ingredients infusing the cake with delightful flavors and helping it to "rise" in your imagination.
- Place your imagined cake batter in a warm, dark place. Let the aroma of rich chocolate fill your thoughts, building anticipation for the grand reveal.
- Consider what frosting and decorations you'll add. Envision the cake taking its final, delectable form.
- With a flourish, "unveil" your perfectly imagined chocolate cake. Adorn it with frosting and sprinkles, and savor the satisfaction of your week-long creative endeavor.