4-Ingredient Banana Oatmeal Breakfast Bars: The Ultimate Healthy Make-Ahead Meal
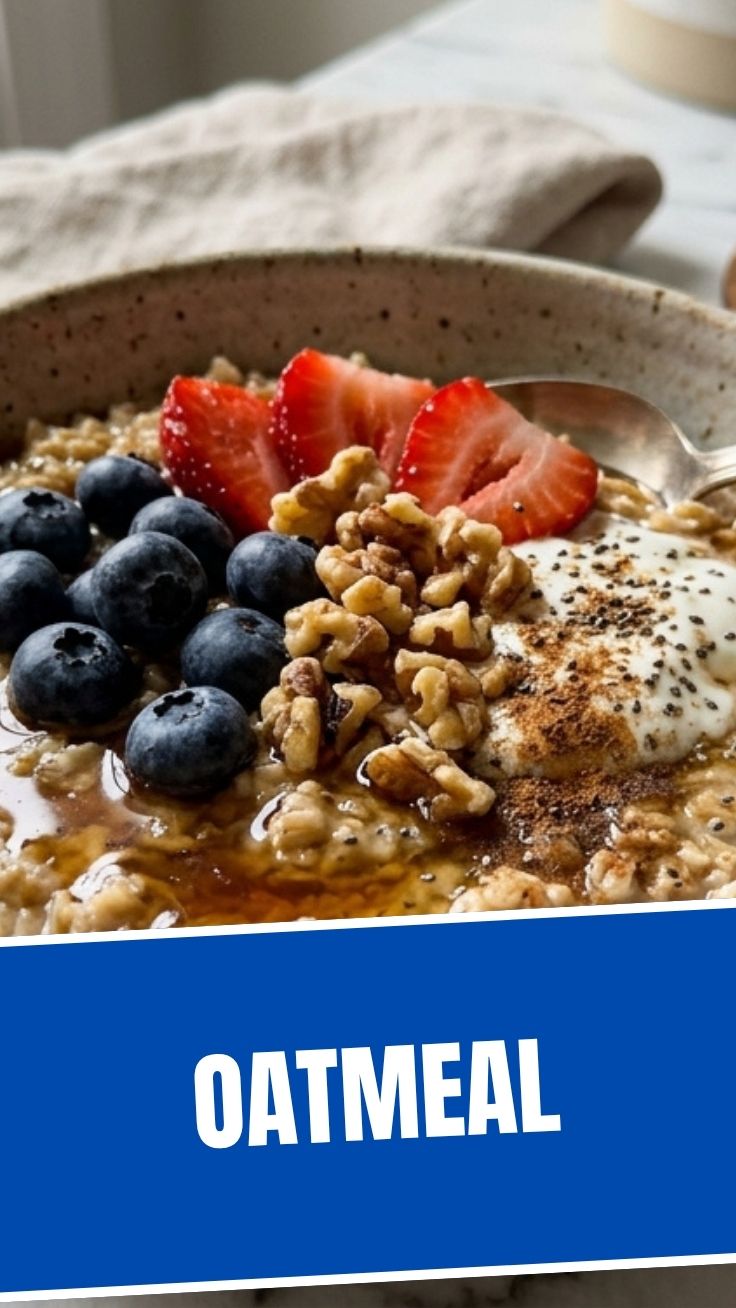
Have you ever woken up craving a warm, satisfying meal but found yourself rushing out the door with nothing but a coffee? You’re not alone. The solution lies in a humble bowl of Oatmeal—but transformed into portable, chewy bars that taste like dessert yet fuel your body for hours. Preparing these bars at home saves money, avoids processed additives, and lets you control every ingredient. In this data-backed guide, I’ll show you how to create the perfect batch of healthy Breakfast bars that stay fresh all week.
Ingredients & Kitchen Tools
Ingredients (yields 9 bars)
– 2 cups rolled oats (use certified gluten-free if needed)
– 2 ripe medium bananas (the riper, the sweeter)
– ½ cup unsweetened almond milk (or any milk)
– ¼ cup honey or maple syrup (optional; bananas provide natural sweetness)
– ½ teaspoon cinnamon
– ¼ teaspoon salt
– Optional add-ins: ¼ cup dark chocolate chips, chopped nuts, dried fruit, or chia seeds
Kitchen Tools
– 8×8-inch baking pan (lined with parchment paper)
– Mixing bowl and fork (for mashing)
– Measuring cups/spoons
– Oven preheated to 350°F (175°C)
Substitutions
– Bananas → ½ cup unsweetened applesauce
– Oats → quick oats (texture slightly softer)
– Milk → water, coconut milk, or yogurt thinned with water
Prep Time & Cooking Schedule
– Prep time: 10 minutes
– Bake time: 25–28 minutes
– Cool time: 15 minutes (essential for clean slicing)
– Total time: ~50 minutes
Plan ahead: These bars are perfect for Sunday meal prep. Bake them, cool completely, then refrigerate for grab-and-go mornings all week.
Step-by-Step Instructions
1. Preheat & prep pan – Line an 8×8 pan with parchment paper, leaving overhang for easy lifting.
2. Mash bananas – In a large bowl, mash the bananas until smooth with only a few small lumps.
3. Mix wet ingredients – Add milk and honey (if using) to the mashed bananas. Stir until combined.
4. Add dry ingredients – Fold in oats, cinnamon, and salt. Stir until every oat is moistened. Pro tip: Let the batter rest for 5 minutes so oats absorb liquid – this yields a chewier bar, not a dry one.
5. Fold in extras – Gently stir in chocolate chips or nuts if desired.
6. Spread & press – Transfer mixture to the pan. Use a spatula or wet fingers to press firmly into an even layer. The tighter the press, the less crumbly your Oatmeal bars will be.
7. Bake – Place on the middle oven rack. Bake for 25 minutes, then check: edges should be golden, center firm to the touch. For a crispier top, bake 2–3 minutes more.
8. Cool completely – Lift bars out using parchment. Cool on a wire rack for at least 15 minutes before slicing. Cutting while warm causes crumbling.
9. Slice & serve – Use a sharp knife to cut into 9 squares. Enjoy at room temperature or reheated. These bars make a protein-packed Breakfast that keeps you full until lunch.
Note on texture: If you prefer softer bars, reduce baking time by 2 minutes. For crunchier bars, broil on low for 1 minute after baking.
Nutritional Benefits & Advantages
Each bar (without add-ins) contains approximately:
– Calories: 130–150
– Fiber: 4 g (16% DV)
– Protein: 4 g
– Sugar: 8 g (natural from banana and honey)
– Fat: 2 g
Why this matters: Rolled oats are rich in beta-glucan, a soluble fiber that lowers LDL cholesterol and stabilizes blood sugar. Bananas provide potassium (helps muscle function) and resistant starch (feeds gut bacteria). Using almond milk keeps the recipe dairy-free while adding vitamin E. These bars are naturally vegan if you replace honey with maple syrup.
Tips, Variations & Cooking Advice
– Flavor variations
– Peanut butter & jelly: Swirl in 2 tbsp peanut butter before baking; top with 1 tbsp strawberry chia jam.
– Apple cinnamon: Replace banana with ½ cup unsweetened applesauce + 1 small diced apple.
– Chocolate coconut: Add 2 tbsp shredded coconut and ¼ cup dark chocolate chips.
– Dietary adaptations
– Gluten-free: Use certified gluten-free oats.
– Sugar-free: Omit honey; use very ripe bananas (3 instead of 2) for extra sweetness.
– Higher protein: Mix in 2 scoops vanilla plant-based protein powder (reduce oats by ¼ cup).
– Alternative cooking methods
– No oven? Use an air fryer at 325°F for 12–15 minutes.
– Microwave: Pour batter into a microwave-safe dish and cook on high for 3–4 minutes (texture will be softer, more like a baked oatmeal).
– Portion changes – Double the recipe for a 9×13 pan; bake 30–35 minutes.
Common Mistakes to Avoid
| Mistake | Solution |
|———|———-|
| Bars too crumbly | Press mixture very firmly; add 1–2 tbsp extra almond milk if batter seems dry. |
| Too dense/gummy | Over-mixing develops gluten in oats? Actually, oats have no gluten, but too much liquid makes a gummy bar. Reduce milk by 1 tbsp next time. |
| Burned edges, raw center | Oven temperature may be too high. Bake at 350°F; if edges brown quickly, cover with foil for last 10 minutes. |
| Sticks to pan | Always line with parchment paper – don’t skip this step. |
| Not sweet enough | Use very ripe bananas (brown spots) and add a dash of vanilla extract to enhance perceived sweetness. |
Storage & Meal Prep Tips
– Refrigerator: Store in an airtight container with parchment between layers for up to 5 days.
– Freezer: Wrap each bar individually in plastic wrap, then place in a zip-top bag. Freeze for up to 3 months.
– Reheating: Microwave for 20–30 seconds for a just-baked texture. For a crisp exterior, reheat in a toaster oven at 350°F for 5 minutes.
– Meal prep: Slice bars and pack in portion-sized containers. Pair with a hard-boiled egg or Greek yogurt for a balanced breakfast.
Conclusion
Making your own Oatmeal bars at home is a game-changer for busy mornings. With just four base ingredients and endless customization, you can enjoy a wholesome, satisfying Breakfast that fuels your day without the processed sugars and preservatives found in store-bought options. Try this recipe this weekend, share your variations in the comments, or tag me on social media. Your taste buds—and your schedule—will thank you.
FAQs
1. Can I use quick oats instead of rolled oats?
Yes. Quick oats absorb more liquid, so reduce milk by 1–2 tablespoons. The bars will be slightly softer but still hold together.
2. Why did my bars turn out dry?
Likely overbaked or oats absorbed too much moisture. Check at 25 minutes next time. Also ensure bananas are very ripe – they provide moisture naturally.
3. Can I make these without a sweetener?
Absolutely. Use 3 large very ripe bananas (brown spots) – they’re sweet enough on their own. You can also add a few soaked dates blended into the banana mixture.
4. How do I make them nut-free?
Replace almond milk with oat milk or regular milk. Omit any nut-based add-ins like peanuts or almonds. The recipe itself uses only oats, bananas, and milk, so it’s naturally nut-free with the right milk choice.
5. Can I double the recipe?
Yes, use a 9×13-inch pan and increase bake time to 30–35 minutes. Check doneness by inserting a toothpick – it should come out clean or with a few moist crumbs.
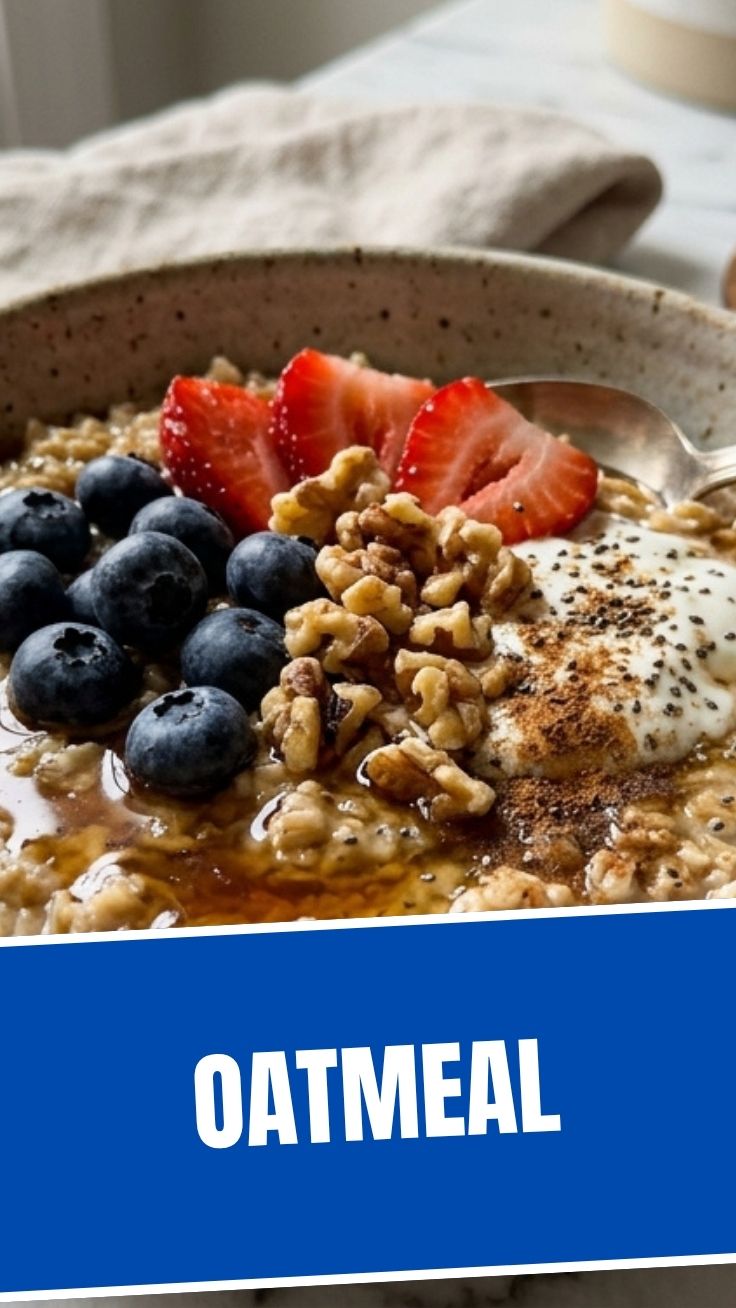
Proven way to grow oatmeal: 7 perfect methods oatmeal
Ingredients
Equipment
Method
- Choose a sunny location with well-draining soil and prepare the bed by removing weeds and loosening the soil to a depth of 6-8 inches.
- Mix in compost to enrich the soil, providing essential nutrients for oat growth.
- Plant oat seeds 1 inch deep and 2-3 inches apart in rows, with rows spaced 6-8 inches apart.
- Gently cover the seeds with soil and water thoroughly to encourage germination.
- Water regularly, especially during dry spells, keeping the soil consistently moist but not waterlogged.
- Fertilize with organic fertilizer every 4-6 weeks if desired, to promote healthy growth.
- Monitor for pests and diseases, applying neem oil or other organic pest control methods as needed.
- Harvest oats when the grains are plump and hard, and the stalks have turned golden brown, typically 75-100 days after planting.
- Cut the stalks near the base and allow them to dry in a cool, well-ventilated area for 1-2 weeks before threshing and storing the grains.