Why This Classic Dessert Deserves a Spot on Your Holiday Table
Have you ever wondered why some desserts become timeless traditions, passed down through generations while others fade into obscurity? The answer lies in the perfect balance of texture, flavor, and nostalgia. When you bite into a slice of Pecan Pie, the contrast between the buttery, flaky crust and the rich, gooey filling studded with toasted nuts creates an experience that is nothing short of magical. Preparing this beloved dessert at home not only saves money compared to bakery versions but also allows you to control the quality of ingredients, adjust sweetness to your preference, and infuse every bite with the love that only homemade treats can carry. Whether you’re a seasoned baker or a curious beginner, mastering this recipe will elevate your dessert game and earn you compliments that last long after the last crumb is gone. For those who enjoy exploring various pecan recipes, this classic pie serves as the perfect foundation for creativity and culinary experimentation.
Ingredients & Kitchen Tools (H2)
For the Crust
– 1 ¼ cups all-purpose flour – Provides structure; use a kitchen scale for accuracy
– ½ teaspoon salt – Enhances flavor and strengthens gluten
– ½ cup cold unsalted butter, cubed – Creates flakiness; keep chilled until use
– 3–4 tablespoons ice water – Binds dough without developing gluten
For the Filling
– 1 cup light corn syrup – Traditional sweetener; substitute with honey or maple syrup
– ¾ cup packed brown sugar – Adds depth and moisture
– 3 large eggs – Bind and set the filling
– ¼ cup melted butter – Enriches texture
– 1 teaspoon vanilla extract – Enhances nutty notes
– ½ teaspoon salt – Balances sweetness
– 1 ½ cups pecan halves – Toast lightly for maximum flavor
Essential Tools
– 9-inch pie dish (glass or ceramic recommended)
– Rolling pin
– Mixing bowls (medium and large)
– Whisk
– Measuring cups and spoons
– Sharp knife or pastry cutter
– Aluminum foil or pie shield (to prevent over-browning)
Prep Time & Cooking Schedule (H2)
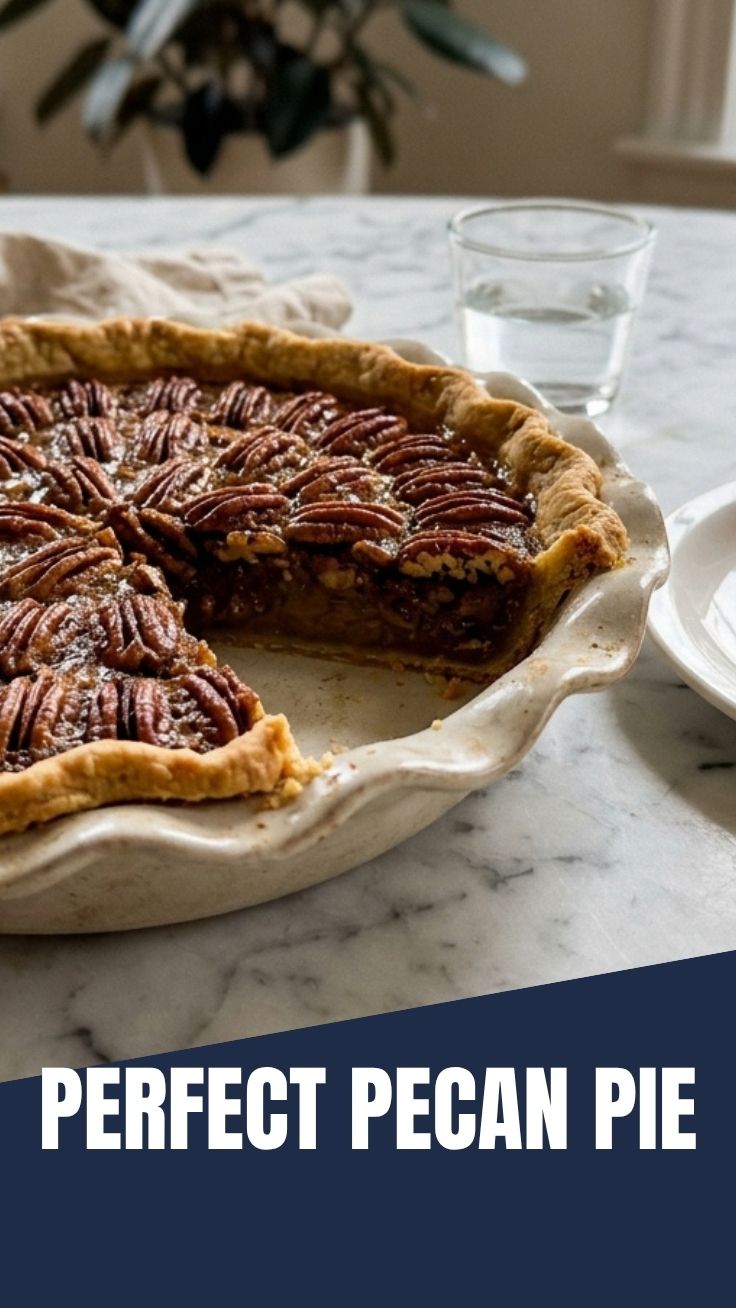
Understanding the timing is crucial for stress-free baking. Here’s your complete schedule:
– Prep Time: 25 minutes (includes making dough and assembling filling)
– Chill Time: 30 minutes (refrigerate dough before rolling)
– Bake Time: 45–50 minutes at 350°F (175°C)
– Cool Time: 2 hours (essential for setting the filling)
Planning Tip: Prepare the dough the night before and refrigerate overnight. This reduces active time on baking day and allows the gluten to relax, resulting in a more tender crust. The pie itself should be made at least 4 hours before serving to ensure proper cooling and slicing.
Step-by-Step Instructions (H2)
1. Prepare the crust: In a medium bowl, whisk flour and salt. Cut in cold butter using a pastry cutter or your fingertips until pea-sized crumbs form. Drizzle ice water one tablespoon at a time, mixing until dough just holds together. Flatten into a disk, wrap in plastic, and refrigerate for 30 minutes.
2. Roll the dough: On a lightly floured surface, roll the chilled dough to ⅛-inch thickness. Transfer to a 9-inch pie dish, trim edges, and crimp decoratively. Place in the refrigerator while you prepare the filling.
3. Toast the pecans: Spread pecan halves on a baking sheet and toast at 350°F for 5–7 minutes until fragrant. This step is non-negotiable—toasting deepens the nutty flavor and prevents sogginess in the final pie.
4. Make the filling: In a large bowl, whisk together corn syrup, brown sugar, eggs, melted butter, vanilla, and salt until smooth and glossy. Fold in toasted pecans.
5. Assemble and bake: Pour the filling into the chilled crust. Place on the bottom oven rack and bake at 350°F for 45–50 minutes. The filling should be set around the edges but slightly jiggly in the center—it will continue to set as it cools. If the crust browns too quickly, cover edges with aluminum foil or a pie shield.
6. Cool completely: Transfer to a wire rack and cool for at least 2 hours before slicing. For cleaner slices, refrigerate for 1 hour after cooling.
Temperature Control Tip: Always use an oven thermometer to verify actual temperature. Ovens can vary by up to 25°F, which significantly affects setting time. If you’re exploring other pecan recipes, this same filling technique works beautifully for mini tartlets or bars.
Nutritional Benefits & Advantages (H2)
Pecans are the nutritional powerhouse of this dessert, offering heart-healthy monounsaturated fats, fiber, and essential minerals like magnesium and zinc. A single ounce of pecans contains 2.7 grams of fiber and nearly 3 grams of protein, contributing to satiety and steady energy release. The butter in the crust provides vitamin A for eye health, while eggs supply high-quality protein and choline, which supports brain function. While this is undeniably a treat, choosing high-quality ingredients and controlling portion sizes (a ⅛ slice is typically sufficient) allows you to indulge responsibly. Compared to store-bought versions, homemade pie contains no preservatives, artificial flavors, or hydrogenated oils, making it a cleaner choice for your family.
Tips Variations & Cooking Advice (H2)
Flavor Variations
– Bourbon Pecan Pie: Add 2 tablespoons of bourbon to the filling for a smoky, Southern twist
– Chocolate Pecan Pie: Melt ½ cup semi-sweet chocolate chips into the butter before mixing
– Maple Pecan Pie: Replace corn syrup with pure maple syrup for a richer, less sweet profile
Dietary Adaptations
– Gluten-Free: Substitute all-purpose flour with a 1:1 gluten-free baking blend that contains xanthan gum
– Dairy-Free: Use coconut oil or vegan butter in the crust and filling
– Reduced Sugar: Replace half the brown sugar with monk fruit sweetener or erythritol
Cooking Advice
– Bake on the bottom rack to ensure a fully cooked crust
– Use a glass pie dish to monitor browning of the bottom crust
– If the filling bubbles over, place a baking sheet on the rack below to catch drips
Common Mistakes to Avoid (H2)
1. Overbaking the filling: A fully set center leads to a dry, cracked pie. Remove when the center wobbles like Jell-O.
2. Skipping the crust chill: Warm dough shrinks during baking, resulting in a shallow crust that can’t hold all the filling.
3. Using cold eggs: Room-temperature eggs emulsify better, creating a smoother, silkier filling.
4. Overmixing the dough: This develops gluten and yields a tough, chewy crust instead of a tender, flaky one.
5. Adding pecans without toasting: Raw pecans release moisture during baking, making the filling watery and less flavorful.
Storage & Meal Prep Tips (H2)
Refrigeration: Store leftover pie covered with plastic wrap or aluminum foil in the refrigerator for up to 5 days. The filling will firm up further, making slicing even cleaner.
Freezing: Whole baked pie freezes beautifully for up to 3 months. Wrap tightly in plastic wrap, then aluminum foil, and place in a freezer-safe bag. Thaw overnight in the refrigerator before serving.
Reheating: For that fresh-from-the-oven experience, warm individual slices in a 300°F oven for 10 minutes. Avoid microwaving, which makes the crust soggy and the filling rubbery.
Meal Prep: Prepare the crust dough up to 3 days in advance and refrigerate. Toast pecans up to 1 week ahead and store in an airtight container at room temperature.
Conclusion (H2)
Creating a memorable Pecan Pie at home is more than just following a recipe—it’s about embracing a tradition that brings warmth, sweetness, and connection to the table. From the initial crunch of the crust to the luscious, nutty filling that melts on your tongue, every element of this dessert tells a story of careful preparation and genuine care. Whether you serve it at Thanksgiving, Christmas, or a simple Sunday dinner, this pie will undoubtedly become a requested favorite. As you continue your culinary journey, don’t hesitate to explore other pecan recipes that expand your repertoire and delight your taste buds. Share your results, tag your photos, and most importantly, enjoy every single bite. Happy baking!
FAQs (H2)
Q1: Can I use a store-bought crust instead of making my own?
Absolutely. A high-quality refrigerated or frozen crust works well in a pinch. Blind-bake it for 10 minutes at 350°F before adding the filling to prevent a soggy bottom.
Q2: How do I know when the pie is done without an instant-read thermometer?
The pie is ready when the edges are puffed and set, but the center still jiggles slightly when gently shaken. The internal temperature should reach 200°F on an instant-read thermometer.
Q3: My filling turned out runny. What went wrong?
This usually happens from underbaking or using too much liquid. Ensure you measure corn syrup accurately and bake until the center is just set. Cooling completely is essential for the filling to firm up.
Q4: Can I make this pie ahead of time for a party?
Yes! Bake the pie 1–2 days in advance, cool completely, and refrigerate. Bring to room temperature before serving, or warm slices in a low oven for a fresh-from-the-oven taste.
Q5: How do I prevent the crust from burning?
Use a pie shield or strips of aluminum foil to cover the edges during the last 20 minutes of baking. Placing the pie on the bottom rack also helps distribute heat more evenly.
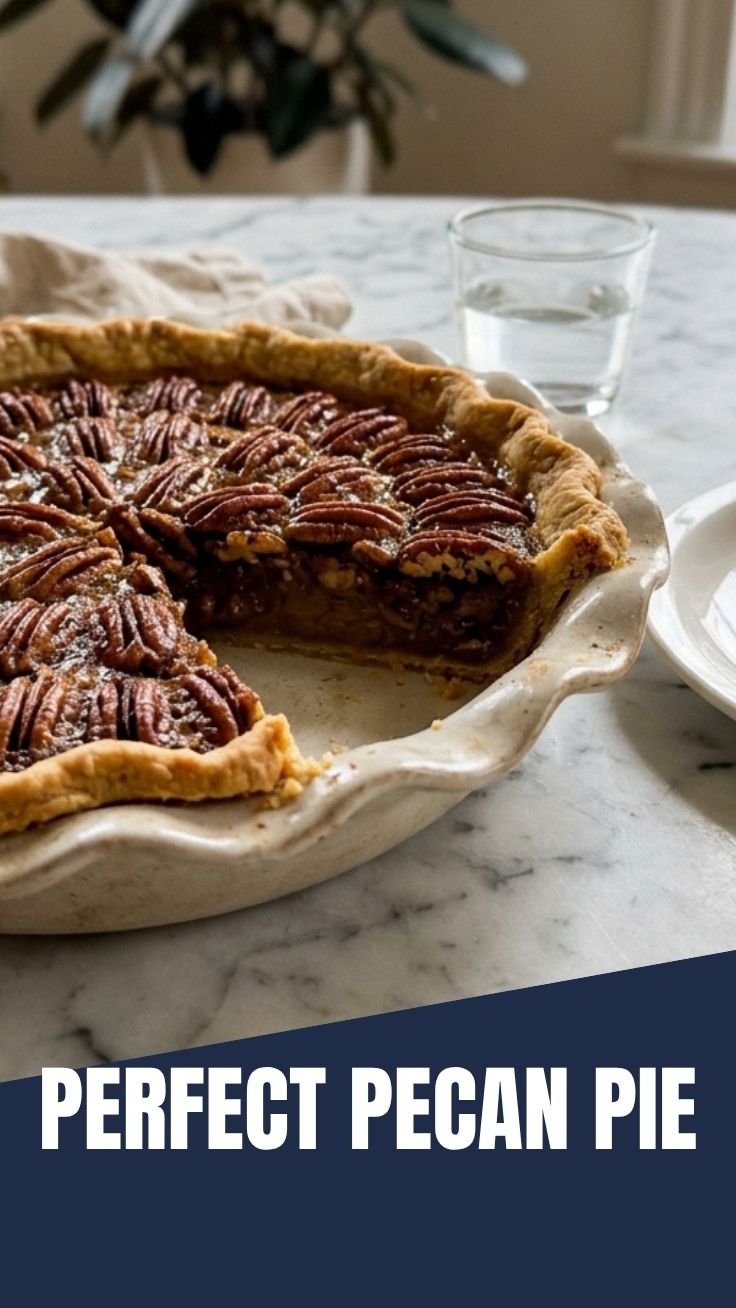
Best way to grow a perfect Pecan Pie
Ingredients
Equipment
Method
- Combine flour and salt, then cut in cold butter until pea-sized crumbs form. Gradually add ice water, mixing until a dough forms.
- Whisk eggs, sugar, corn syrup, melted butter, vanilla, and salt until well combined. Stir in the pecan halves.
- Pour the filling into the chilled pie crust and bake at 350°F (175°C) for 50-60 minutes, or until the center is set. Let cool completely before serving.