
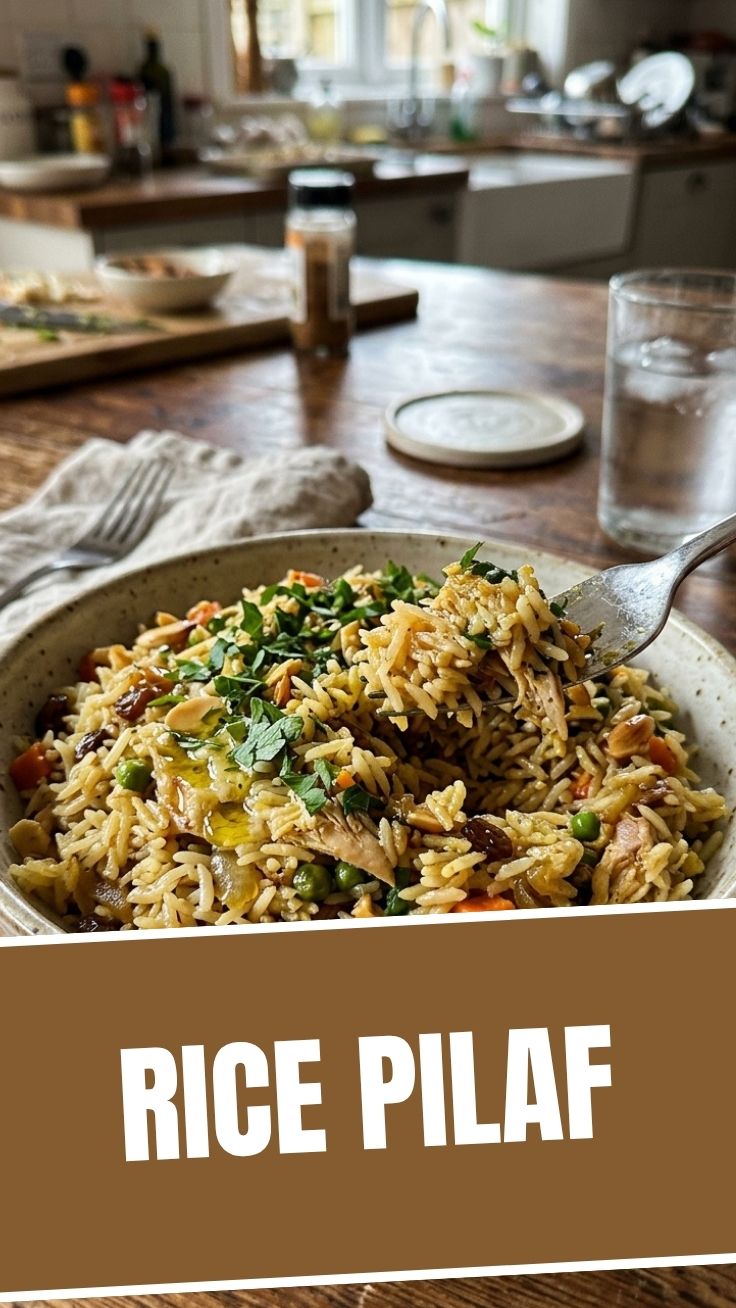
The Ultimate Guide to Perfectly Fluffy Rice Pilaf: A Step-by-Step Recipe
Have you ever wondered why restaurant-style Rice Pilaf always tastes light, fragrant, and never clumpy—while your homemade version turns out sticky or bland? The secret lies in the right grain choice, proper toasting technique, and a few chef-approved tricks. Mastering this classic side dish at home not only elevates any meal—from grilled meats to roasted vegetables—but also saves money and allows you to control every ingredient. Whether you are using long-grain Basmati or a blend of wild rice, a well-executed Rice Pilaf transforms a plain starch into a starring component. In this guide, you’ll learn why this versatile dish deserves a permanent spot in your weekly rotation and exactly how to achieve that coveted fluffy, aromatic texture every time.
—
Ingredients & Kitchen Tools
Ingredients
– 1½ cups Basmati rice (rinsed until water runs clear to remove excess starch)
– 2 tablespoons unsalted butter (or olive oil for a dairy-free version)
– 1 small yellow onion, finely diced (about ½ cup)
– 2 cloves garlic, minced
– 3 cups low-sodium chicken or vegetable broth (or water + bouillon)
– ½ teaspoon salt (adjust to taste)
– ¼ teaspoon black pepper
– ½ cup finely chopped fresh parsley (optional, for garnish)
Optional Substitutions
– Use jasmine rice or a long-grain white rice blend; adjust liquid ratio accordingly.
– Add ¼ cup slivered almonds or pine nuts for a nutty crunch.
– Swap butter for ghee or coconut oil for a richer flavor.
Kitchen Tools
– Medium heavy-bottomed saucepan with a tight-fitting lid (essential for even heat distribution)
– Fine-mesh strainer (for rinsing rice)
– Wooden spoon or silicone spatula
– Measuring cups and spoons
– Fork or rice paddle (for fluffing)
—
Prep Time & Cooking Schedule
– Prep time: 10 minutes (rinsing rice, dicing onion, mincing garlic)
– Cooking time: 25–30 minutes (toasting + simmering)
– Resting time: 10 minutes (off heat with lid on – crucial for steam absorption)
– Total time: ~45 minutes
This schedule works perfectly for a weeknight dinner: start the pilaf while you prepare a protein or vegetable side, then let it rest while you finish plating. The resting step is non-negotiable—it ensures every grain is separate and fluffy.
—
Step-by-Step Instructions
1. Rinse the rice. Place 1½ cups of Basmati in a fine-mesh strainer and rinse under cold water for about 1 minute until the water runs almost clear. This removes surface starch that causes stickiness. Drain well.
2. Toast the grains for depth. In the saucepan, melt 2 tablespoons butter over medium heat. Add the rinsed, drained rice and stir constantly for 2–3 minutes until the grains become slightly translucent and release a nutty aroma. This step is the hallmark of a classic Rice Pilaf—it locks in flavor and prevents clumping.
3. Sauté aromatics. Push the rice to one side of the pan, add the diced onion, and cook for 2 minutes until softened. Add minced garlic and cook 30 seconds more. Stir everything together.
4. Add liquid. Pour in 3 cups of broth (or water + bouillon), season with ½ teaspoon salt and ¼ teaspoon pepper. Stir once, then bring to a boil over high heat. Pro tip: Use warm broth to shorten the heating time and keep the rice grains from temperature shock.
5. Simmer and steam. Reduce heat to low, cover the pan with a tight-fitting lid, and simmer for 15–18 minutes (for Basmati) or until liquid is absorbed and small steam holes appear on the surface. Do not lift the lid during cooking—steam is essential.
6. Rest and fluff. Turn off the heat and let the pot sit covered for 10 minutes. Remove the lid, fluff the pilaf gently with a fork, then stir in fresh parsley if using. Serve immediately.
—
Nutritional Benefits & Advantages
Basmati rice is naturally lower in arsenic than many other varieties due to its growing region and provides a modest amount of fiber (about 1 g per cooked cup). When prepared with broth and butter, Rice Pilaf offers:
– Energy: Complex carbohydrates for sustained fuel.
– Satiety: The toasting process slightly reduces the glycemic index.
– Versatility: It pairs with lean proteins, vegetables, or legumes for a balanced plate.
For a lighter version, replace half the butter with olive oil and choose low-sodium broth to control sodium intake.
—
Tips Variations & Cooking Advice
– Flavor variations: Add a cinnamon stick, 2 cardamom pods, or a pinch of turmeric while toasting the rice for a Middle Eastern twist. Stir in dried cranberries, golden raisins, or chopped apricots during the last 5 minutes of cooking for a touch of sweetness.
– Dietary adaptations: For a vegan version, use olive oil instead of butter and vegetable broth. For gluten-free, ensure your broth is certified gluten-free (most are naturally).
– Cooking method swap: Use an Instant Pot: toast rice on Sauté mode, then pressure cook on High for 6 minutes with a 10-minute natural release. Liquid ratio remains the same (1:2 rice to broth).
– Portion changes: Double the recipe easily—just use a larger pot and keep the lid sealed. Cooking time increases by only 2–3 minutes.
—
Common Mistakes to Avoid
– Skipping the rinse: Unrinsed Basmati releases excess starch, leading to gummy, sticky pilaf. Always rinse until water is clear.
– Lifting the lid mid-cooking: Escaping steam disrupts the absorption process. Trust the timer.
– Over-stirring after cooking: Using a spoon instead of a fork can break the grains and create mush. Fluff gently.
– Using cold liquid: Cold broth extends cooking time unevenly. Warm it first or add boiling water.
—
Storage & Meal Prep Tips
Refrigeration: Cool pilaf completely, then transfer to an airtight container. Store for up to 4 days.
Freezing: Portion into freezer-safe bags, flatten, and freeze for up to 3 months. Thaw overnight in the fridge.
Reheating: Place pilaf in a skillet with a splash of water or broth, cover, and warm over medium-low heat for 3–5 minutes, fluffing occasionally. Alternatively, microwave in 30-second intervals with a damp paper towel over the bowl.
Pro tip: For meal prep, make a double batch on Sunday and use it as a base for grain bowls, stuffed peppers, or quick fried rice later in the week.
—
Conclusion
Making a perfect Rice Pilaf at home is not only achievable—it’s deeply rewarding. By choosing aromatic Basmati and following the toasting and resting steps, you guarantee a light, fluffy side dish that rivals any restaurant version. The technique is forgiving once you understand the science: rinsing removes starch, toasting locks in flavor, and resting distributes moisture evenly. We encourage you to try this recipe tonight and share your results—tag us or leave a comment below. And if you loved the method, you’ll enjoy our related guides on savory grains and one-pot meals.
—
FAQs
Q: Can I use brown Basmati instead of white?
A: Yes, but increase the liquid to 3½ cups and simmer for 40–45 minutes. The nutty flavor is even more pronounced.
Q: My rice turned out mushy. What went wrong?
A: Most likely you added too much liquid or didn’t let it rest. Stick to a 1:2 ratio (rice to liquid) and always rest for 10 minutes.
Q: Can I make this Rice Pilaf without butter for a dairy-free diet?
A: Absolutely. Use olive oil, avocado oil, or vegan butter. The toasting step still works beautifully with oil.
Q: How do I add more color to the pilaf?
A: Stir in ¼ teaspoon of turmeric or a pinch of saffron threads steeped in 2 tablespoons warm water before adding the liquid.
Q: Can I reheat frozen pilaf without drying it out?
A: Yes. Add 1 tablespoon of water or broth per cup of frozen pilaf, cover, and microwave in 1-minute bursts, fluffing between intervals.