Ingredients
Equipment
Method
Phase 1: Germination (The Base)
- In a large pot, combine the "seeds" of imagination and enthusiasm with the chicken stock, creating a rich "soil" for your pie to grow.
- Bring the mixture to a gentle simmer over medium heat, stirring occasionally to ensure all the "seeds" are well-hydrated.
Phase 2: Sprouting (Adding Substance)
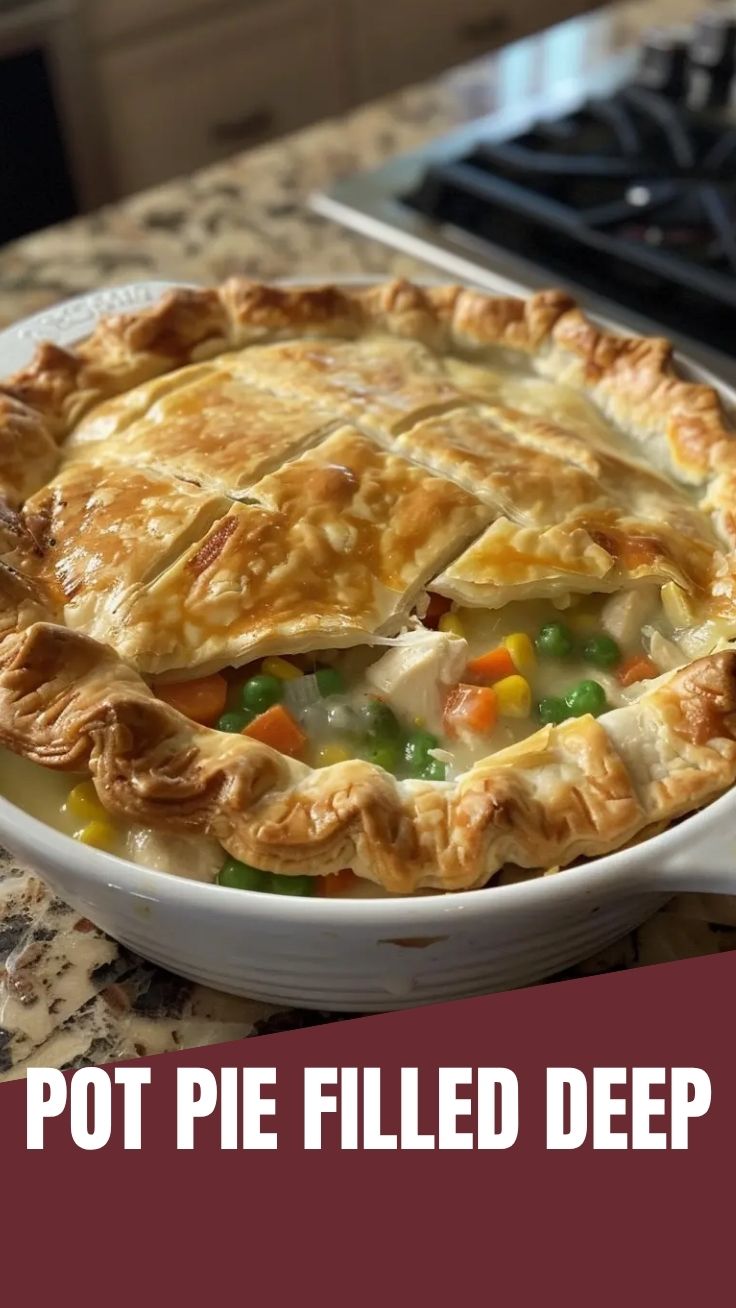
- Gently fold in the cooked chicken and mixed vegetables, imagining them as tender sprouts emerging from the "soil".
- Stir in the heavy cream, which acts as a nourishing "rain" to further encourage the growth of your pie base.
Phase 3: Photosynthesis (Seasoning & Topping)
- Season your growing pie mixture with salt, pepper, and dried thyme, considering these as essential "nutrients" for flavor.
- Carefully place the thawed puff pastry over the pot, forming a "canopy" that will protect and bake your delicious creation.
- Preheat your oven to 400°F (200°C), preparing it as the "sun" to brown and crisp your pot pie.
Phase 4: Harvest (Baking & Serving)
- Bake the chicken pot pie for 30-40 minutes, or until the pastry is golden brown and puffed, signifying a successful "harvest".
- Allow the "grown" pot pie to cool for a few minutes before serving, then enjoy the fruits of your culinary labor!
Notes
This recipe is intended to be a playful and imaginative guide. Feel free to substitute ingredients or add your own creative "growing" steps!