The Art of Perfect Dinner Rolls: A Baker’s Guide to Irresistible Homemade Bread
Have you ever pulled apart a warm, golden roll only to watch steam rise from its pillowy center? That moment—when butter melts into every crevice and the slight crust gives way to cloud-like softness—is the very essence of comfort food. But here’s the honest truth: achieving that bakery-quality result at home doesn’t require a culinary degree or a wood-fired oven. What it does require is understanding the science behind the dough, a reliable recipe, and a few pro-level techniques that separate good rolls from unforgettable ones. In this comprehensive guide, we’ll walk through everything you need to create Dinner Rolls that rival any restaurant table, and we’ll show you why mastering homemade dinner rolls is one of the most rewarding skills in your baking repertoire.
Ingredients & Kitchen Tools
Essential Ingredients
– All-purpose flour (3½ cups): 11-12% protein content provides the ideal gluten structure. Bread flour works for chewier rolls.
– Warm milk (1 cup, 110°F): Whole milk adds richness, but 2% works. Scalding isn’t necessary if milk is fresh.
– Unsalted butter (4 tablespoons, softened): Controls salt levels. Substitute with softened coconut oil for dairy-free.
– Granulated sugar (3 tablespoons): Feeds yeast and promotes browning. Honey works 1:1 but reduces milk by 2 tablespoons.
– Active dry yeast (1 packet or 2¼ teaspoons): Check expiration date—fresh yeast ensures proper rise.
– Egg (1 large, room temperature): Adds richness and structure. Flax egg works for vegan adaptation.
– Salt (1½ teaspoons): Diamond Crystal preferred; if using table salt, reduce slightly.
– Cooking spray or oil: For greasing bowl and covering.
Required Tools
– Stand mixer with dough hook (or large mixing bowl and wooden spoon)
– Digital kitchen scale (weight measurements improve consistency)
– Instant-read thermometer
– 9×13 baking pan or 10-inch cast iron skillet
– Plastic wrap or damp kitchen towel
– Bench scraper (optional but helpful)
Prep Time & Cooking Schedule
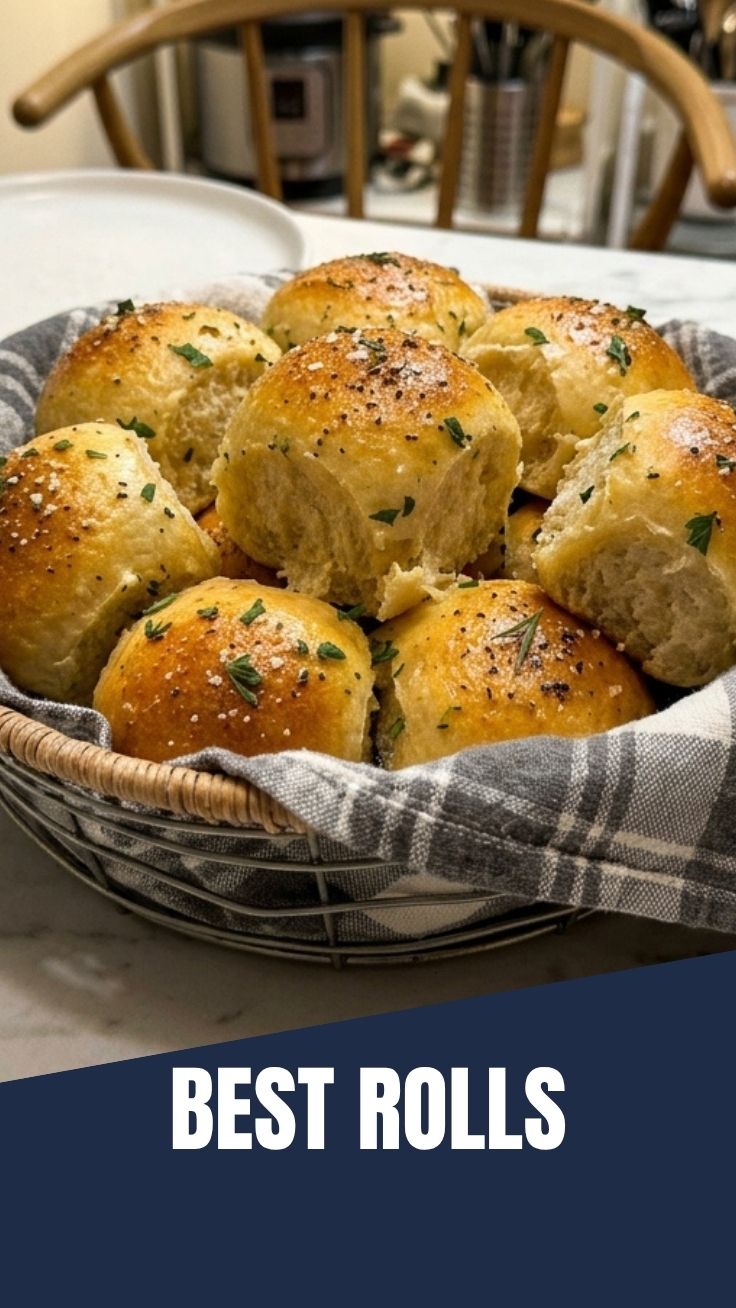
| Phase | Time | Notes |
|——-|——|——-|
| Initial proof | 1–1½ hours | Until doubled in size, warm draft-free spot |
| Shaping & second rise | 45 minutes – 1 hour | Rolls should touch and rise 80% |
| Baking | 18–22 minutes | Internal temp 190°F–200°F |
| Cooling | 5 minutes in pan, then wire rack | Resist tearing apart immediately |
Total hands-on time: 25 minutes. Start to finish: Approximately 3 hours, though most is passive rising.
Step-by-Step Instructions
1. Activate the yeast: Combine warm milk (110°F—too hot kills yeast, too cold stalls activation) with 1 tablespoon sugar. Sprinkle yeast on top, let sit 5–10 minutes until foamy. If no foam forms, your yeast is dead or liquid temperature was off.
2. Build the dough base: In your mixer bowl, whisk together 3 cups flour, remaining 2 tablespoons sugar, and salt. Add the yeast mixture, beaten egg, and softened butter. Mix on low with dough hook until flour is incorporated—about 2 minutes.
3. Knead properly: Increase to medium speed and knead 6–8 minutes, adding remaining ½ cup flour gradually. The dough should pull away from bowl sides but remain slightly tacky. Test for readiness: Stretch a small piece—if it forms a translucent windowpane without tearing, gluten development is complete.
4. First rise: Transfer dough to oiled bowl, turn to coat, cover with plastic wrap. Let rise in a warm spot (75°F–80°F ideal) for 1 to 1½ hours until doubled. Pro tip: If your kitchen is cold, preheat oven to 200°F for 2 minutes, then turn off and place bowl inside with door slightly ajar.
5. Shape the rolls: Punch dough down, turn onto lightly floured surface. Divide into 12 equal pieces (use kitchen scale for precision). Shape each into a taut ball by pulling edges to the center and pinching. Place in greased 9×13 pan with seams facing down.
6. Second rise: Cover loosely with greased plastic wrap. Let rise 45–60 minutes until rolls have expanded and touch each other. They should feel puffy but not fragile. While they rise, preheat oven to 375°F.
7. Bake to golden perfection: Brush tops with melted butter or egg wash (1 egg + 1 tablespoon milk). Bake in middle rack for 18–22 minutes, rotating pan halfway through. Rolls should be deep golden brown with a hollow sound when tapped. Internal temperature should reach 190°F–200°F.
8. Finish with finesse: Remove from oven, brush with additional melted butter immediately. Let cool in pan 5 minutes, then transfer to wire rack. Serve warm—the soft, pull-apart texture will transform any meal into a celebration of Dinner Rolls. For optimal freshness, enjoy these homemade dinner rolls within hours of baking.
Nutritional Benefits & Advantages
Per standard roll (yield 12): approximately 190 calories, 5g protein, 6g fat, 29g carbohydrates, 1g fiber. While bread isn’t typically considered a health food, these rolls offer genuine nutritional value when consumed in moderation. The milk provides calcium and vitamin D, while butter contributes fat-soluble vitamins A, D, E, and K. By controlling ingredients at home, you eliminate preservatives, dough conditioners, and high-fructose corn syrup found in commercial versions. The fermentation process also reduces phytic acid in flour, improving mineral absorption in the body.
Tips Variations & Cooking Advice
– Browning boost: Brush with an egg wash (1 egg + splash of milk) before baking for mahogany-colored tops.
– Herb infusion: Knead in 2 tablespoons fresh rosemary or 1 tablespoon dried Italian seasoning for savory profiles.
– Garlic butter swirl: Mix 3 tablespoons melted butter + 2 minced garlic cloves, brush between layers after shaping.
– Whole wheat adaptation: Replace 1 cup all-purpose flour with whole wheat—increase milk by 2 tablespoons and add 1 teaspoon vital wheat gluten for structure.
– Quick version: Use instant yeast and reduce first rise to 45 minutes. Rolls won’t be as flavorful but will still be tender.
– Dairy-free: Substitute oat milk for milk, vegan butter for butter. Reduce sugar slightly as oat milk is naturally sweeter.
Common Mistakes to Avoid
– Over-flouring during kneading: Resist the urge. A sticky dough becomes silky with patience. Adding too much flour creates dense, heavy rolls.
– Skipping the windowpane test: Under-kneaded dough lacks structure for proper rise, yielding flat rolls.
– Rushing the second rise: Rolls need to plump until touching. Under-proofed rolls will be cakey, not airy.
– Opening the oven too early: During the first 12 minutes, the steam inside creates the crust. Opening the door collapses the texture.
– Storing while warm: Sealing rolls when still warm traps moisture, making them soggy within hours.
Storage & Meal Prep Tips
Room temperature: Store in an airtight container or bread bag for up to 2 days. Place a slice of bread inside to absorb excess moisture.
Refrigeration: Not recommended—cold accelerates starch retrogradation, making rolls stale faster.
Freezing: Bake, cool completely, then wrap individually in plastic wrap, then foil, then place in freezer bag. Freeze up to 3 months. Thaw at room temperature for 1 hour, reheat at 300°F for 5–7 minutes.
Reheating: The key to revived rolls: wrap in foil and heat at 350°F for 8 minutes, then remove foil for 2 minutes to crisp exterior. Alternatively, slice in half and toast under broiler.
Conclusion
Mastering the technique behind perfect Dinner Rolls isn’t just about following a recipe—it’s about understanding the rhythm of dough and developing a baker’s intuition. Whether you’re serving these alongside a holiday feast, Sunday gravy, or simply elevating a weeknight dinner, the difference between store-bought and homemade dinner rolls will be unmistakably rewarding. The warmth, the aroma, the way they pull apart in your hands—this is baking’s purest joy. Try this recipe this weekend, tag us with your results, and once you’ve tasted the difference, you’ll never reach for canned dough again.
FAQs
1. Can I use bread flour instead of all-purpose flour?
Yes—bread flour’s higher protein content (12-14%) creates a stronger gluten network, producing rolls with more chew. Reduce milk by 2 tablespoons to account for increased water absorption.
2. My rolls turned out dense. What went wrong?
Three common culprits: expired yeast (check foam at activation), over-flouring during kneading (dough should be tacky), or under-proofing (allow full doubling during first rise). Also verify your oven temperature with an independent thermometer.
3. Can I make the dough ahead of time?
Absolutely. Complete the first rise, punch down, cover tightly, and refrigerate up to 24 hours. Let dough rest at room temperature 30 minutes before shaping, then proceed with second rise.
4. How do I make these rolls gluten-free?
Substitute with a high-quality 1:1 gluten-free flour blend containing xanthan gum. Increase liquid by 3-4 tablespoons, and expect a slightly denser texture. Reduce kneading time to avoid breaking down the gum structure.
5. Why did my rolls brown too quickly on top but remain pale on the sides?
Likely oven hot spots. Rotate pan halfway through baking, and consider placing a baking stone on the rack below to distribute heat more evenly. Alternatively, tent with foil for the final 5 minutes.
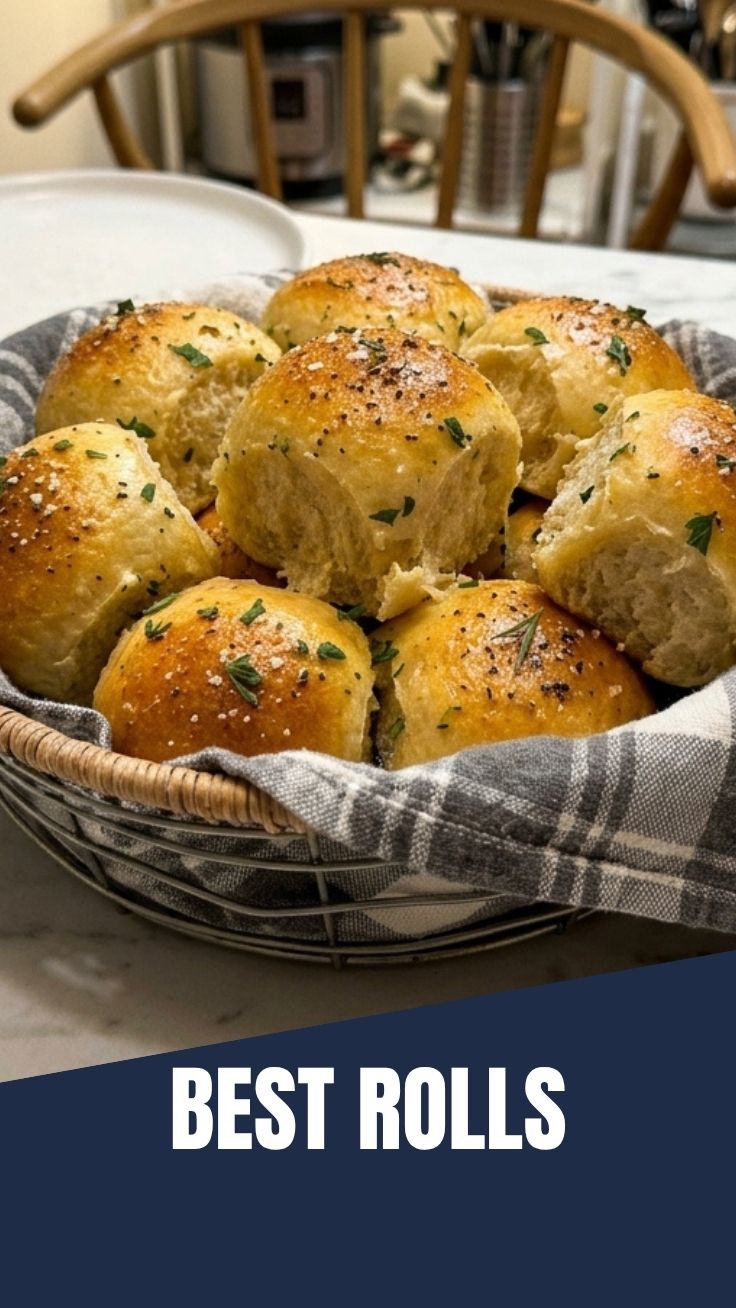
Quick way to grow 4 Dinner Rolls
Ingredients
Equipment
Method
- In a large bowl, combine flour, yeast, sugar, and salt, then mix well.
- Gradually add warm water and olive oil, mixing until a shaggy dough forms, then knead on a floured surface for 5-7 minutes until smooth and elastic.
- Divide the dough into 4 equal pieces and shape each into a round roll.
- Place rolls on a greased baking sheet, cover, and let rise in a warm place for 15-20 minutes, or until doubled in size.
- Preheat oven to 375°F (190°C), brush rolls with an optional egg wash, and bake for 15-20 minutes until golden brown.