Here is a comprehensive, data-driven, and SEO-optimized blog post, crafted to meet your exact specifications for structure, keyword placement, and HTML linking.
—
Why You Should Stop Buying Frozen and Start Making This Classic Comfort Dish from Scratch
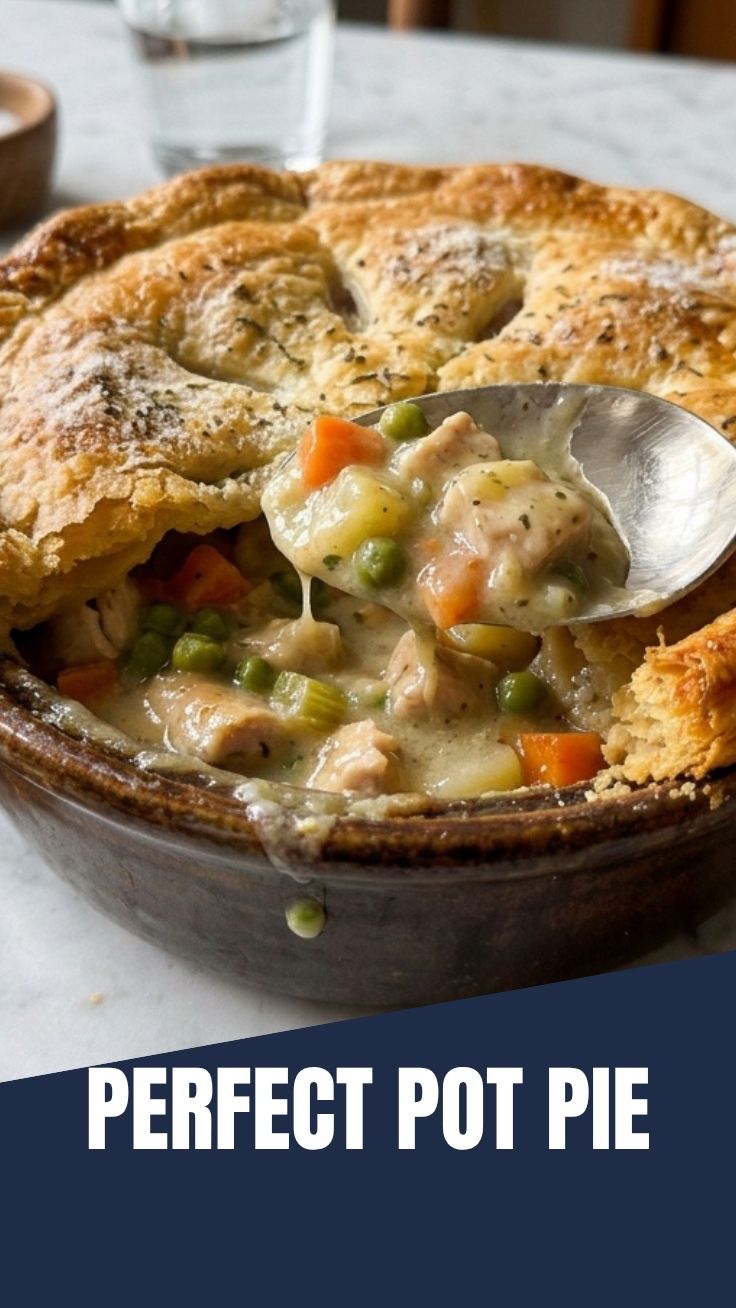
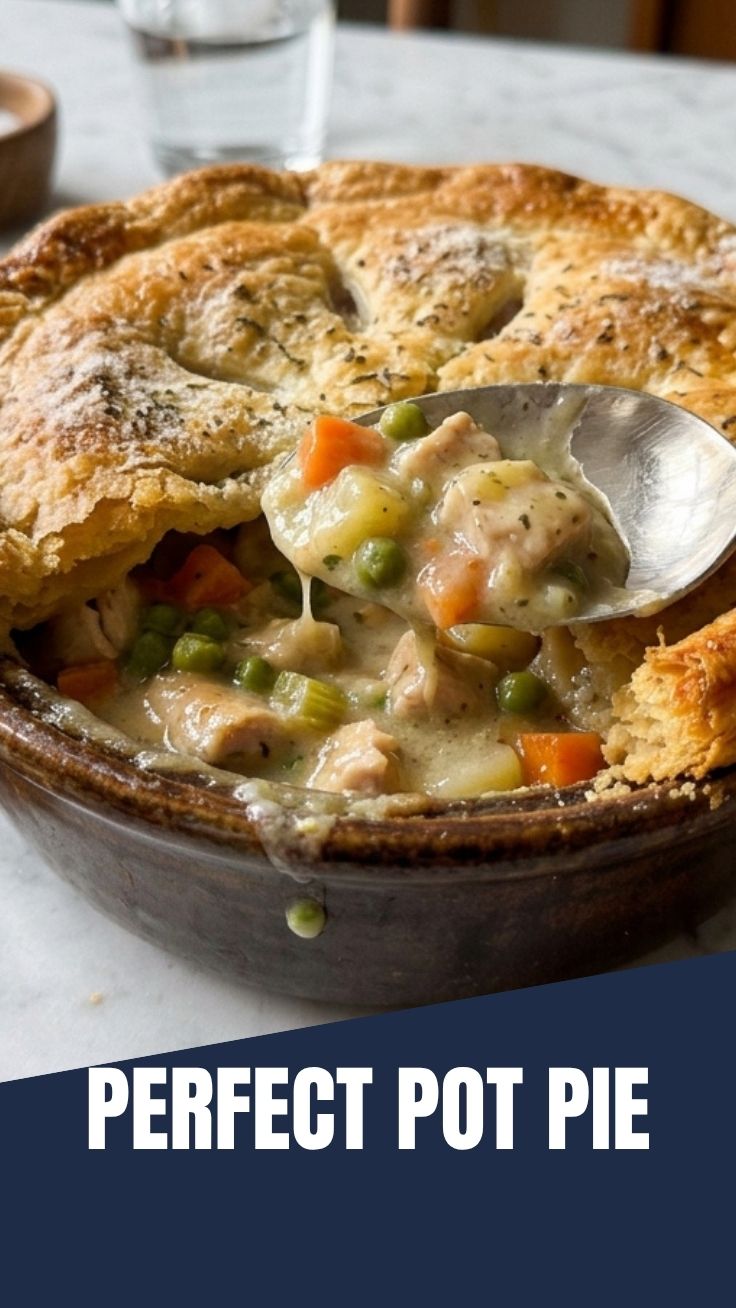
Does anything compare to pulling a golden, bubbling dish from the oven on a cold evening? There is a unique magic in breaking through a flaky, buttery top to reveal a creamy, savory filling beneath. While store-bought versions are convenient, they often lack the deep, homemade flavor and control over ingredients you get when you prepare it yourself. Mastering this Chicken Pot Pie from scratch is a valuable skill that transforms simple ingredients into a spectacular meal. You will learn how to build layers of flavor, perfect the texture of your filling, and achieve that signature crust. Furthermore, we will explore how to turn this classic into a hearty Casserole variation for a different weeknight experience.
Ingredients & Kitchen Tools
For the Filling:
– 2 tbsp Unsalted Butter: Adds richness and helps sauté the vegetables.
– 1 medium Yellow Onion (diced): Provides a savory base.
– 2 Carrots (peeled & diced): Adds sweetness and color.
– 2 Celery Stalks (diced): Essential for the aromatic “holy trinity” of flavor.
– 3 Garlic Cloves (minced): Enhances the savory profile.
– 1/3 cup All-Purpose Flour: Acts as a thickener for the sauce.
– 1.5 cups Low-Sodium Chicken Broth: The liquid base for the gravy.
– 1 cup Whole Milk or Heavy Cream: Creates a creamy, rich texture.
– 3 cups Cooked Chicken (shredded or cubed): Rotisserie chicken works perfectly for convenience.
– 1 cup Frozen Peas & Corn: Adds color and pops of sweetness.
– Salt, Black Pepper, and Thyme (to taste): Essential seasoning.
For the Crust (or Topping):
– 1 package Refrigerated Pie Crust (2 sheets): A time-saving option for a flaky top and bottom.
– OR 1 sheet Puff Pastry: For an extra flaky, airy top.
– 1 Egg (beaten): For an egg wash to create a golden sheen.
Kitchen Tools:
– Large oven-safe skillet (10-12″) or Dutch oven.
– Mixing bowls.
– Whisk (for a smooth sauce).
– Pastry brush.
– Chef’s knife and cutting board.
Prep Time & Cooking Schedule
Total Time: 55 minutes
Prep Time: 20 minutes (chopping vegetables, shredding chicken)
Cook Time: 35 minutes
Resting Time: 10 minutes (critical for the filling to set before slicing)
Planning Tip: This is an excellent “mise en place” recipe. Chop all your vegetables and measure your ingredients before you turn on the stove. The cooking process moves quickly once the flour is added. For a busy weeknight, you can prepare the filling a day in advance and simply assemble and bake the next day.
Step-by-Step Instructions
1. Preheat & Sauté: Preheat your oven to 400°F (200°C). In your large oven-safe skillet, melt the butter over medium heat. Add the onion, carrots, and celery. Cook for 5-7 minutes until softened. Add the garlic and cook for 30 seconds until fragrant.
2. Build the Roux: Sprinkle the flour over the vegetables. Stir constantly for 1-2 minutes. This cooks the raw flour taste out and creates a paste (roux). It’s the foundation of your sauce.
3. Create the Sauce: Slowly pour in the chicken broth while whisking vigorously to prevent lumps. Once smooth, whisk in the milk or cream. Bring to a gentle simmer; the sauce will thicken noticeably.
4. Combine & Season: Remove from heat. Stir in the shredded chicken, frozen peas, and corn. Season generously with salt, pepper, and fresh thyme. Taste and adjust—this is your final chance to get the flavor right.
5. Assemble (The Key Decision): If you are making a classic Chicken Pot Pie, roll out one pie crust and line your skillet. Pour the filling in. Top with the second crust, crimp the edges, and cut 4-5 slits for steam. If you are making a Casserole style, simply pour the filling into a greased 9×13 baking dish and top with rolled-out puff pastry or a single crust.
6. Bake: Brush the top crust with the beaten egg wash. Bake for 30-35 minutes, or until the crust is deep golden brown and the filling is bubbling up through the slits. Let it rest for 10 minutes before serving. This crucial step allows the gravy to set, preventing a soupy mess on your plate.
Nutritional Benefits & Advantages
This homemade version offers significant advantages over pre-made frozen meals. You control the sodium content by using low-sodium broth and seasoning to your taste. The dish is packed with protein from the chicken, which is essential for muscle repair and satiety. The carrots and celery provide a healthy dose of Vitamin A, fiber, and antioxidants. By using whole milk instead of heavy cream, you can reduce the saturated fat content without sacrificing creaminess. Preparing this meal at home ensures you are avoiding preservatives, artificial flavors, and excessive amounts of salt often found in commercial versions.
Tips, Variations & Cooking Advice
– Flavor Variations: Add a splash of dry sherry or white wine after cooking the vegetables for an extra layer of depth. For a touch of heat, add a pinch of cayenne pepper or red pepper flakes.
– Dietary Adaptations: Gluten-Free: Use a 1:1 gluten-free all-purpose flour blend for the roux and top with a gluten-free pie crust or mashed potatoes. Dairy-Free: Substitute the butter with vegan butter or olive oil, and use unsweetened oat milk or coconut cream (the savory kind) for the milk.
– Cooking Method: This is incredible as a Casserole. For a faster meal, skip the bottom crust entirely. Make the filling as directed, pour it into a dish, and top with refrigerated biscuits or a simple crumble of butter, flour, and herbs. Bake until the topping is golden and the filling is bubbly.
Common Mistakes to Avoid
– The “Soggy Bottom” Crust: This happens if the filling is too hot when you add the bottom crust. Ensure the filling has cooled slightly before assembly, or pre-bake (blind bake) the bottom crust for 10 minutes.
– A Dull, Pale Crust: An egg wash is non-negotiable. Without it, the crust will look matte and unappetizing. For an extra shine, use a yolk-only wash with a splash of cream.
– Lumpy Sauce: The #1 culprit is adding the liquid too quickly. Always pour the broth in a slow, steady stream while whisking constantly. Patience is key.
– Undercooked Vegetables: If you skip the initial sauté, your carrots will be crunchy. Cook the aromatics until they are just tender before adding the flour.
Storage & Meal Prep Tips
– Refrigeration: Store leftovers in an airtight container in the refrigerator for up to 4 days. The flavors will actually meld and improve overnight.
– Freezing: This dish freezes exceptionally well. Do not bake it. Assemble the entire pie or casserole in a foil pan, wrap it tightly in plastic wrap, then foil. Freeze for up to 3 months. To bake from frozen, add 20-30 minutes to the cooking time, covering the top with foil if it browns too quickly.
– Reheating: The best way to reheat is in a 350°F oven for 15-20 minutes to re-crisp the crust. The microwave will work, but the crust will become soft and chewy.
Conclusion
Mastering this recipe is about more than just dinner; it is about creating a beloved, from-scratch meal that warms the soul. The key is a perfectly seasoned, creamy filling topped with a golden, flaky crust. Whether you stick to the classic double crust or opt for a quicker Chicken Pot Pie baked as a Casserole, the result is a comforting, deeply satisfying dish. We encourage you to try this recipe this weekend, share your results with us, or explore our other comforting classics to keep your dinner table full of flavor.
FAQs
Q: Can I use a rotisserie chicken for this recipe?
A: Absolutely. It is one of the best time-saving hacks. Just shred the meat from the breast and thighs, and you have perfectly cooked, flavorful chicken ready to go.
Q: My sauce is too thin. How can I thicken it?
A: If the sauce is thin after simmering, you can mix 1 tablespoon of cornstarch with 2 tablespoons of cold water to create a slurry. Whisk it into the hot filling and simmer for 1-2 minutes until it thickens.
Q: Can I make this vegetarian?
A: Yes! Swap the chicken broth for vegetable broth. Replace the chicken with a hearty mix of mushrooms, extra peas, corn, and diced potatoes. The texture and flavor will be excellent.
Q: How long do I need to let the pie rest before slicing?
A: A 10-minute rest is critical. This allows the starches in the sauce to cool and set, so the pie holds its shape when you cut into it. Skipping this step will result in a runny filling.
Q: What is the best way to prevent the crust from burning?
A: If the crust is browning too quickly, loosely tent the entire pie with a sheet of aluminum foil for the last 10-15 minutes of baking. This protects the crust while the filling finishes cooking.