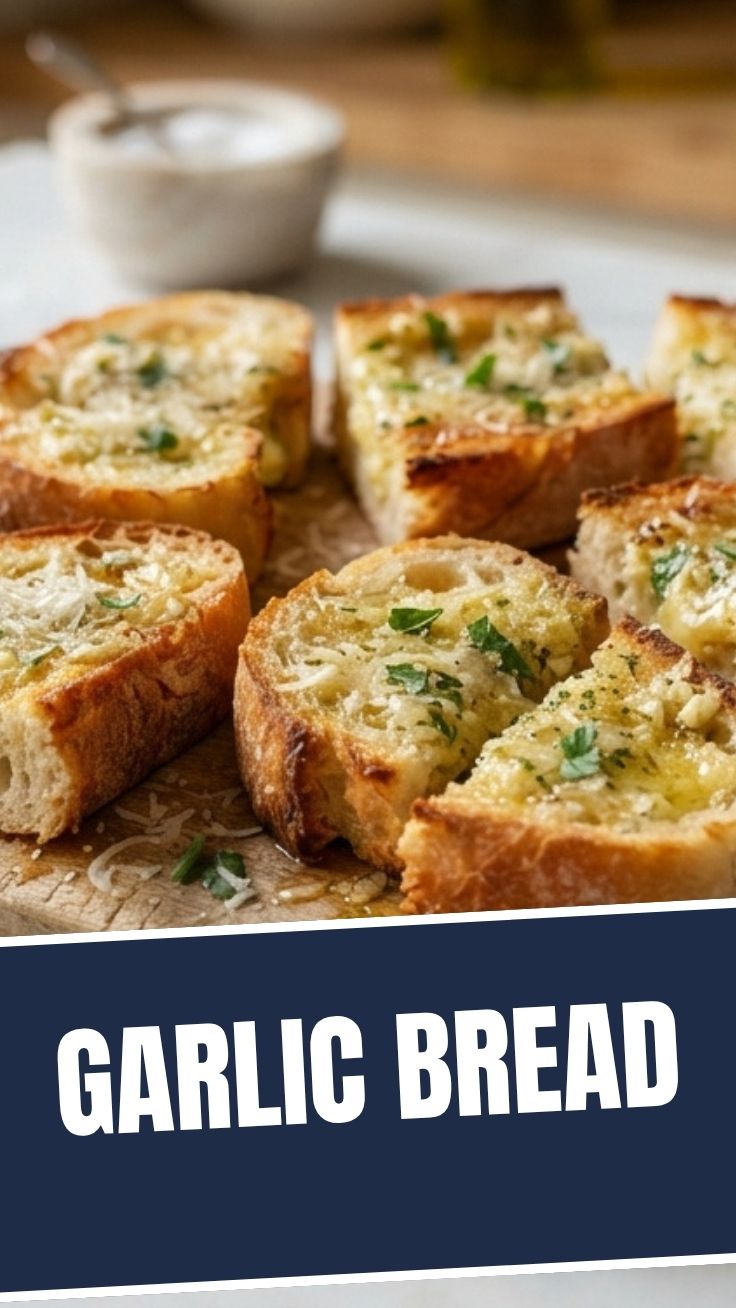
The Ultimate Guide to Perfecting Garlic Bread at Home: A Professional Chef’s Secrets Revealed
Have you ever wondered why restaurant-style Garlic Bread tastes so much better than what you make at home? The secret isn’t just in the bread or the oven temperature—it’s in the preparation technique and the quality of your Garlic Butter mixture. Whether you’re a novice cook or a seasoned home chef, mastering this simple yet transformative side dish can elevate any meal from ordinary to extraordinary. In this comprehensive guide, I’ll walk you through everything you need to know about creating the perfect Garlic Bread that rivals any restaurant offering, while saving you money and allowing you to control every ingredient for optimal flavor and nutrition.
Ingredients & Kitchen Tools
Essential Ingredients
– French baguette or Italian bread (1 large loaf) – Choose day-old bread for better texture absorption; fresh bread can become too soggy
– Unsalted butter (½ cup, softened) – Allows better control over salt levels; salted butter works but adjust added salt accordingly
– Fresh garlic cloves (4-5 large cloves, minced) – Far superior to pre-minced or garlic powder for aromatic intensity
– Fresh parsley (2 tablespoons, finely chopped) – Adds color and freshness; dried parsley can substitute but use 1 tablespoon
– Salt (½ teaspoon) – Enhances all flavors without overpowering
– Black pepper (¼ teaspoon, freshly ground) – Provides subtle heat and depth
For the Garlic Butter Enhancement
– Parmesan cheese (¼ cup, freshly grated) – Adds umami and creates a golden crust
– Red pepper flakes (optional, ½ teaspoon) – For those who enjoy a spicy kick
Kitchen Tools Required
– Large baking sheet
– Parchment paper or silicone baking mat
– Sharp chef’s knife
– Mixing bowl
– Pastry brush or offset spatula
– Garlic press (optional but recommended for consistent mincing)
Optional Substitutions
– Gluten-free baguette – Works perfectly; reduce baking time by 3-5 minutes
– Vegan butter – Use plant-based butter for dairy-free version
– Olive oil – Replace half the butter for Mediterranean twist
– Herb variations – Rosemary, thyme, or oregano can replace parsley
Prep Time & Cooking Schedule
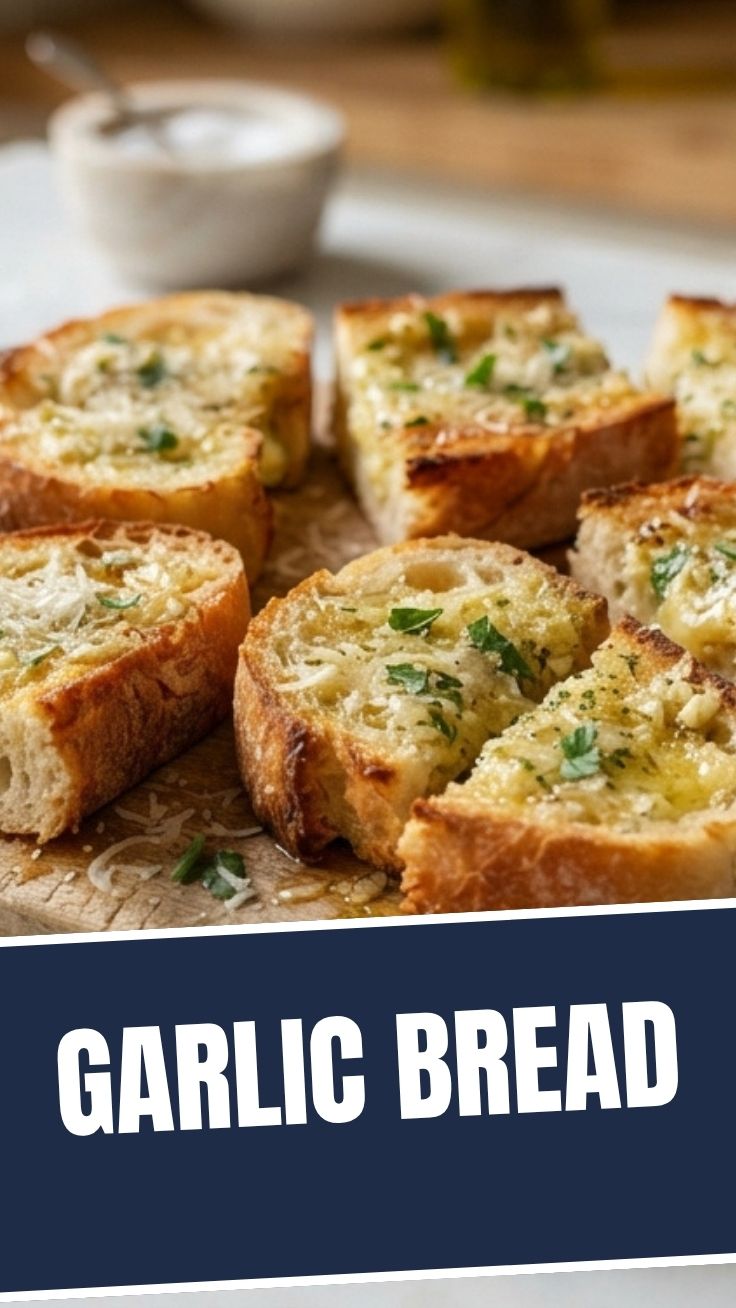
Total Time: 35 minutes
– Prep Time: 15 minutes (including garlic mincing and butter softening)
– Cooking Time: 12-15 minutes
– Resting Time: 5-8 minutes after baking
Planning Tips: Start softening your butter 30 minutes before beginning. If you forget, microwave in 5-second intervals until just soft—never melted. The bread can be prepared up to the baking stage and refrigerated for 2 hours, making it perfect for dinner parties.
Step-by-Step Instructions
Preparing the Garlic Butter Base
1. Soften the butter to room temperature in a mixing bowl until spreadable but not melted
2. Mince garlic cloves finely—uniform pieces ensure even flavor distribution without overwhelming bites
3. Combine softened butter with minced garlic, parsley, salt, pepper, and optional red pepper flakes
4. Mix thoroughly until all ingredients are incorporated; taste test on a small piece of bread
Assembling the Garlic Bread
5. Preheat oven to 375°F (190°C)—this temperature creates optimal browning without burning the garlic
6. Slice baguette diagonally into 1-inch thick pieces—diagonal cuts increase surface area for more buttery coverage
7. Spread Garlic Butter generously on both sides of each slice, ensuring complete coverage (this is where the perfect Garlic Butter truly shines)
8. Arrange slices on prepared baking sheet in a single layer, slightly overlapping if necessary
Baking to Perfection
9. Bake for 10 minutes, then rotate the pan for even browning
10. Check for doneness at 12 minutes—edges should be golden brown, center should still be slightly soft
11. Sprinkle Parmesan cheese during the last 2 minutes of baking if using
12. Rest for 5 minutes after removing from oven—this allows the butter to set and flavors to meld
Pro Tip: For extra crispy results, broil on high for 30-60 seconds at the very end, watching carefully to prevent burning.
Nutritional Benefits & Advantages
Homemade Garlic Bread offers significant nutritional advantages over store-bought or restaurant versions:
– Calorie control – You determine butter quantity; reduce by 25% without sacrificing flavor
– Fresh garlic benefits – Contains allicin, a compound with antimicrobial properties that may support immune function
– No preservatives – Unlike packaged alternatives, your version contains only real ingredients
– Healthy fat profile – When using grass-fed butter, you gain conjugated linoleic acid (CLA) and vitamin K2
– Portion management – Control serving sizes for better dietary adherence
Tips Variations & Cooking Advice
Flavor Variations
– Cheesy Garlic Bread – Add mozzarella or provolone slices during last 3 minutes
– Mediterranean Twist – Mix sun-dried tomatoes and basil into the butter
– Spicy Mexican Style – Add chili powder and cumin to butter, top with cotija cheese
Alternative Cooking Methods
– Air Fryer – Cook at 350°F for 5-7 minutes, flip halfway through (best for small batches)
– Grill – Place bread directly on grill grates for 2-3 minutes per side for smoky flavor
– Stovetop – Use a cast-iron skillet for crispy, pan-fried texture
Dietary Adaptations
– Gluten-free – Use certified GF baguette, reduce oven temperature to 350°F
– Dairy-free – Replace butter with plant-based version and nutritional yeast for cheesy flavor
– Low-carb – Use cauliflower bread or almond flour baguette (reduce baking time by 5 minutes)
Common Mistakes to Avoid
Mistake 1: Using Cold Butter
Solution: Always bring butter to room temperature—cold butter doesn’t spread evenly, creating patchy flavor and uneven browning.
Mistake 2: Over-Baking
Solution: Remove from oven when edges are golden but center remains soft; carry-over cooking continues after removal.
Mistake 3: Burning the Garlic
Solution: Garlic burns at high temperatures; keep oven at 375°F maximum and avoid pre-mincing garlic more than 30 minutes before use.
Mistake 4: Soggy Bread
Solution: Use day-old bread and ensure oven is fully preheated; never overcrowd the baking sheet as steam will make bread soft.
Mistake 5: Uneven Butter Distribution
Solution: Spread butter completely to edges; use a pastry brush for even coverage on crust areas.
Storage & Meal Prep Tips
Short-Term Storage
– Room temperature: Store in an airtight container for up to 2 days
– Refrigeration: Keeps for 4-5 days in sealed container with paper towel to absorb moisture
– Reheating instructions: Toast in oven at 350°F for 5-7 minutes or air fry at 300°F for 3 minutes
Freezing Instructions
– Freeze prepared (unbaked) bread – Arrange slices on baking sheet, freeze for 2 hours, then transfer to freezer bag for up to 3 months
– Freeze baked bread – Cool completely, wrap tightly in foil, place in freezer bag (lasts 2 months)
– Reheating from frozen: Bake directly from frozen at 375°F for 12-15 minutes
Meal Prep Strategy
– Prepare Garlic Butter mixture up to 1 week in advance and refrigerate
– Slice bread and freeze in portioned bags for quick assembly
– When ready, simply spread butter and bake—perfect for busy weeknights
Conclusion
Mastering homemade Garlic Bread transforms your kitchen into a haven of aromatic delight and culinary satisfaction. The beauty of this recipe lies in its simplicity—quality ingredients, proper technique, and attention to detail create something far greater than the sum of its parts. Whether you’re serving it alongside pasta, soup, or enjoying it as a standalone snack, this Garlic Bread will become a staple in your cooking repertoire. Remember that the foundation of any great version is the Garlic Butter mixture—take time to perfect it, and you’ll never return to store-bought alternatives. I encourage you to try this recipe tonight, experiment with the variations, and share your results with fellow food lovers.
FAQs
Q1: Can I use pre-minced garlic from a jar instead of fresh?
A: While convenient, jarred garlic lacks the pungency and aromatic complexity of fresh cloves. If using jarred, increase the amount by 50% and add a pinch of garlic powder for depth.
Q2: Why did my Garlic Bread turn out soggy instead of crispy?
A: Most common causes include using fresh bread (choose day-old), overloading with butter, or not preheating the oven fully. Ensure your oven reaches temperature before baking and use a convection setting if available.
Q3: Can I make this recipe ahead of time for a party?
A: Absolutely! Prepare the bread completely up to baking, cover tightly with plastic wrap, and refrigerate for up to 4 hours. Add 3-5 minutes to baking time if cooking from cold.
Q4: How do I prevent the butter from separating when baking?
A: Ensure butter is fully softened before mixing with garlic and herbs. If you notice separation, whisk in one tablespoon of olive oil to emulsify the mixture.
Q5: Can I substitute margarine for butter?
A: Margarine has higher water content, which can lead to less crispy results. If using margarine, reduce baking time by 2 minutes and consider adding 1 tablespoon of olive oil for better texture.