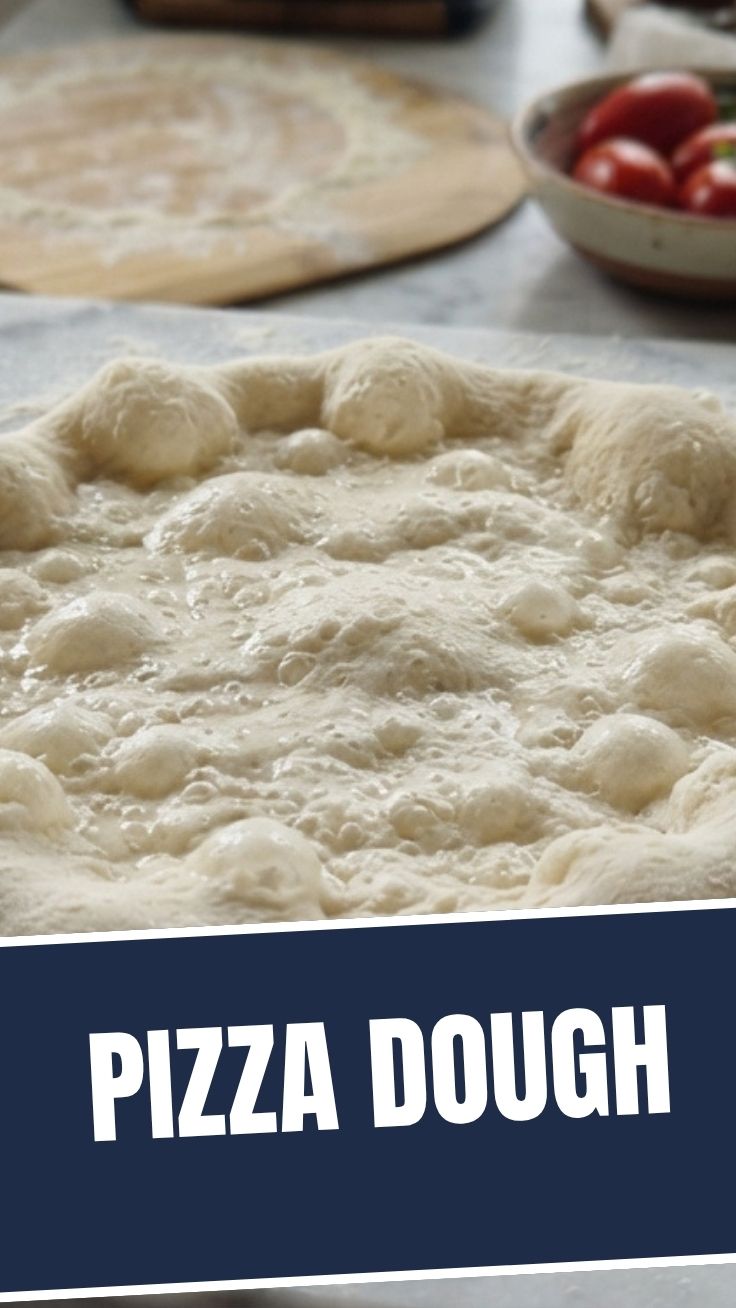
The Ultimate Guide to Perfect Pizza Dough: From Scratch to Slice in Under 2 Hours
Have you ever wondered why pizzerias achieve that perfect balance of crispy-yet-chewy crust that seems impossible to replicate at home? The secret isn’t a fancy oven or decades-old sourdough starter—it’s mastering the science behind simple ingredients. When you prepare Pizza Dough from scratch, you gain complete control over texture, flavor, and nutrition while saving money and impressing dinner guests. This comprehensive guide will transform your kitchen into a Neapolitan-style pizzeria.
Ingredients & Kitchen Tools
Ingredients
– 3 cups (360g) bread flour – Higher protein content (12-14%) creates better gluten development for chewy crust
– 1 cup (240ml) warm water (105-115°F) – Temperature activates yeast without killing it
– 2 teaspoons active dry yeast – Instant yeast works too; reduce by 25% if substituting
– 1½ teaspoons salt – Fine sea salt dissolves more evenly than kosher salt
– 1 tablespoon olive oil – Adds richness and helps prevent sticking; avocado oil works as substitute
– 1 teaspoon sugar – Feeds yeast and promotes browning; honey or maple syrup alternatives
Kitchen Tools
– Large mixing bowl (stainless steel or glass for even temperature distribution)
– Digital kitchen scale (crucial for consistent results)
– Measuring cups and spoons
– dough scraper/bench knife
– Clean kitchen towel (linen breathes best)
– Rolling pin (optional – hand-stretching produces better texture)
– Pizza stone or steel or inverted baking sheet
– Parchment paper (makes transfer foolproof)
Prep Time & Cooking Schedule
Total Time: 1 hour 45 minutes to 2 hours 15 minutes
Active Prep: 20 minutes
Kneading: 8-10 minutes
First Rise: 1 hour to 1 hour 30 minutes (until doubled)
Shaping: 5 minutes
Second Rise: 15-20 minutes (optional but recommended)
Baking Time: 8-12 minutes at 500°F (260°C)
Plan ahead: This dough is forgiving enough for same-day preparation but improves with overnight cold fermentation in the refrigerator (up to 72 hours). For best results, start at least 2 hours before you want to eat.
Step-by-Step Instructions
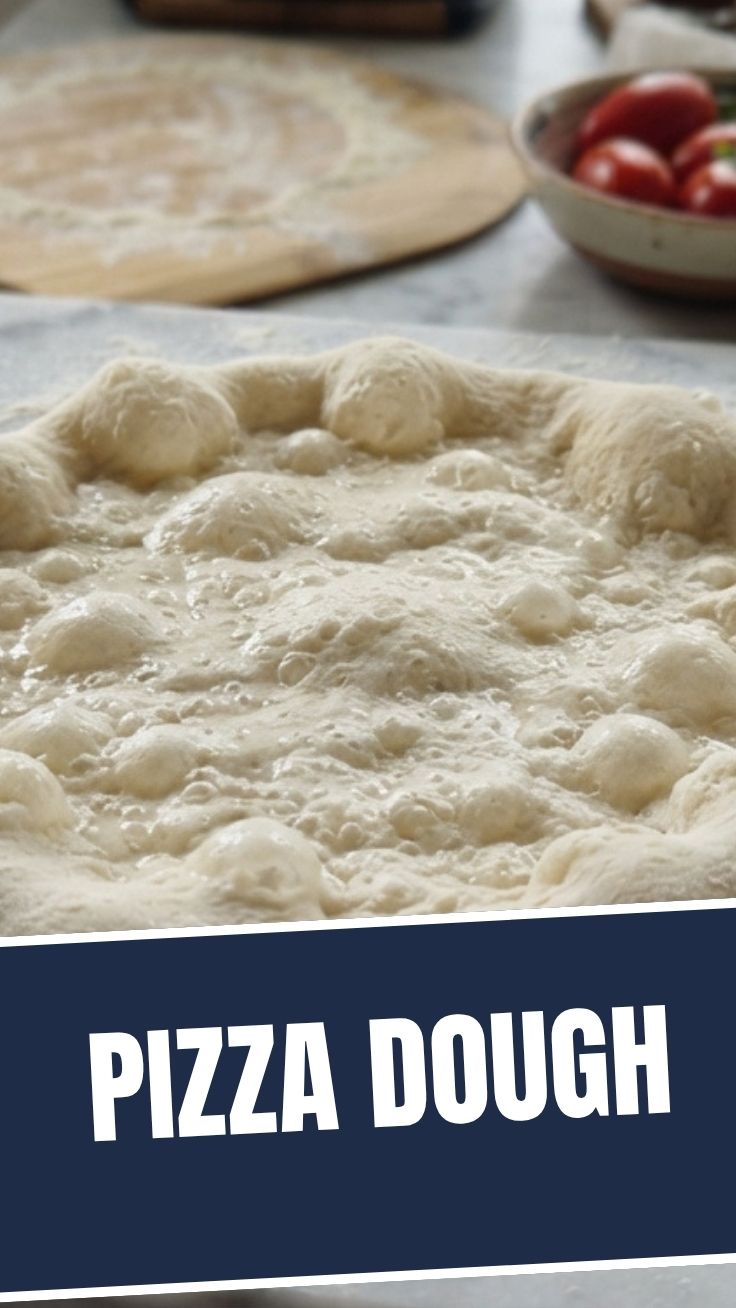
1. Activate the yeast: Dissolve sugar in warm water, sprinkle yeast on top, and let sit 5-7 minutes until foamy. If no foam appears after 10 minutes, your water was too hot (over 130°F kills yeast) or yeast is expired.
2. Mix dry ingredients: Combine flour and salt in your mixing bowl. Make a well in the center.
3. Combine wet into dry: Pour yeast mixture and olive oil into the well. Stir with a wooden spoon until a shaggy dough forms – it will look messy but that’s perfect.
4. Knead vigorously: Turn dough onto a lightly floured surface. Knead for 8-10 minutes, pushing with the heel of your hand, folding, and rotating. The dough should become smooth, elastic, and bounce back when poked. If it’s sticky, resist adding more flour – wet hands work better.
5. First rise: Place dough in an oiled bowl, cover with damp towel, and let rise in a warm (75-85°F) spot until doubled – about 1 hour. Cold kitchen? Place bowl in oven with light on but heat off.
6. Punch down and divide: Gently deflate dough, turn onto floured surface, and divide into portions. For one large 12-inch pizza, keep whole; for two 8-inch pizzas, halve.
7. Shape wisely: For authentic texture, use your hands to stretch from the center outward, leaving the outer 1-inch rim untouched for the crust. This Pizza Dough technique creates air pockets that translate to those coveted charred spots. Avoid rolling pins – they compress the gluten structure.
8. Add toppings and bake: Transfer stretched dough to parchment paper. Add sauce sparingly (you don’t want a soggy center), then cheese and toppings. Slide onto preheated stone and bake 8-12 minutes until crust is golden brown and cheese bubbles. Making homemade pizza dough from scratch means you control company-quality results at a fraction of restaurant prices.
Nutritional Benefits & Advantages
Making pizza dough at home eliminates preservatives, dough conditioners, and unnecessary sugars found in store-bought options. Bread flour provides significant protein (around 12g per serving) for muscle repair, while the fermentation process enhances mineral absorption – particularly magnesium and zinc from the grains. The olive oil contributes heart-healthy monounsaturated fats, and you control sodium levels entirely. For gluten-sensitive individuals, substituting 1:1 gluten-free flour blend works, though expect a denser result. Whole wheat versions boost fiber content threefold.
Tips Variations & Cooking Advice
Flavor Variations
– Herb-infused: Add 1 tablespoon dried oregano, basil, or rosemary to dry ingredients
– Garlic-parmesan: Knead in 2 minced garlic cloves and ¼ cup grated parmesan
– Sourdough starter: Replace yeast with ½ cup active starter (reduce water by ¼ cup)
Alternative Cooking Methods
– Cast iron skillet: Heat skillet on stovetop, add dough, cook 3 minutes until bottom sets, then finish under broiler 2-3 minutes
– Grill: Direct medium heat 400°F, cook 3-4 minutes per side for smoky char
– Air fryer: For personal pizzas, bake at 375°F for 6-8 minutes
Dietary Adaptations
– Whole wheat: Replace half bread flour with white whole wheat flour (add 2 tablespoons water)
– Gluten-free: Use cup-for-cup blend plus 1 teaspoon xanthan gum
– Dairy-free: This dough is already dairy-free – focus on vegan cheese toppings
Common Mistakes to Avoid
– Over-flouring during kneading – Leads to tough, dry dough. Wet hands or use oil instead.
– Skipping the preheat – Cold stone or pan yields pale, dense crust. Minimum 30-minute preheat at 500°F.
– Over-topping – Heavy moisture from raw vegetables creates soggy center. Pre-cook mushrooms, peppers, and onions.
– Ripping dough during stretch – Let cold dough rest 10 minutes at room temperature before attempting to stretch further.
– Opening oven too often – Each opening drops temperature 50°F and extends cooking time.
Storage & Meal Prep Tips
Refrigeration: Wrap cooled dough balls tightly in plastic wrap then place in zipper bag. Keeps 3-5 days. Bring to room temperature 30 minutes before shaping.
Freezing: Flash-freeze shaped, par-baked crusts (bake 5 minutes, cool completely) and store in freezer bags up to 3 months. Or freeze raw dough balls for up to 2 months – thaw overnight in refrigerator.
Reheating: Never microwave pizza – it turns crust to rubber. Instead, reheat in a dry skillet over medium heat for 2-3 minutes, or in a 400°F oven directly on rack for 5 minutes. For deep dish, tent with foil first.
Conclusion
Perfecting Pizza Dough at home unlocks a world of culinary creativity you simply cannot achieve with store-bought alternatives. The process scales for feeding a crowd or meal-prepping for busy weeks, and the satisfaction of pulling your first blistered, golden crust from the oven is unmatched. Remember that homemade pizza dough fundamentally changes home cooking – you’ll never order delivery with the same enthusiasm once you’ve tasted the difference fresh-made crust delivers. Try this recipe this weekend, share photos of your signature creations, and explore our flatbread variations for even more carb-loving inspiration.
FAQs
Can I use all-purpose flour instead of bread flour?
Yes, but expect a less chewy, slightly softer crust. Add 1 tablespoon vital wheat gluten per cup to compensate.
Why didn’t my dough rise?
Three common culprits: expired yeast (test by proofing before use), water too hot (over 135°F kills yeast), or kitchen too cold (find a warmer spot).
How do I prevent a soggy pizza center?
Pre-cook watery vegetables, use minimal sauce (about ¼ cup for 12-inch pizza), and always preheat your baking surface fully.
Can I double this recipe?
Absolutely. Dough freezes beautifully, so making a double batch for future quick meals saves time. Just scale ingredients proportionally.
My dough is too sticky after kneading. What went wrong?
Humidity affects flour absorption. Sprinkle 1-2 tablespoons flour during kneading, but stop once dough feels tacky (not sticky) – some stickiness is normal.