Is There Anything More Comforting Than a Slice of Homemade Apple Pie?
Is there anything more nostalgic than the scent of cinnamon and baked apples wafting from the kitchen? Everyone has their version of the perfect Apple Pie (Classic), and often it comes from a family recipe like this Grandma’s apple pie recipe. Preparing a homemade classic apple pie at home is not only surprisingly simple but also ensures you control the quality of ingredients, from the butter in the crust to the sweetness of the filling. A slice of this pie is pure comfort—a warm, spiced filling encased in a flaky, golden crust. By making it yourself, you customize the sweetness and spice to your exact liking, creating a dessert worth sharing.
—
Ingredients & Kitchen Tools
For the All-Butter Pie Crust (makes one double crust):
– 2 ½ cups (315 g) all-purpose flour – Spoon and level for accuracy; avoid scooping directly.
– 1 teaspoon salt – Balances sweetness and strengthens gluten.
– 2 tablespoons granulated sugar – Adds a touch of sweetness and helps browning.
– 1 cup (226 g) cold unsalted butter, cubed – The key to flaky layers; keep it ice-cold.
– 6–8 tablespoons ice water – Just enough to bring dough together without overworking.
For the Apple Filling:
– 6–7 medium apples (about 2.5 lbs) – Use a mix: Granny Smith (tart, firm) + Honeycrisp or Braeburn (sweet, juicy).
– ¾ cup (150 g) granulated sugar – Adjust based on apple sweetness.
– ¼ cup (50 g) light brown sugar, packed – Adds molasses depth.
– 2 tablespoons all-purpose flour – Thickens the juices; cornstarch works too.
– 1 tablespoon lemon juice – Prevents browning and brightens flavor.
– 2 teaspoons ground cinnamon – The star spice.
– ¼ teaspoon ground nutmeg – Warm, aromatic note.
– ⅛ teaspoon ground allspice or cloves – Optional, but adds complexity.
– 1 teaspoon vanilla extract – Enhances the caramel notes.
– 2 tablespoons cold unsalted butter, cut into small cubes – Dot on top of filling.
Kitchen Tools:
– 9-inch pie dish (glass or ceramic preferred for even browning)
– Rolling pin
– Sharp chef’s knife or apple peeler/corer
– Large mixing bowls
– Pastry blender or food processor (for crust)
– Plastic wrap
– Pastry brush
– Baking sheet (to catch drips)
– Wire rack
—
Prep Time & Cooking Schedule
| Task | Time | Notes |
|——|——|——-|
| Dough chilling | At least 2 hours (or overnight) | Cold dough prevents shrinkage and ensures flakiness. |
| Apple prep | 15 minutes | Peel, core, and slice ¼-inch thick for even cooking. |
| Filling maceration | 15–30 minutes | Let apples sit with sugar and spices to release juices. |
| Assembling pie | 15 minutes | Roll dough, fill, top, crimp, and cut vents. |
| Chilling assembled pie | 30 minutes | Solidifies butter; prevents soggy bottom. |
| Baking time | 50–60 minutes | 20 min at 425°F (220°C), then 30–40 min at 375°F (190°C). |
| Cooling | At least 3 hours (or overnight) | Essential for the filling to set properly. |
Plan ahead: Start the dough one day before for the best texture. The pie itself tastes even better the next day as the flavors meld.
—
Step-by-Step Instructions
1. Make the Pie Crust
In a large bowl, whisk flour, salt, and sugar. Cut in the cold butter cubes using a pastry blender or your fingertips until the mixture resembles coarse meal with pea-sized butter pieces. Drizzle 6 tablespoons ice water over the flour mixture and toss with a fork until dough just begins to hold together when squeezed. If dry, add more water 1 tablespoon at a time. Divide dough in half, flatten into discs, wrap in plastic, and refrigerate at least 2 hours.
2. Prepare the Apple Filling
Peel, core, and slice apples into ¼-inch thick wedges. In a large bowl, toss apples with granulated sugar, brown sugar, flour, lemon juice, cinnamon, nutmeg, allspice, and vanilla. Let sit for 15–30 minutes, stirring occasionally. The apples will release liquid—do not drain it; the flour will thicken it during baking.
3. Roll Out the Dough
On a lightly floured surface, roll one dough disc into a 12-inch circle (about ⅛-inch thick). Carefully transfer it to a 9-inch pie dish, gently pressing it into the bottom and up the sides. Leave a slight overhang. Refrigerate while rolling the top crust.
4. Assemble the Pie
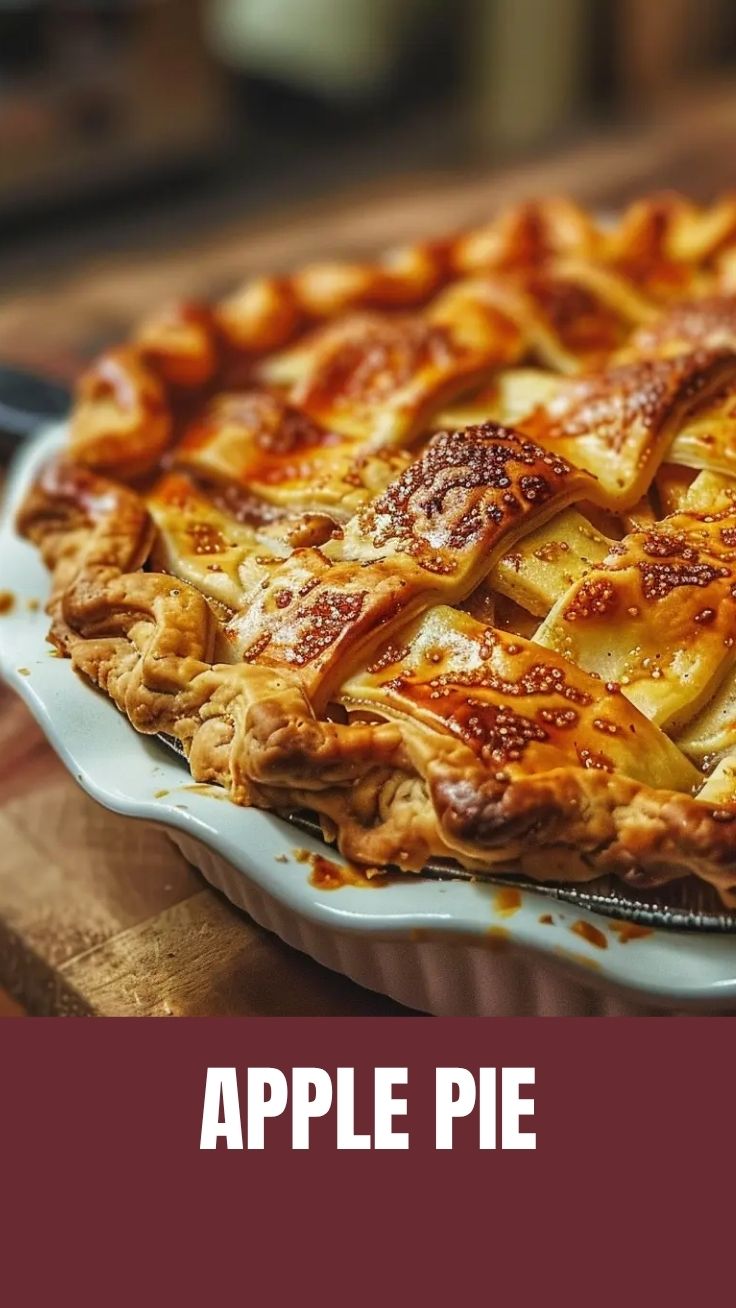
Pour the apple filling into the bottom crust, mounding slightly in the center. Dot the filling with the small cold butter cubes. Roll the second dough disc into an 11-inch circle. Place it over the filling, or cut it into strips for a lattice top. Trim excess dough to ½-inch overhang, fold the edges under, and crimp with your fingers or a fork. Cut several vents in the top crust (or weave lattice). Brush the crust with beaten egg or milk, and sprinkle with coarse sugar if desired.
Pro tip for a golden, crisp bottom: Place the pie on the lowest oven rack for the first 20 minutes of baking. This classic apple pie technique ensures the bottom crust cooks through before the filling bubbles. For the spice proportions, I always refer back to a trusted Grandma’s apple pie recipe—it calls for a generous hand with cinnamon and a whisper of nutmeg.
5. Bake to Perfection
Place pie on a baking sheet to catch drips. Bake at 425°F (220°C) for 20 minutes. Reduce temperature to 375°F (190°C) and bake another 30–40 minutes, until the crust is deep golden brown and the filling is bubbling through the vents. If the edges brown too quickly, tent with foil or a pie shield.
6. Cool Completely
Transfer the pie to a wire rack and cool for at least 3 hours. This is crucial—slicing too early will result in a runny, soupy filling. For best results, cool overnight.
—
Nutritional Benefits & Advantages
Apples are a nutritional powerhouse: one medium apple provides about 4 grams of fiber (soluble pectin, which helps lower cholesterol) and 14% of the daily vitamin C requirement. They also contain quercetin, a plant compound with anti-inflammatory and antioxidant properties. By making this pie at home, you control the sugar—you can reduce it by 25% without sacrificing flavor if your apples are naturally sweet. The butter contributes vitamin A and healthy fats, while the whole-wheat flour substitution (see Tips section) boosts fiber to 5–6 grams per slice. A moderate slice (1/8 of a 9-inch pie) contains around 350–400 calories, making it a satisfying occasional treat that provides more nutritional value than any store-bought version with preservatives and high-fructose corn syrup.
—
Tips, Variations & Cooking Advice
Flavor Variations:
– Brown Butter Crust: Brown ½ cup of the butter before chilling, then proceed with the recipe. Adds a nutty, toffee-like depth.
– Bourbon Maple: Replace vanilla with 1 tablespoon bourbon and use maple syrup in place of half the brown sugar.
– Spiced Chai: Add ½ teaspoon cardamom, ¼ teaspoon ginger, and a pinch of black pepper to the cinnamon blend.
Ingredient Swaps:
– Gluten-Free: Use a 1:1 gluten-free flour blend with xanthan gum for the crust. Increase ice water by 1–2 tablespoons.
– Dairy-Free: Replace butter with cold coconut oil or plant-based butter (like Miyoko’s). The crust will be slightly less flaky but still delicious.
– Low-Sugar: Use a sugar substitute like monk fruit or allulose for the filling; reduce sugar by 25% in the crust.
Alternative Cooking Methods:
– Deep-Dish Pie: Use a 9-inch deep-dish pan (about 2 inches deep) with a double batch of the filling.
– Hand Pies: Cut the rolled dough into 5-inch circles, fill with 2–3 apple slices, fold, crimp, and bake at 375°F for 20–25 minutes.
– No-Bake Version: Cook the filling on the stovetop until thickened, then pour into a pre-baked crust and chill for 4 hours.
Dietary Adaptations:
– Vegan: Use the dairy-free crust and skip the egg wash (brush with plant milk). The filling is already vegan.
– Nut-Free: This recipe is naturally nut-free, but check your butter and flour labels for cross-contamination if needed.
—
Common Mistakes to Avoid
| Mistake | Why It Happens | Fix |
|———|—————-|—–|
| Soggy bottom crust | Excess liquid from apples or too-low oven temperature | Bake on the lowest rack for the first 20 minutes; use a glass pie dish; let apples macerate and don’t drain all liquid (the flour thickens it). |
| Runny filling | Not enough thickener or slicing into hot pie | Use 2 tablespoons flour or 1.5 tablespoons cornstarch; always cool fully (3+ hours). |
| Tough, dry crust | Overworking the dough or too much water | Handle dough minimally; use ice water; stop mixing when it just holds together. |
| Burnt edges | Crust browns faster than filling | Use a pie shield or foil strips after 20 minutes of baking. |
| Soggy top crust | No vents or moisture trapped inside | Cut at least 4–6 vents; brush with egg wash to seal. |
—
Storage & Meal Prep Tips
Refrigeration:
Store baked, cooled pie covered loosely with foil or plastic wrap at room temperature for up to 2 days. For longer storage, refrigerate for up to 5 days. The crust will soften slightly in the fridge.
Freezing (Baked):
Freeze the fully baked and cooled pie on a baking sheet until firm, then wrap tightly in plastic wrap and foil or place in a freezer bag. Freeze for up to 3 months. To serve, thaw overnight in the fridge and reheat in a 325°F (160°C) oven for 15–20 minutes.
Freezing (Unbaked):
Assemble the pie completely but do not cut vents or brush with egg wash. Wrap tightly and freeze for up to 3 months. Bake from frozen: add 10–15 minutes to the total baking time; do not thaw first or the crust may become soggy. Cut vents and brush with egg wash just before baking.
Reheating:
For a crisp crust, reheat individual slices in a toaster oven or air fryer at 350°F for 5–7 minutes. For a whole pie, cover loosely with foil and reheat at 325°F for 15 minutes, then uncover for 5 minutes to crisp the top.
Meal Prep:
– Make the dough discs up to 3 days in advance and keep refrigerated.
– Pre-slice and freeze apples (toss with lemon juice to prevent browning) for up to 2 months.
– Assemble the pie without the top crust, refrigerate, and add the lattice right before baking.
—
Conclusion
Creating a classic apple pie from scratch is a labor of love that rewards you with a slice of pure nostalgia—flaky, buttery crust embracing perfectly spiced, tender apples. Whether you follow a classic apple pie blueprint or adapt a specialty Grandma’s apple pie recipe, the result is a timeless dessert that brings people together. I encourage you to try this recipe next weekend, share your golden, bubbly results on social media, and explore our other from-scratch dessert guides. The secret ingredient is patience—let that pie cool, and you’ll never look back at store-bought again.
—
FAQs
1. Can I use a different type of apple?
Absolutely. A mix of Granny Smith and Honeycrisp provides a perfect balance of tart and sweet and holds its shape. Avoid Red Delicious or Gala, which turn mushy. Fuji, Jonagold, and Braeburn also work well.
2. Do I need to peel the apples?
Yes, for a classic texture. Peels add toughness and can prevent the filling from smoothly melding. If you prefer some texture, you can leave half the apples unpeeled, but expect a slightly chewier bite.
3. Why is my pie runny after baking?
This usually means you sliced into it too early (the filling needs to set as it cools) or you didn’t use enough thickener. Also, over-macerating the apples (more than 30 minutes) releases too much juice. Let the pie cool at least 3 hours—overnight is best.
4. Can I freeze the pie before baking?
Yes, assemble the pie completely (without vents or egg wash), wrap well, and freeze for up to 3 months. Bake from frozen at the same temperature, adding about 10 minutes to the bake time. Do not thaw before baking.
5. How do I prevent the crust from burning?
Use a pie shield or cut a ring of aluminum foil to cover the edges after the first 20 minutes of baking. Alternatively, bake the pie on a preheated baking sheet, which also helps cook the bottom crust faster.
6. Can I use a store-bought crust?
Of course. For a quick, still-impressive pie, use a refrigerated rolled crust (avoid crumb crusts). Brush with egg wash and add coarse sugar for a homemade touch. The filling quality will still shine through.
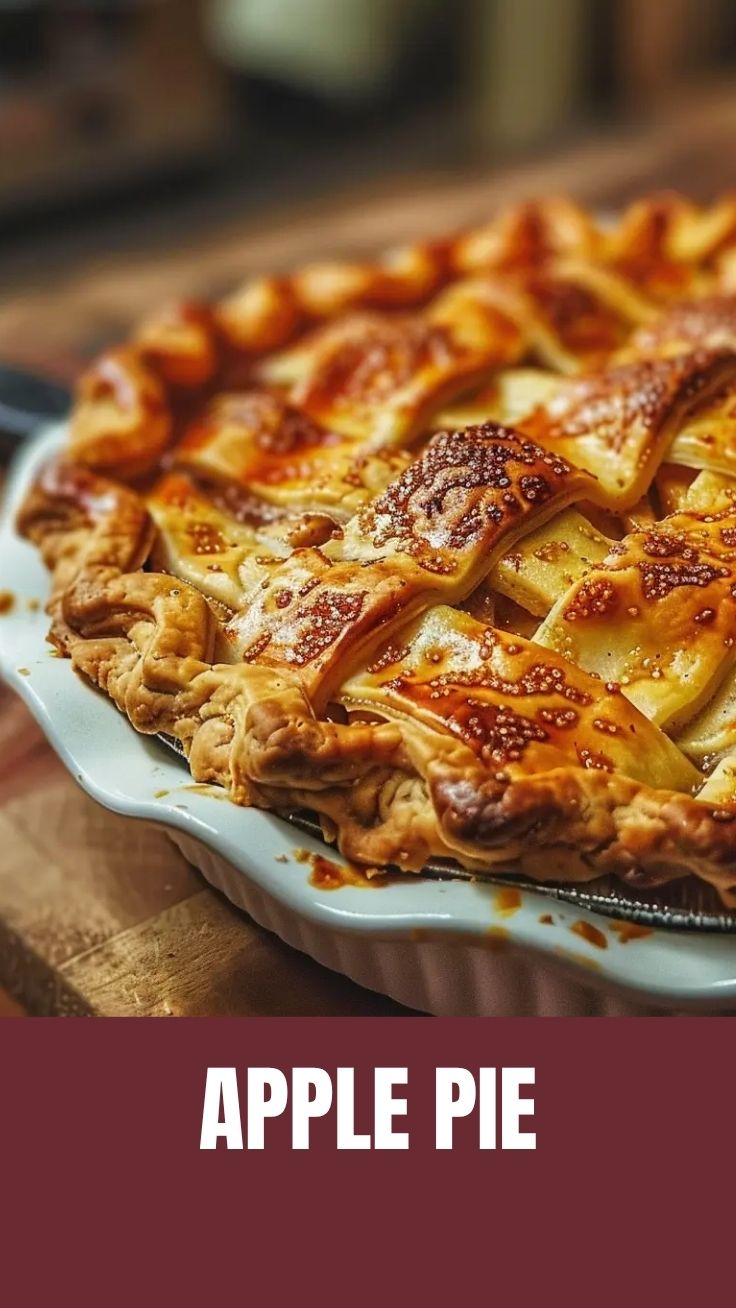
Classic Apple Pie
Ingredients
Equipment
Method
- Unroll one pie crust and gently fit it into a 9-inch pie plate, then trim the edges to fit.
- In a large bowl, combine the sliced apples, sugar, flour, cinnamon, nutmeg, cloves, and lemon juice; toss gently to coat.
- Pour the apple filling into the prepared pie crust, mounding it slightly in the center, and dot the top with butter pieces.
- Unroll the second pie crust, place it over the filling, then trim and crimp the edges together to seal; cut several slits in the top for steam to escape.
- Preheat oven to 425°F (220°C), place the pie on a baking sheet, and bake for 15 minutes.
- Reduce oven temperature to 375°F (190°C) and continue baking for 35-45 minutes until golden brown and bubbly, covering edges with foil if needed.
- Remove the pie from the oven and let it cool completely on a wire rack before slicing and serving.