The Ultimate Guide to Homemade Breadsticks: Crispy, Buttery, and Irresistible
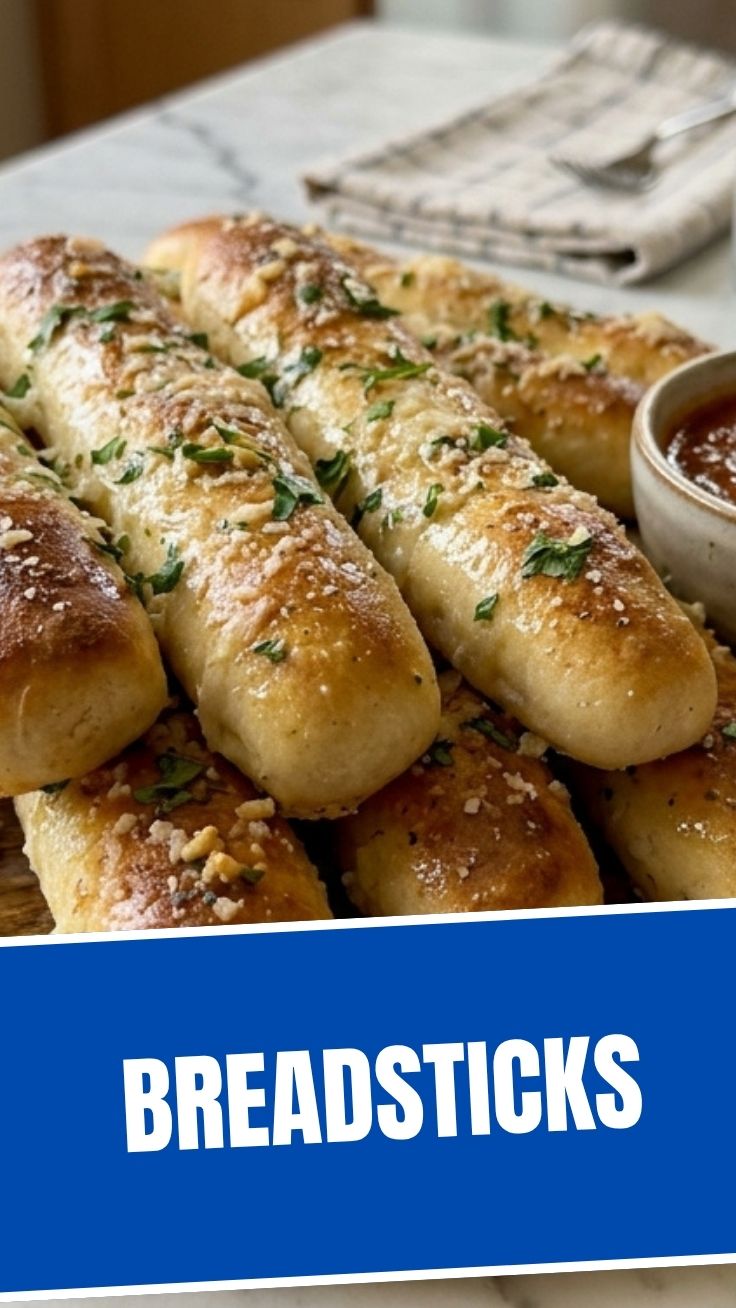
Have you ever wondered why restaurant breadsticks taste so addictive, yet your homemade versions fall flat? The secret isn’t just in the dough—it’s in the technique. Mastering homemade Breadsticks unlocks a world of warm, golden, and buttery perfection that rivals any Italian eatery. Plus, when you add a garlicky twist, those Garlic breadsticks become the ultimate sidekick to soups, salads, or pasta. Preparing them at home saves money, lets you control ingredients, and fills your kitchen with an irresistible aroma. Whether you’re a beginner or a seasoned baker, this guide delivers foolproof results every time.
Ingredients & Kitchen Tools
For the dough:
– 2 ¼ teaspoons active dry yeast (or instant yeast) – ensures a light, airy texture
– 1 cup warm water (110°F) – activates the yeast
– 3 cups all-purpose flour (plus extra for dusting) – gives structure
– 2 tablespoons olive oil – adds moisture and richness
– 1 teaspoon salt – balances flavor
– 1 tablespoon sugar – feeds the yeast and adds slight sweetness
For the topping:
– 3 tablespoons unsalted butter, melted – creates a golden crust
– 2 cloves garlic, minced (or ½ teaspoon garlic powder) – for garlic breadsticks
– ½ teaspoon dried oregano or Italian seasoning – optional but recommended
– Flaky sea salt – for finishing
Kitchen tools:
– Stand mixer with dough hook (or large bowl + wooden spoon)
– Baking sheet lined with parchment paper
– Pastry brush – for buttering
– Sharp knife or bench scraper – to cut dough strips
– Kitchen towel – for covering dough while rising
Optional substitutions:
– Substitute whole wheat flour for up to half the all-purpose flour (denser texture)
– Use vegan butter and plant-based milk wash for dairy-free version
Prep Time & Cooking Schedule
– Prep time: 20 minutes (mixing, kneading, shaping)
– Rising time: 1 hour (first proof) + 30 minutes (second proof) – total 1.5 hours
– Bake time: 12–15 minutes at 400°F (200°C)
– Total time: Approximately 2 hours
Plan ahead: The dough can be made the night before and refrigerated after shaping. Simply let it come to room temperature before baking. This schedule fits easily into a weekend cooking session or a weekday dinner prep.
Step-by-Step Instructions
1. Activate the yeast: In a small bowl, combine warm water, sugar, and yeast. Let sit for 5–10 minutes until foamy. If no foam appears, your yeast may be dead—start fresh.
2. Mix the dough: In a stand mixer bowl, combine flour and salt. Add yeast mixture and olive oil. Mix on low speed until a shaggy dough forms. Knead on medium-low for 6–8 minutes until smooth and elastic. If using hands, knead on a floured surface for 10 minutes.
3. First rise: Place dough in a lightly oiled bowl, cover with a damp towel, and let rise in a warm spot for 1 hour, or until doubled in size.
4. Shape the breadsticks: Punch down dough and turn onto a floured surface. Roll into a 12×8-inch rectangle. Using a sharp knife or bench scraper, cut into 12–14 strips (about 1 inch wide). Twist each strip gently and place on the prepared baking sheet, leaving 1 inch of space between each.
5. Second rise: Cover strips loosely with a towel and let rise for 30 minutes. They should puff slightly.
6. Bake: Meanwhile, preheat oven to 400°F (200°C). Bake breadsticks for 12–15 minutes until golden brown. For softer breadsticks, bake less time; for crunchier, add 2–3 more minutes.
7. Finish with garlic butter: While baking, melt butter and stir in minced garlic and oregano. Brush this mixture over the hot breadsticks as soon as they come out of the oven. Sprinkle with flaky sea salt.
Pro tip: For extra-crisp Breadsticks, place a small pan of water on the lower oven rack during baking to create steam. And if you crave bolder Garlic breadsticks, double the garlic and add a pinch of red pepper flakes to the butter.
Nutritional Benefits & Advantages
These homemade breadsticks are not only delicious but also offer nutritional perks when made with quality ingredients. Olive oil provides heart-healthy monounsaturated fats, while the all-purpose flour (or whole wheat blend) delivers complex carbohydrates for sustained energy. Compared to store-bought versions, your homemade batch contains no preservatives, artificial flavors, or excessive sodium. By controlling the butter and salt, you can reduce calories and adapt them to dietary needs. Plus, the garlic in garlic breadsticks offers antibacterial properties and may support immune health. When paired with a vegetable-rich soup or salad, this bread becomes a satisfying, balanced addition to any meal.
Tips, Variations & Cooking Advice
– Flavor variations: Swap garlic for rosemary and sea salt, or try everything bagel seasoning on top. For cheesy breadsticks, sprinkle grated Parmesan over the butter before baking the last 2 minutes.
– Dietary adaptations: Use a 1:1 gluten-free flour blend (with xanthan gum) to make gluten-free breadsticks. For a dairy-free version, replace butter with olive oil or vegan butter.
– Cooking method: For extra-crispy exteriors, bake directly on a preheated pizza stone. For softer breadsticks, cover with foil halfway through baking.
– Portion changes: Make mini breadsticks by cutting strips half as wide; reduce bake time to 8–10 minutes. Perfect for appetizers or lunchboxes.
Common Mistakes to Avoid
– Over-kneading: Dough becomes tough. Knead only until smooth and elastic (8 minutes max with mixer).
– Skipping the second rise: Breadsticks will be dense and chewy instead of light. Always let them puff for 30 minutes after shaping.
– Burning the garlic: Garlic burns quickly in butter. Always brush after baking, not before. For a deeper flavor, you can add garlic to the dough itself (but keep it minimal).
– Uneven thickness: Cut strips evenly to ensure consistent baking. Use a ruler if necessary.
– Overcrowding the pan: Space breadsticks at least 1 inch apart to allow air circulation and even browning.
Storage & Meal Prep Tips
Store leftover breadsticks in an airtight container at room temperature for up to 2 days. For longer storage, wrap them tightly in foil and freeze for up to 3 months. To reheat, place frozen breadsticks directly in a 350°F oven for 5–7 minutes, or microwave for 15–20 seconds (texture will soften). Avoid refrigerating, as the starch retrogrades and makes them stale faster. For meal prep, you can freeze unbaked shaped breadsticks on a tray, then transfer to a freezer bag. Bake directly from frozen, adding 3–5 extra minutes.
Conclusion
Homemade breadsticks are a game-changer: they’re simple to prepare, endlessly customizable, and far superior to anything from a box. By following these step-by-step instructions, you’ll create golden, buttery Breadsticks that impress every time. And when you add that garlicky finish, Garlic breadsticks become the star of your table. Don’t stop here—experiment with herbs, cheeses, or whole grains to make the recipe your own. Share your creations with friends, or try pairing them with our marinara dipping sauce. Happy baking!
FAQs
1. Can I use instant yeast instead of active dry yeast?
Yes, simply skip the activation step and mix it directly with the flour. The rising time remains the same.
2. How do I make breadsticks softer or crunchier?
For softer breadsticks, decrease oven temperature to 375°F and bake for 10–12 minutes. For crunchier, increase to 425°F and bake until deep golden.
3. What can I use instead of garlic if I don’t like it?
Try brushing with cinnamon-sugar for a sweet version, or use black pepper and Parmesan for a savory non-garlic option.
4. Why did my breadsticks turn out hard?
Over-kneading, too much flour, or over-baking are common culprits. Measure flour by spooning and leveling, and check doneness a few minutes early.
5. Can I make the dough ahead of time?
Absolutely. Prepare the dough through first rise, then refrigerate for up to 24 hours. Shape and bake the next day after letting it come to room temperature.
Proven way to grow your own 7 Breadsticks
Ingredients
Equipment
Method
- In a large bowl, dissolve yeast and sugar in warm water, then let it sit for 5-10 minutes until foamy.
- Stir in the olive oil, flour, and salt, mixing until a shaggy dough forms.
- Turn the dough out onto a floured surface and knead for 5-7 minutes until it is smooth and elastic.
- Place the dough in a lightly oiled bowl, cover it with plastic wrap, and let it rise in a warm place for 1 hour, or until doubled in size.
- Preheat your oven to 400°F (200°C) and lightly grease a baking sheet.
- Punch down the risen dough, divide it into 7 equal pieces, and roll each piece into a 8-10 inch long rope.
- Arrange the breadsticks on the prepared baking sheet and bake for 15-20 minutes, or until golden brown.
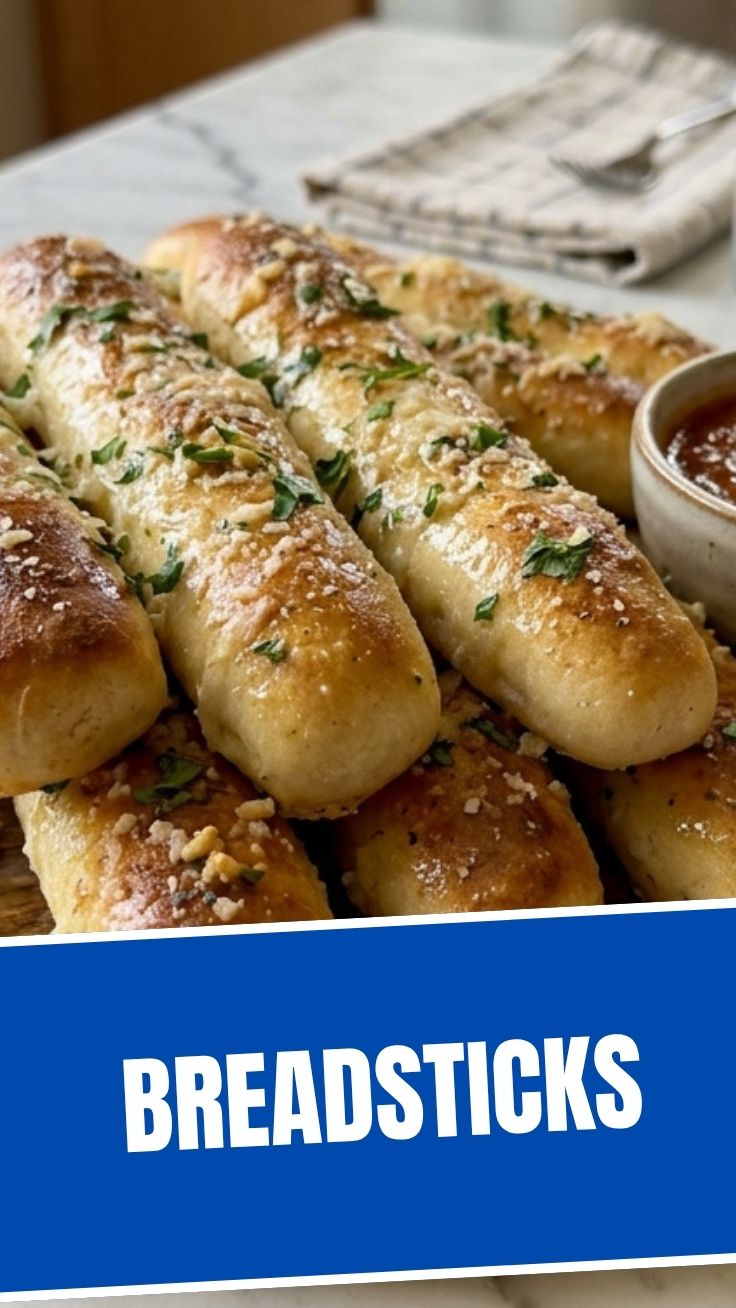
- For a flavorful topping, combine melted butter, garlic powder, and grated Parmesan cheese.
- Brush the warm breadsticks with the butter mixture before serving.