The Ultimate Guide to Making Perfect Garlic Bread at Home
Have you ever wondered why restaurant Garlic Bread tastes so irresistible while your homemade version often falls flat? The secret isn’t just in the bread—it’s in mastering the balance of flavors and techniques that transform simple ingredients into a crispy, buttery, aromatic masterpiece. Preparing this classic side dish at home not only saves money but also gives you complete control over quality and flavor. Whether you’re serving it alongside pasta, soup, or enjoying it as a snack, homemade Garlic Bread elevates any meal. In this comprehensive guide, we’ll explore everything from selecting the right loaf to perfecting that golden, crunchy exterior with a soft, flavorful center—all while incorporating essential tips to avoid common mistakes.
Ingredients & Kitchen Tools
Essential Ingredients
– 1 loaf crusty bread (ciabatta, French baguette, or sourdough) – Choose a dense, chewy bread that holds up well to butter and toasting.
– 1/2 cup unsalted butter (room temperature) – Softened butter spreads evenly and creates a better emulsion with garlic.
– 4-5 cloves fresh garlic – Minced finely; avoid pre-minced garlic for superior flavor.
– 2 tablespoons fresh parsley – Chopped; adds freshness and color contrast.
– 1/4 teaspoon salt – Enhances overall flavor without overpowering.
– Optional: 1/4 cup grated Parmesan cheese for a savory crust.
Special Ingredient: Garlic Butter
The star of this recipe is homemade Garlic Butter, which combines softened butter with fresh garlic, parsley, and a pinch of salt. This compound butter can be made ahead and stored, making it perfect for busy weeknights or unexpected guests.
Kitchen Tools Required
– Serrated knife – Cuts through crusty bread without crushing it.
– Mixing bowl – For combining butter ingredients.
– Garlic press or chef’s knife – For mincing garlic finely.
– Baking sheet – Lined with parchment paper for easy cleanup.
– Pastry brush – For even butter application (optional but helpful).
– Aluminum foil – For covering bread during initial baking.
Optional Substitutions
– Vegan option: Use plant-based butter and nutritional yeast instead of Parmesan.
– Gluten-free: Substitute gluten-free baguette or ciabatta; reduce baking time slightly.
– Low-fat: Greek yogurt mixed with garlic and herbs can replace some butter.
Prep Time & Cooking Schedule
– Prep Time: 10 minutes (mincing garlic, chopping parsley, softening butter)
– Resting Time: 5 minutes (allow Garlic Butter to meld flavors)
– Cook Time: 12-15 minutes total (10 minutes covered, 2-5 minutes uncovered)
– Total Time: Approximately 30 minutes
Planning Tip: Make the Garlic Butter up to 3 days in advance and refrigerate. When ready, let it come to room temperature for 15 minutes before spreading. This allows you to prepare the bread in just 10 minutes when guests arrive.
Step-by-Step Instructions
Step 1: Prepare the Garlic Butter
In a mixing bowl, combine 1/2 cup softened unsalted butter, 4-5 minced garlic cloves, 2 tablespoons chopped fresh parsley, and 1/4 teaspoon salt. Mix thoroughly until all ingredients are well incorporated. This step is where you create the foundation for exceptional Garlic Butter—the key to the dish’s signature flavor.
Step 2: Prepare the Bread
Preheat your oven to 375°F (190°C). Using a serrated knife, slice the loaf horizontally in half lengthwise. Place both halves cut-side up on a parchment-lined baking sheet.
Step 3: Spread and Bake
Spread the Garlic Butter evenly over both cut surfaces, reaching every corner. For extra flavor, sprinkle Parmesan cheese on top if desired. Cover loosely with aluminum foil and bake for 10 minutes. This initial covered baking allows the butter to melt deeply into the bread without burning the garlic.
Step 4: Crisp the Crust
Remove the foil and switch the oven to broil. Broil for 2-5 minutes, watching closely until the edges turn golden brown and the surface bubbles slightly. Temperature Control Tip: Every oven broils differently—set a timer for 2 minutes, then check every 30 seconds to prevent burning.
Step 5: Slice and Serve
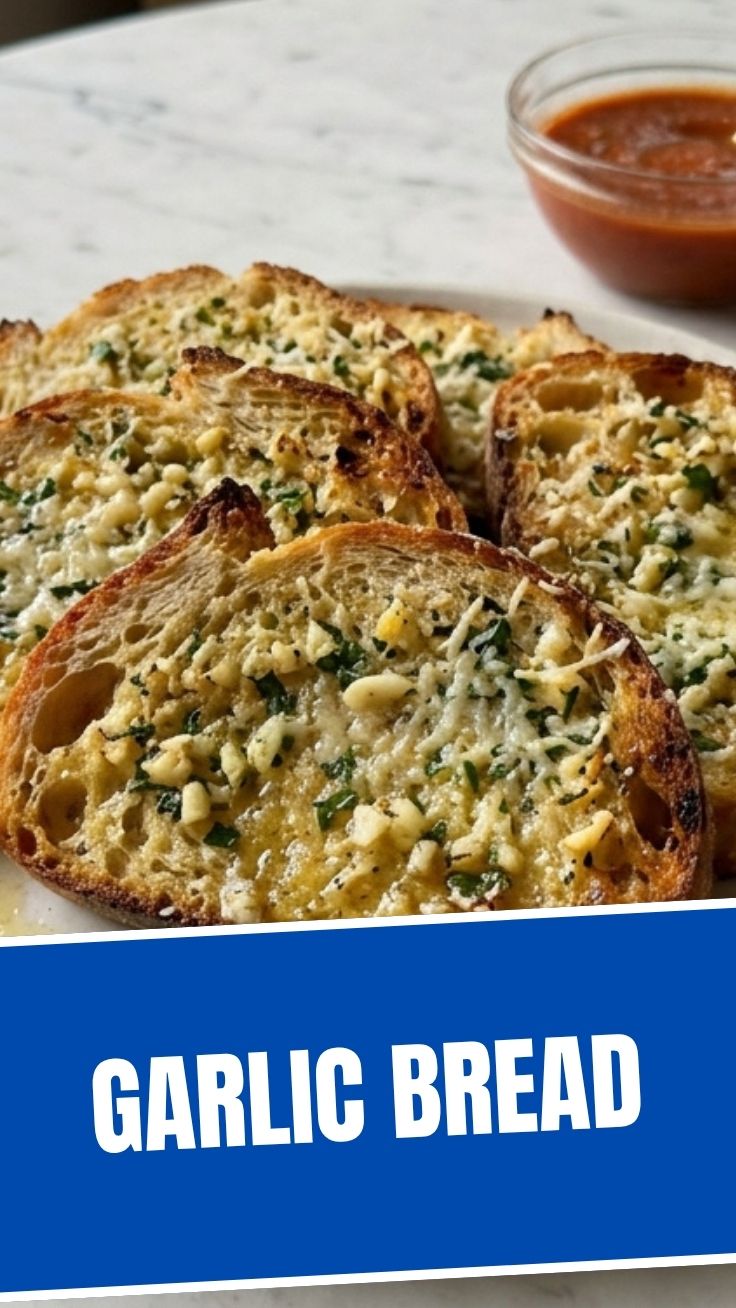
Remove from oven and let rest for 2 minutes. Slice into 2-inch pieces using a sharp knife. Serve immediately while the exterior is crisp and the interior remains soft. This homemade Garlic Bread pairs beautifully with marinara sauce or as a side to pasta dishes.
Texture Cue: The bread should have a crunchy, golden-brown exterior with a tender, buttery interior. If the bread feels soggy, it needs more uncovered baking time.
Nutritional Benefits & Advantages
While Garlic Bread is an indulgent treat, it offers several nutritional benefits when made thoughtfully:
– Garlic contains allicin, a compound linked to immune support and cardiovascular health. Fresh garlic provides more active compounds than processed versions.
– Butter in moderation supplies fat-soluble vitamins A, D, and E. Grass-fed butter offers higher omega-3 content.
– Parsley is rich in vitamin K, supporting bone health and blood clotting.
– Whole-grain bread options add fiber, B vitamins, and complex carbohydrates for sustained energy.
Dietary Advantage: By making this at home, you control sodium levels and can use high-quality ingredients. A single serving (2 slices) contains approximately 200-250 calories, making it a reasonable addition to a balanced meal.
Tips, Variations & Cooking Advice
Flavor Variations
– Cheesy Garlic Bread: Add 1/2 cup shredded mozzarella or provolone on top during the last 3 minutes of baking.
– Herb Garden Version: Mix in 1 teaspoon dried oregano, thyme, or rosemary with the butter.
– Spicy Kick: Add 1/4 teaspoon red pepper flakes or a dash of cayenne to the Garlic Butter.
Alternative Cooking Methods
– Air Fryer: Cook at 350°F for 5-6 minutes (no foil needed); flip halfway through.
– Grill: Place buttered bread cut-side down on medium heat for 3-4 minutes until grill marks appear.
– Stovetop Skillet: Cook in a cast-iron pan over medium heat, pressing down with a spatula, for 3-4 minutes per side.
Dietary Adaptations
– Dairy-free: Use vegan butter sticks (like Earth Balance) and skip cheese.
– Low-carb: Use keto-friendly bread or portobello mushroom caps as a base.
– Nutrient boost: Add 1 tablespoon hemp seeds or flax meal to the butter mixture.
Portion Changes
– For smaller servings, use individual dinner rolls or slider buns. Adjust baking time to 8-10 minutes covered, 2 minutes uncovered.
Common Mistakes to Avoid
1. Using Cold Butter
Cold butter doesn’t spread evenly, leading to patchy flavor. Solution: Allow butter to soften at room temperature for 30 minutes before mixing.
2. Overcooking the Garlic
Burnt garlic becomes bitter and acrid. Solution: Always cover the bread during the first baking phase to prevent direct heat exposure.
3. Soggy Bread
Applying too much butter or not baking long enough creates a greasy texture. Solution: Use a thin, even layer and ensure the bread crisps uncovered.
4. Slicing Too Early
Cutting the bread while hot can crush the crust. Solution: Let it rest 2 minutes for the structure to set.
5. Using Stale Bread
Old bread absorbs butter unevenly. Solution: Slightly stale bread actually works better for absorption—just avoid bread that’s hard or moldy.
Storage & Meal Prep Tips
Refrigeration: Store leftover Garlic Bread in an airtight container or wrapped tightly in foil at room temperature for up to 2 days. For longer storage, refrigerate for up to 5 days.
Freezing: Wrap individual slices in plastic wrap, then place in a freezer-safe bag. Frozen Garlic Bread stays fresh for up to 3 months.
Reheating Instructions:
– Oven (best method): Bake at 350°F for 5-7 minutes directly on the rack for crispiest results.
– Toaster Oven: Toast slices at medium setting for 3-4 minutes.
– Avoid microwave: This creates rubbery, soggy bread.
Meal Prep: Prepare the Garlic Butter up to 1 week ahead and store in the refrigerator. Assemble the bread just before baking for best results. You can also pre-slice the loaf and freeze unbuttered slices for quick assembly later.
Conclusion
Mastering homemade Garlic Bread is about understanding the science of heat, fat, and flavor absorption. By using fresh ingredients, controlling your oven temperature, and avoiding common mistakes, you can create this classic side dish that rivals any restaurant version. Remember that the quality of your Garlic Bread starts with the butter—take time to make a flavorful compound butter, and the results will speak for themselves. Whether you’re pairing it with pasta, soup, or enjoying it alone, this recipe delivers consistent, delicious results every time. We encourage you to try this recipe, experiment with variations, and share your results with family and friends. For more side dish inspirations, explore our collection of bread-based recipes that complement any meal. Now go ahead—preheat your oven and treat yourself to the perfect homemade Garlic Bread with rich Garlic Butter that will make every meal special.
FAQs
Q1: Can I use pre-minced garlic from a jar?
A1: While convenient, pre-minced garlic often contains preservatives and lacks the pungent, fresh flavor of whole cloves. For best results, always mince fresh garlic just before using.
Q2: Why is my Garlic Bread always soggy in the middle?
A2: This usually happens when the bread isn’t baked long enough after the initial covered phase. Ensure you broil uncovered until the edges are golden brown. Also, use a denser bread like sourdough or ciabatta, which holds structure better.
Q3: Can I make this recipe dairy-free?
A3: Absolutely! Substitute the butter with a high-quality vegan butter stick (not spreadable margarine). Brands like Miyoko’s or Earth Balance work well. You may need to add a pinch more salt, as vegan butters can be less salty than dairy butter.
Q4: How do I fix over-salted Garlic Butter?
A4: If your butter mixture is too salty, add more unsalted butter to dilute the salt content. Alternatively, mix in a teaspoon of honey or sugar to balance the saltiness without affecting the garlic flavor significantly.
Q5: Can I prepare Garlic Bread ahead of time for a party?
A5: Yes! Assemble the bread with Garlic Butter up to 2 hours ahead and keep it covered at room temperature. Bake just before serving. For longer prep, freeze the assembled bread (unbaked) for up to 3 months and bake directly from frozen, adding 2-3 minutes to the covered baking time.
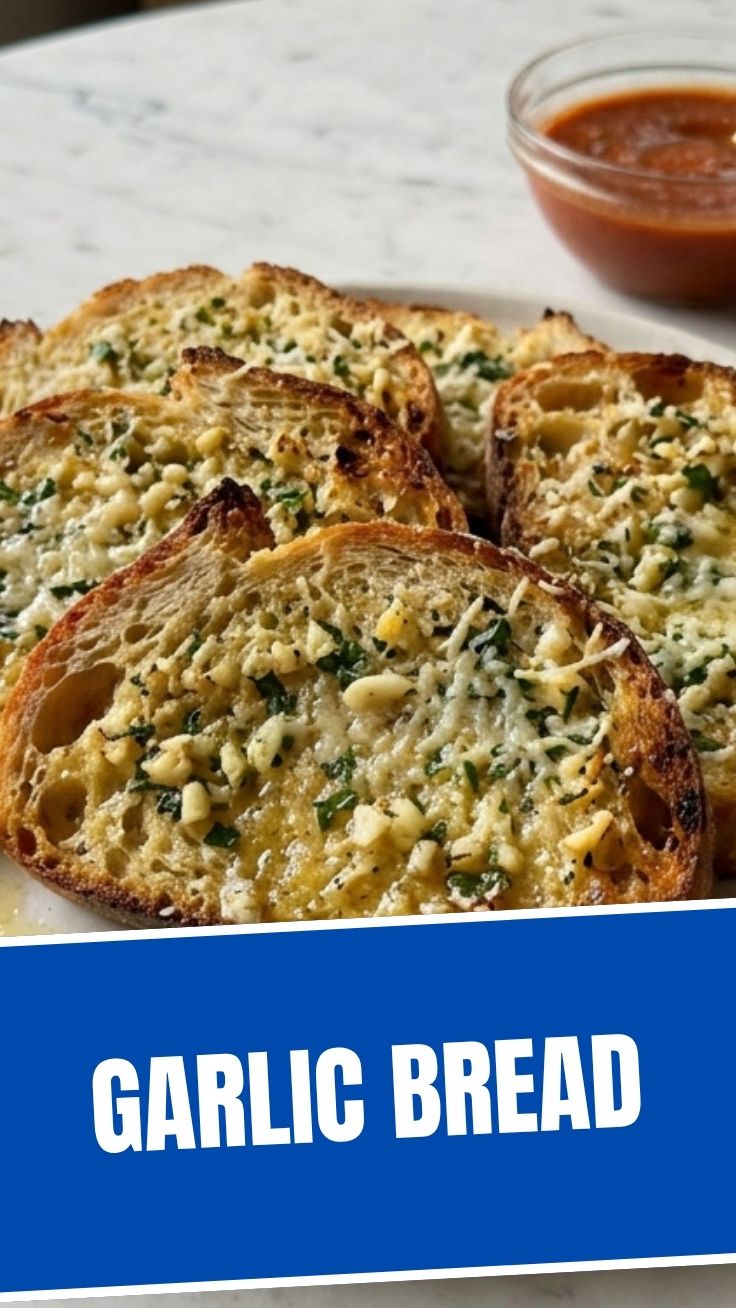
Best way to grow your perfect Garlic Bread in 3 steps
Ingredients
Equipment
Method
- Preheat your oven to 375°F (190°C). Slice the artisan bread lengthwise and set aside.
- Roast the garlic by drizzling olive oil over the heads, wrapping them in foil, and baking for 25 minutes until soft. Once cooled, squeeze out the roasted garlic cloves into a small bowl.
- In a medium bowl, combine the softened butter, mashed roasted garlic, chopped fresh parsley, grated Parmesan cheese, salt, and black pepper. Mix thoroughly until all ingredients are well incorporated.
- Spread the garlic butter mixture generously over the cut sides of the bread. Place the bread halves on a baking sheet and bake for 10-15 minutes, or until golden brown and fragrant. For extra crispiness, you can broil for the last 1-2 minutes, watching carefully to prevent burning. Serve immediately and enjoy your homemade garlic bread!