The Ultimate Guide to Baking Perfect Fudgy Brownies at Home
Have you ever bitten into a dry, cake-like brownie when all you craved was that dense, rich, and decadent chocolate experience? If so, you know the disappointment is real. But what if you could replicate the gooey, crackly-top perfection of a bakery-style treat right in your own kitchen? The secret lies in mastering the science of [Brownies]—specifically, the technique behind making the most luxurious fudgy brownies. Preparing them at home not only saves you money but also gives you complete control over quality ingredients and customization. It is a cooking skill that pays dividends in pure chocolate satisfaction.
—
Ingredients & Kitchen Tools
To achieve that melt-in-your-mouth texture, precise components matter. Here’s what you’ll need:
Ingredients
– Unsalted Butter (1 cup / 225g): Provides richness; using unsalted allows you to control the salt level.
– Dark Chocolate (8 oz / 225g, 60-70% cocoa): The primary flavor driver. High-quality chocolate yields a deeper, more complex taste.
– Granulated Sugar (1 ½ cups / 300g): Crucial for sweetness and assists in creating that shiny, crackly crust.
– Large Eggs (3): Act as a binder and contribute to structure. Room temperature helps them emulsify better.
– Vanilla Extract (1 tsp): Enhances chocolate notes.
– All-Purpose Flour (¾ cup / 90g): Just enough to hold everything together; too much dries out the batter.
– Cocoa Powder (2 tbsp): Deepens the chocolate flavor.
– Salt (½ tsp): Balances sweetness and boosts flavor perception.
Kitchen Tools
– 8×8-inch Baking Pan: Metal pans give a more evenly baked brownie than glass.
– Parchment Paper: Essential for easy lifting.
– Double Boiler or Microwave-Safe Bowl: For melting chocolate without scorching.
– Stand Mixer or Hand Mixer: Best for incorporating air for that top crust.
– Rubber Spatula: For folding.
Optional Substitutions: Swap dark chocolate for milk chocolate (reduce sugar slightly) or use coconut oil instead of butter for a dairy-free option.
—
Prep Time & Cooking Schedule
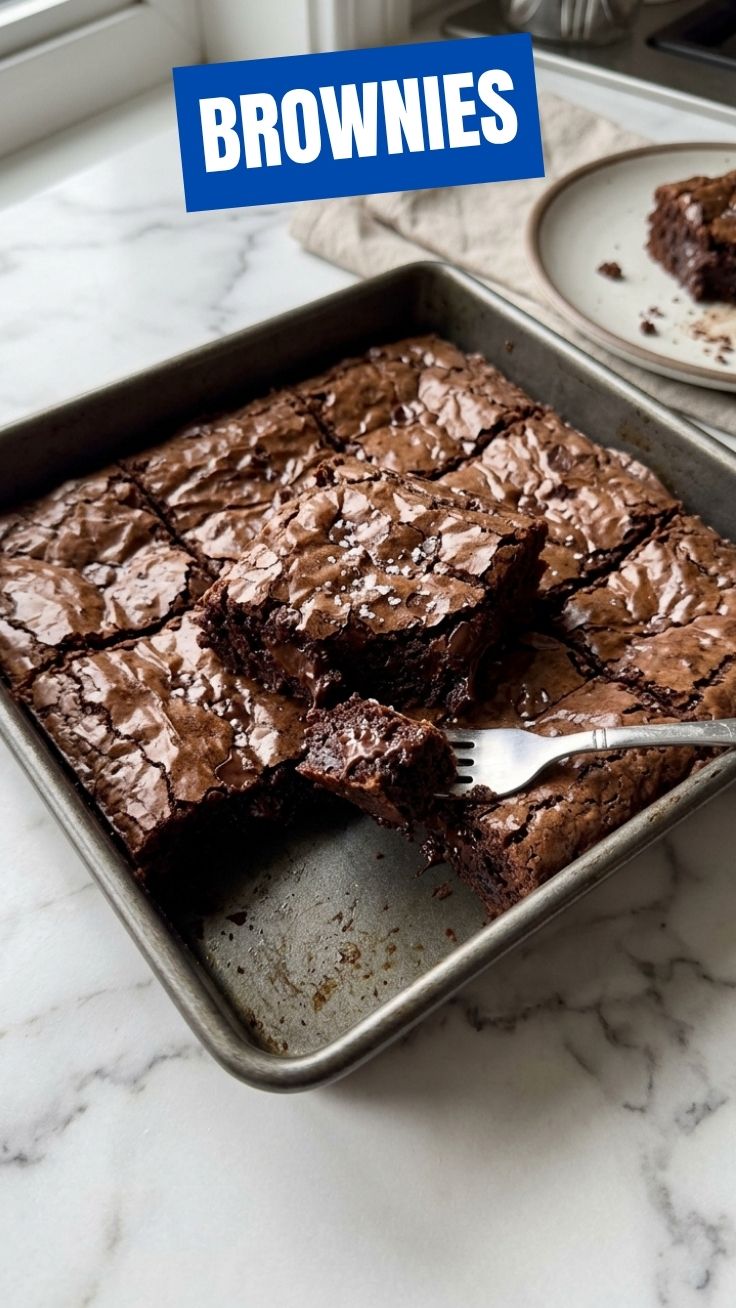
Understanding your schedule is the first step to success. Here’s the timeline:
– Prep Time: 15 minutes (melting chocolate, measuring dry ingredients).
– Bake Time: 25-30 minutes at 350°F (175°C).
– Cooling Time: Crucial – allow at least 30 minutes in the pan, then 1 hour on a rack. This allows the structure to set properly.
– Best Eaten: After 2 hours of total cooling, or the next day (flavors intensify overnight).
Reader Tip: Plan to make these when you have a lazy afternoon. Rushing the cooling stage is the number one reason for a collapsed or gummy texture.
—
Step-by-Step Instructions
Follow this blueprint precisely for the most decadent batch of [fudgy brownies] you have ever made.
1. Preheat and Prep: Preheat your oven to 350°F (175°C). Line your 8×8 pan with parchment paper, leaving an overhang on two sides.
2. Melt the Fat: In a double boiler (or microwave in 30-second bursts), melt the butter and chopped dark chocolate together. Stir until smooth. Let cool slightly.
3. Create the Crust (Key Step): In a large bowl, whisk the sugar and eggs together until pale, thick, and doubled in volume (about 3-4 minutes). This aeration creates the signature crackly top.
4. Combine Mixtures: Gently fold the melted chocolate-butter mixture into the egg-sugar foam. Add vanilla. Do not overmix.
5. Add Dry Ingredients: Sift the flour, cocoa powder, and salt over the batter. Fold with a spatula until just combined. Stop when you can’t see dry streaks. Texture cue: The batter should be thick and glossy.
6. Bake: Pour batter into pan and spread evenly. Bake for 25-30 minutes. Temperature control: A toothpick inserted 2 inches from the edge should come out with a few moist, fudgy brownies crumbs—not wet batter.
7. Cool Completely: Place pan on wire rack. Cool for 30 minutes, then lift out using parchment paper and cool fully.
—
Nutritional Benefits & Advantages
While fudgy brownies are undoubtedly a treat, they offer some surprising advantages. Dark chocolate is rich in antioxidants called flavonoids, which can support heart health by improving blood flow and lowering blood pressure. The moderate amount of healthy fats from butter and chocolate also helps with satiety, meaning a single, well-made brownie can satisfy a sweet craving more effectively than a larger, less rich dessert. Additionally, choosing high-quality cocoa provides a source of iron and magnesium. Remember: desserts are about balance and enjoyment, not deprivation.
—
Tips Variations & Cooking Advice
– Flavor Variations: Add ½ cup of chopped walnuts or pecans before baking. Stir in 1 teaspoon of instant espresso powder to deepen the chocolate flavor.
– Dietary Adaptations: Gluten-Free: Substitute the all-purpose flour with an equal weight (90g) of almond flour or a 1:1 gluten-free blend. Dairy-Free: Use vegan butter and dairy-free dark chocolate.
– Portion Swaps: Want a thicker brownie? Bake in an 7×7-inch pan and increase bake time by 5-7 minutes. For thinner, crunchier edges, use a 9×9 pan.
– Alternative Methods: To achieve an extra fudgy center, try the “Brookies” method: top your batter with a layer of raw cookie dough before baking.
—
Common Mistakes to Avoid
1. Overmixing the Batter: This develops gluten, resulting in a tough, bread-like texture. Solution: Fold dry ingredients gently with a spatula until just combined.
2. Overbaking: The enemy of moisture. Solution: Start checking at 22 minutes. The edges should be set, but the center should jiggle slightly.
3. Using Cold Eggs: They won’t emulsify with the sugar effectively. Solution: Bring eggs to room temperature by submerging them in warm water for 5 minutes.
4. Not Using Parchment Paper: Attempting to remove brownies from an unlined pan leads to broken edges. Solution: Always use an overhang to lift the slab cleanly.
—
Storage & Meal Prep Tips
Proper storage ensures your fudgy brownies stay decadent for days.
– Refrigeration: Store in an airtight container at room temperature for up to 3 days. The fat content helps them stay moist.
– Freezing: Triple-wrap cooled brownies (or individual slices) tightly in plastic wrap, then foil. How long: They keep for up to 3 months.
– Reheating: To recapture that fresh-baked taste, microwave a single brownie for 10-15 seconds. For a crisp exterior, reheat in a 300°F oven for 5 minutes.
– Meal Prep Tip: Bake a double batch, freeze the extras, and you always have a quick dessert on hand for unexpected guests or late-night cravings.
—
Conclusion
Mastering the art of making fudgy brownies at home is a game-changer for any chocolate lover. By focusing on quality ingredients, precise mixing techniques, and perfect bake time, you can consistently produce a batch that rivals your favorite bakery. The joy of sharing a warm, gooey slab of these [Brownies] is unmatched. We encourage you to bake a batch this weekend, share them with loved ones, and savor the satisfaction of a dessert made well. Happy baking!
—
FAQs
1. Why did my brownies turn out cakey instead of fudgy?
A cakey texture usually means you overmixed the batter or used too much flour. For fudgy brownies, stop mixing as soon as the dry ingredients disappear. Also, ensure you are using a higher fat-to-flour ratio—our recipe is designed for that.
2. Can I use chocolate chips instead of a chocolate bar?
Yes, but there is a difference. Chocolate bars melt more smoothly due to a higher cocoa butter content. Chips contain stabilizers, which can lead to a slightly grainy texture. Melt them gently and thoroughly for best results.
3. How do I make them more gooey in the center?
Reduce the bake time by 3-5 minutes. The residual heat will finish cooking the center as they cool. Pull them out when a skewer inserted an inch from the edge comes out clean, but the center shows moist crumbs.
4. Can I add a layer of frosting or glaze?
Absolutely! A simple ganache (2 parts chocolate to 1 part cream) poured over the cooled slab takes these to the next level. Just ensure the brownies are fully cool to prevent the glaze from melting.
5. How do I store cut brownies without them drying out?
Press a piece of plastic wrap directly onto the cut surface of the remaining slab to minimize air exposure. Alternatively, store them in a single layer in an airtight container with a slice of bread—the bread absorbs excess moisture and keeps brownies soft.
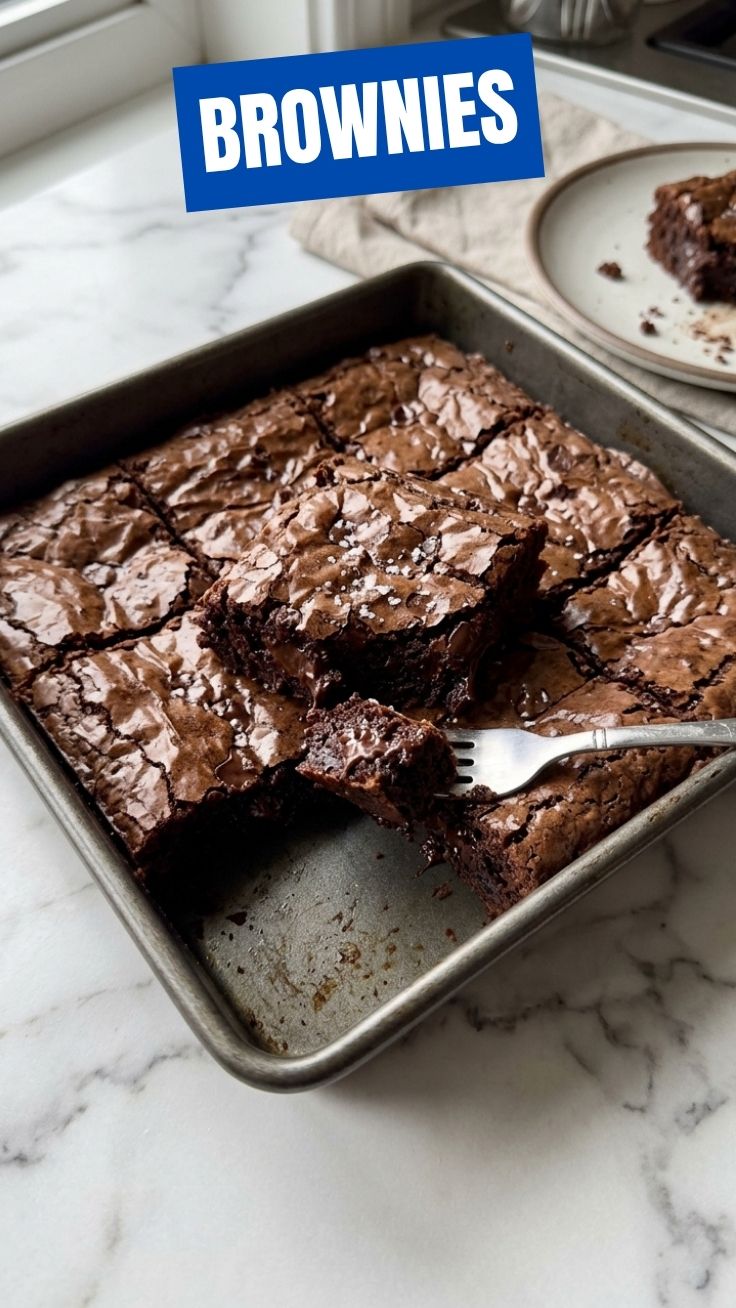
Best way to grow Brownies with 3 ingredientsBrownies
Ingredients
Equipment
Method
- Preheat your oven to 350°F (175°C) and lightly grease an 8x8 inch baking pan. This ensures the brownies cook evenly and don't stick.
- In a large bowl, combine the brownie mix, eggs, and vegetable oil. Mix until just combined, being careful not to overmix, as this can make the brownies tough.
- Pour the batter into the prepared baking pan and spread it evenly. Bake for 20-25 minutes, or until a toothpick inserted into the center comes out with moist crumbs.
- Let the brownies cool completely in the pan on a wire rack before cutting them into squares. This helps them firm up and prevents crumbling.