The Ultimate Texas Beef Chili: Your New Favorite Comfort Food
Have you ever wondered what makes a bowl of Texas beef chili so unforgettable? Is it the slow-simmered depth of flavor, the perfect balance of spices, or the tender chunks of beef that melt in your mouth? The truth is, making an authentic Texas chili at home is both an art and a science—and once you master it, you’ll never reach for a can again. Whether you’re a seasoned cook or a beginner, this comprehensive guide will walk you through every step. Plus, we’ll show you why this Chili pairs beautifully with a crispy, cheesy side like this Recipe for chili cheese tater tot casserole. In this post, you’ll learn exactly how to create a rich, smoky Texas beef chili that’s perfect for game day, cozy nights, or meal prep. And don’t worry—we’ll also share a foolproof chili recipe that guarantees success every time.
Ingredients & Kitchen Tools
For the Texas Beef Chili:
– Beef chuck (2 lbs, cut into ½-inch cubes) – Best cuts for slow cooking; avoid lean meat.
– Dried ancho chiles (3) – Provides smoky, mild heat. Toast before rehydrating.
– Chipotle peppers in adobo (2, minced) – Adds smoky spice. Use less if sensitive.
– Tomato paste (3 tbsp) – Deepens color and umami.
– Beef broth (4 cups) – Low-sodium preferred to control salt.
– Onion (1 large, diced)
– Garlic (4 cloves, minced)
– Cumin, smoked paprika, oregano, cayenne – Adjust to taste.
– Masa harina (2 tbsp) – Thickens naturally; omit for gluten-free.
– Salt & black pepper
Kitchen Tools:
– Dutch oven or heavy stockpot (5–6 qt)
– Cutting board and chef’s knife
– Blender or immersion blender (for chile paste)
– Wooden spoon
– Measuring spoons
– Strainer (for rinsing beans if using – but true Texas chili has no beans!)
Optional Substitutions:
– Beef – Swap with bison or ground beef (though texture changes).
– Tomatoes – Add 1 can fire-roasted diced tomatoes for acidity.
– Gluten-free – Use cornstarch instead of masa harina.
– Dairy-free – Top with avocado instead of cheese or sour cream.
Prep Time & Cooking Schedule
– Prep time: 20 minutes (chopping, toasting chiles)
– Cook time: 2 to 2.5 hours (low and slow)
– Resting time: 15 minutes after cooking (improves flavor melding)
– Total: about 3 hours
Plan ahead: this chili tastes even better the next day. If you’re short on time, you can use a pressure cooker (30 minutes), but the stove-top method builds deeper layers.
Step-by-Step Instructions
1. Toast the dried chiles. In a dry skillet over medium heat, toast the anchos for 30 seconds per side until fragrant. Transfer to a bowl, cover with hot water, and soak for 15 minutes.
2. Make the chile paste. Drain the softened chiles (reserve a splash of liquid). Blend with ½ cup of the soaking water, the chipotles, and a pinch of salt until smooth.
3. Brown the beef. Heat 2 tbsp oil in your Dutch oven over medium-high heat. Season beef with salt and pepper. Sear in batches (do not crowd) until deeply browned on all sides. Set aside.
4. Sauté aromatics. Reduce heat to medium. Add onion, cook until translucent (~5 minutes). Stir in garlic and tomato paste for 1 minute.
5. Combine everything. Return beef to pot. Add the chile paste, cumin, smoked paprika, and oregano. Stir for 1 minute. Pour in beef broth, bring to a boil, then reduce to a gentle simmer.
6. Simmer for 2 hours (or until beef is fork-tender). Stir occasionally, scraping the bottom. After 1.5 hours, whisk in masa harina mixed with ¼ cup water to thicken.
7. Taste and adjust. Add cayenne for heat, salt for seasoning. For a truly authentic Texas beef chili, resist the urge to add beans or tomatoes (only chiles and meat). This chili recipe stays true to the Lone Star State tradition.
Pro tip: If the chili looks too thin after cooking, let it simmer uncovered for 10 minutes. Too thick? Add a splash of broth.
Nutritional Benefits & Advantages
This Texas beef chili is a powerhouse of nutrition. Beef chuck provides high-quality protein, iron, and zinc, which support muscle health and immunity. The ancho and chipotle chiles are rich in vitamin C and capsaicin, which may boost metabolism and reduce inflammation. Because this chili skips beans and heavy fillers, it’s naturally low-carb and keto-friendly. One serving (about 1½ cups) delivers roughly 350–400 calories, 30g protein, and only 10g carbs. It’s also dairy-free if you skip the cheese and sour cream, making it suitable for many diets.
Tips Variations & Cooking Advice
– Make it smoky: Add 1 tsp liquid smoke or a pinch of smoked salt.
– Spice level: Remove seeds from chiles for mild heat; add habanero for extreme.
– Slow cooker method: Brown beef and aromatics on the stovetop, then transfer everything to a slow cooker. Cook on low for 6–8 hours.
– Bean lovers? Not traditional, but you can stir in pinto or kidney beans after simmering if you must.
– Cheesy twist: Serve this chili over Fritos on a bed of cheese to make Frito pie. Or try it as a topping for the chili cheese tater tot casserole linked above—the creamy, crunchy tater tots are a perfect match.
– Gluten-free: Ensure broth and spices are certified GF; skip the masa or use arrowroot powder.
Common Mistakes to Avoid
– Skipping the browning step. Deep browning creates the Maillard reaction—essential for rich flavor.
– Using pre-ground spices only. Whole toasted chiles give unmatched depth. Don’t substitute with chili powder from a jar.
– Adding beans or tomatoes too early. If you insist on beans, add them in the last 20 minutes. Tomatoes can make the chili acidic; balance with a pinch of sugar.
– Rushing the simmer. Patience pays off. The beef needs at least 2 hours to break down collagen and become tender.
– Overseasoning at the start. Taste and adjust salt only after the chili has reduced, as flavors concentrate.
Storage & Meal Prep Tips
Cool the chili completely before storing. Refrigerate in airtight containers for up to 4 days. For freezing, portion into freezer-safe bags (remove air) and lay flat. Freezes well for up to 3 months. To reheat: thaw overnight in the fridge, then warm in a pot over medium-low heat, stirring occasionally. Add a splash of broth or water to loosen. Avoid microwaving on high, as it can dry out the beef. For best texture, reheat on the stove.
Conclusion
Now you have everything you need to craft an unforgettable Texas beef chili right in your own kitchen. This isn’t just a meal—it’s a tradition that brings warmth and comfort with every spoonful. Remember, the secret lies in using whole chiles, taking time to brown the meat, and letting the flavors meld slowly. And if you’ve ever wondered what to pair it with, the chili cheese tater tot casserole recipe is a game-changer—it’s the ultimate fusion of smoky chili and crispy, cheesy taters. Give this chili a try this week, invite friends over, and don’t forget to share your results. Happy cooking!
FAQs
1. Can I use ground beef instead of chuck?
Yes, but the texture will be more like a classic chili. Brown it well and reduce cooking time to about 45 minutes.
2. Is this chili spicy?
It has a medium heat from the anchos and chipotles. Remove chipotle seeds or omit one pepper for milder taste.
3. Can I make this in an Instant Pot?
Absolutely. Use the sauté function for browning, then pressure cook on high for 35 minutes with natural release.
4. How do I thicken chili without masa?
Use 1 tbsp cornstarch or arrowroot powder mixed with 2 tbsp cold water. Stir in, simmer 2 minutes.
5. What’s the best garnish?
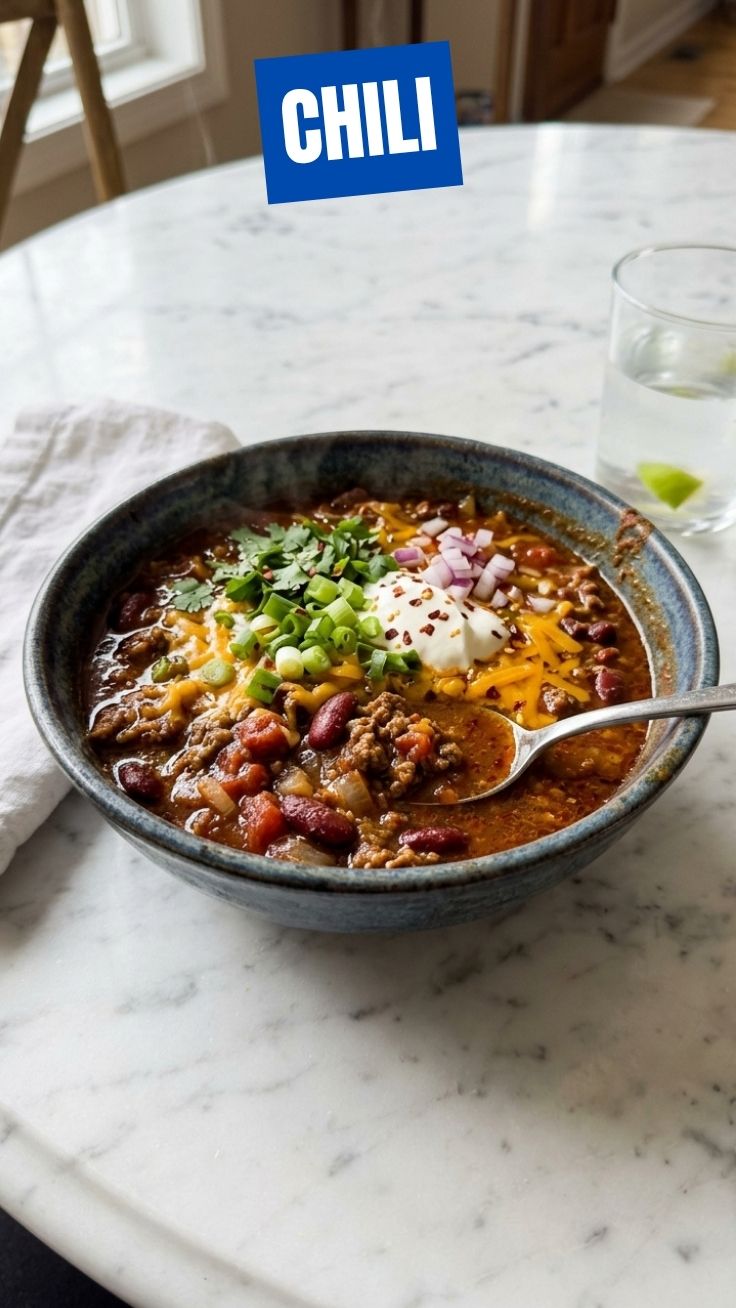
Fresh cilantro, diced white onion, shredded cheddar, sour cream, and pickled jalapeños. Or serve with tortilla chips.
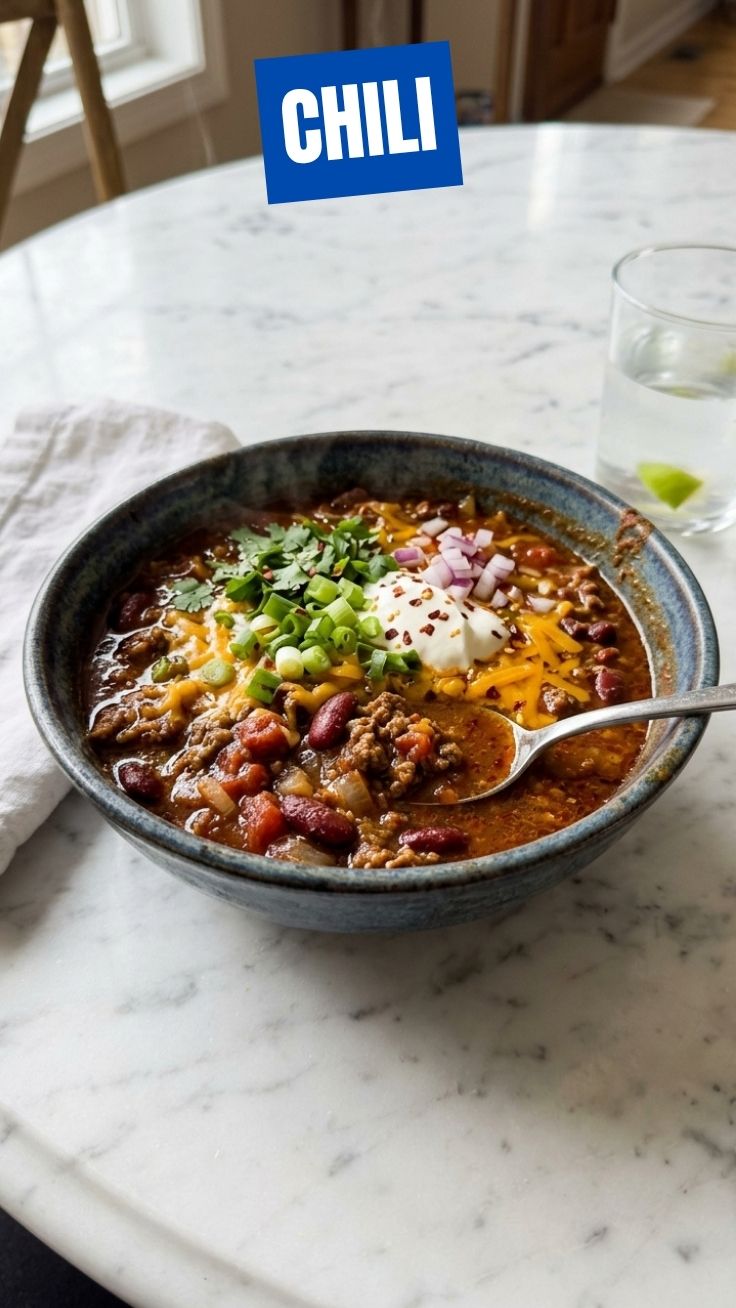
Proven way to grow Chili, the best 7 secrets
Ingredients
Equipment
Method
- Choose the right chili variety for your climate and desired heat level, then select high-quality seeds or healthy seedlings from a reputable source.
- Ensure your chili plants receive at least 6-8 hours of direct sunlight daily; a south-facing spot or grow lights are ideal.
- Plant chili seeds or seedlings in well-draining soil with a pH between 6.0 and 7.0; use a good quality potting mix or amend garden soil with compost.
- Water regularly to keep the soil consistently moist but not waterlogged, especially during flowering and fruiting.
- Fertilize every 2-4 weeks with a balanced fertilizer, switching to a high-potassium formula when fruits begin to set.
- Prune your chili plants to encourage bushier growth and better air circulation by pinching off the main stem's tip and removing lower leaves.
- Monitor for pests and diseases, using organic pest control methods or appropriate treatments as needed to protect your plants.