The Ultimate Guide to Perfect Homemade Ice Cream (Vanilla): A Creamy, Custard-Based Recipe
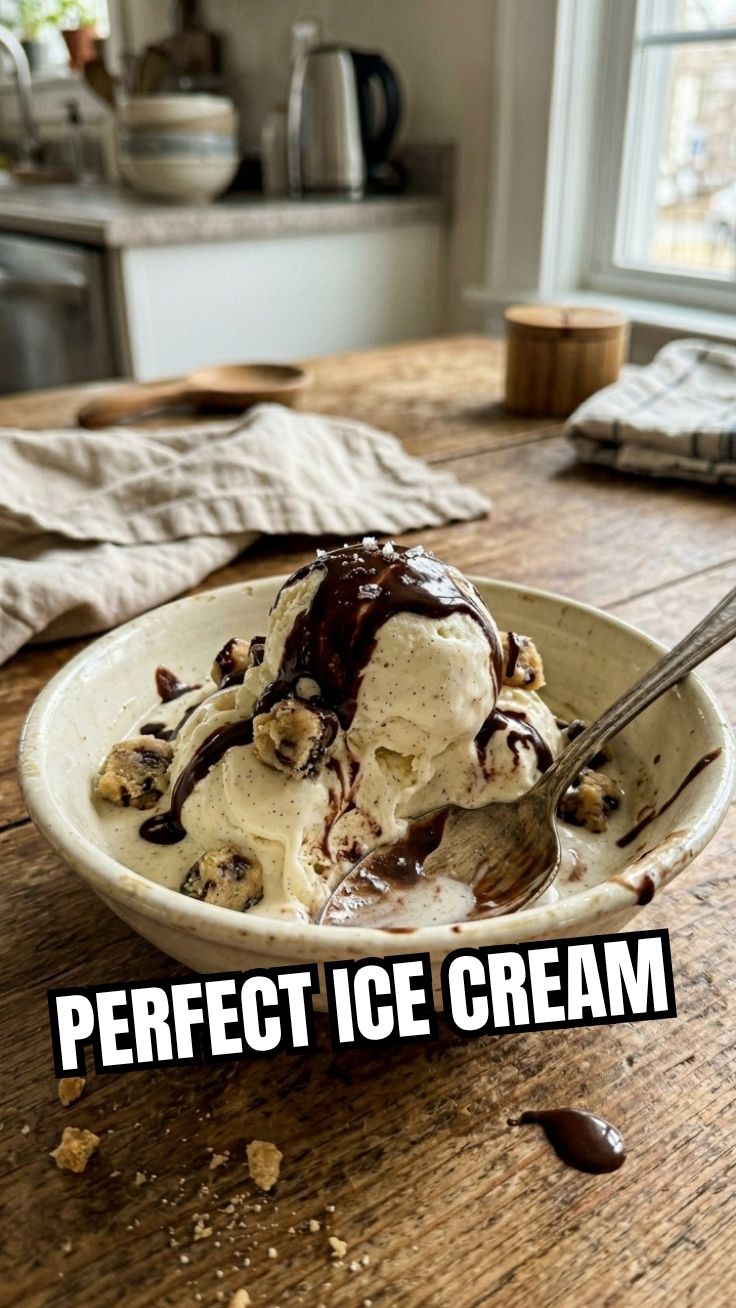
Have you ever wondered why store-bought ice cream never quite captures that rich, velvety texture and pure vanilla flavor you crave? The secret lies in making it yourself. Preparing Homemade Ice Cream (Vanilla) at home isn’t just a culinary project—it’s a rewarding experience that gives you complete control over ingredients, sweetness, and creaminess. Whether you’re a seasoned home cook or a curious beginner, this recipe will transform your dessert game. The beauty of homemade Ice Cream Recipes is that they let you customize every bite, from the vanilla bean grade to the milk fat percentage. Let’s dive into a foolproof custard-based method that yields a scoop so decadent, you’ll never look at a pint from the grocery store the same way again.
—
Ingredients & Kitchen Tools
Ingredients
– 2 cups heavy cream (36–40% milk fat) – For rich, creamy texture; substitutes: coconut cream for dairy-free.
– 1 cup whole milk – Balances fat content; substitutes: oat or almond milk (reduce fat slightly).
– 3/4 cup granulated sugar – Stabilizes and sweetens; substitutes: honey or maple syrup (adjust liquid ratio).
– 1 vanilla bean or 2 tsp pure vanilla extract – For authentic, complex vanilla notes.
– 5 large egg yolks – Creates a custard base for smoothness; substitutes: 2 tbsp cornstarch for egg-free.
– Pinch of salt – Enhances flavor depth.
Kitchen Tools
– Medium saucepan
– Whisk
– Fine-mesh strainer
– Bowl for ice bath
– Ice cream maker (or stand mixer with ice cream attachment)
– Airtight freezer container
– Instant-read thermometer (optional but recommended)
—
Prep Time & Cooking Schedule
– Prep Time: 15 minutes (sterilizing equipment, splitting vanilla bean)
– Cooking Time: 10–12 minutes (custard base)
– Cooling & Chilling Time: 4–6 hours (minimum overnight for best texture)
– Churning Time: 20–30 minutes (in an ice cream maker)
– Total Time: ~6 hours (with active time ~45 minutes)
Planning Tip: Start the evening before you plan to serve—chilling the custard overnight ensures a denser, scoopable texture without ice crystals.
—
Step-by-Step Instructions
1. Prepare the Vanilla Infusion: Split the vanilla bean lengthwise and scrape the seeds into a saucepan with the heavy cream and whole milk. Heat over medium-low until small bubbles form around edges (180°F/82°C)—do not boil. Remove from heat, cover, and steep for 30 minutes to deepen vanilla flavor.
2. Temper the Egg Yolks: In a medium bowl, whisk egg yolks with sugar and salt until pale and slightly thickened (about 2 minutes). Slowly drizzle in 1 cup of the hot cream mixture while whisking constantly—this prevents scrambling. Pour the tempered yolk mixture back into the saucepan.
3. Cook the Custard: Return to medium-low heat and stir constantly with a rubber spatula or wooden spoon, scraping the bottom and sides. The custard is ready when it coats the spatula (nappe stage) and a finger drawn across leaves a clean line (170–175°F/77–79°C). If using a thermometer, remove from heat immediately at this point. Do not exceed 180°F or the eggs will curdle.
4. Strain and Cool: Pour the custard through a fine-mesh strainer into a bowl set over an ice bath (to stop cooking). Stir occasionally for 10 minutes until cooled to room temperature. For Homemade Ice Cream (Vanilla) at its best, cover and refrigerate at least 4 hours, preferably overnight. This step is critical in all great Ice Cream Recipes—patience yields a silky, scoopable texture.
5. Churn and Freeze: Chill your ice cream maker bowl (per manufacturer’s instructions). Churn the cold custard for 20–30 minutes, until it reaches a soft-serve consistency. Transfer to an airtight container—press plastic wrap directly onto the surface to prevent ice crystals—and freeze at least 2 hours before serving for a firm scoop.
Pro Tip: Add a tablespoon of vodka or bourbon to the custard base before churning—alcohol lowers the freezing point, making the ice cream softer straight from the freezer without compromising flavor.
—
Nutritional Benefits & Advantages
– Protein Boost: Egg yolks provide high-quality protein and choline, which supports brain health.
– Calcium Rich: Milk and cream offer 10–15% of daily calcium needs per serving.
– No Preservatives: Homemade vanilla ice cream avoids gums, stabilizers, and artificial flavors found in commercial brands.
– Control Over Sugar: Customize sweetness—reduce sugar to 1/2 cup for a less indulgent option.
– Digestive Benefits: Using high-fat dairy can improve satiety, helping you enjoy a smaller serving.
—
Tips, Variations & Cooking Advice
– Flavor Twists: Replace vanilla bean with 2 tbsp instant espresso powder for coffee ice cream, or swirl in 1/3 cup salted caramel after churning.
– Dairy-Free Version: Use full-fat coconut cream (2 cans, chilled and skimmed) plus 1 cup cashew milk—reduce sugar slightly to balance coconut’s natural sweetness.
– Egg-Free Option: Replace yolks with 2 tbsp arrowroot powder or cornstarch dissolved in 3 tbsp cold milk; cook custard to 185°F for thickening.
– Texture Tricks: For a richer, thinner consistency, replace 1/2 cup heavy cream with 1/2 cup mascarpone cheese.
– Alcohol Addition: 1 tbsp vanilla vodka, bourbon, or rum prevents icy texture and adds depth.
—
Common Mistakes to Avoid
– Cooking Custard Too Fast – Rapid heat curdles yolks. Always start low and maintain a gentle simmer. If you see scrambled bits, strain immediately through a fine sieve.
– Skipping the Chill Phase – Churning warm custard produces icy, crystallized ice cream. Always refrigerate until thoroughly cold (under 40°F).
– Over-Churning – Churning past 30 minutes can break the emulsion, resulting in a greasy, butter-like texture. Stop when soft-serve consistency appears.
– Using a Hot Ice Cream Maker Bowl – The bowl must be completely frozen (usually 24 hours in freezer). A partially frozen bowl yields slushy results.
– Neglecting the Ice Bath – Letting the custard cool slowly above 140°F can breed bacteria. Rapid cooling via an ice bath ensures food safety and better texture.
—
Storage & Meal Prep Tips
– Refrigerator (Short-Term): Store freshly churned ice cream in an airtight container with plastic wrap pressed directly on the surface. Keeps 5–7 days at consistent 0°F or below.
– Freezer (Long-Term): For best quality, consume within 2 weeks—after that, texture may become slightly icy. Always freeze in a container that minimizes air exposure.
– Re-Softening: Place sealed container in fridge 15–20 minutes before scooping (not microwave, which melts unevenly).
– Preventing Ice Crystals: Add a layer of parchment paper between the lid and the plastic wrap for an extra barrier.
– Meal Prep Idea: Double the recipe and freeze in silicone individual molds for portion-controlled, grab-and-go desserts.
—
Conclusion
Making Homemade Ice Cream (Vanilla) at home is simpler than you think, yet the results are undeniably superior to store-bought options. With just a handful of ingredients and a bit of patience, you achieve a custard-based treat that’s creamy, aromatic, and endlessly customizable. This recipe is a cornerstone for anyone exploring homemade Ice Cream Recipes—mastering the base opens doors to endless flavors like chocolate chip, strawberry, or mint chocolate chip. I encourage you to try this version first, then experiment with your own twists. Share your results, tag a friend, or explore more dessert ideas from our collection. Happy churning!
—
Frequently Asked Questions (FAQs)
1. Can I make this recipe without an ice cream maker?
Yes! Pour the chilled custard into a shallow, freezer-safe dish. Freeze for 45 minutes, then vigorously stir or whisk to break up ice crystals every 30 minutes, repeating 3–4 times until firm. This manual method yields a slightly icier but still delicious result.
2. Why did my ice cream turn out icy?
Icy texture usually occurs from under-churned custard, insufficient fat content (use full cream and milk), or skipping the ice bath. Ensure fat content is at least 15% (2:1 cream-to-milk ratio) and churn until thick.
3. Can I reduce the sugar for a healthier version?
Yes, but be aware that sugar lowers the freezing point, so reducing it too much (to under 1/2 cup) will create a rock-hard ice cream. Use 1/2 cup sugar and add 1 tbsp honey or corn syrup—these liquid sweeteners also prevent ice crystals.
4. How do I prevent my custard from curdling?
Always whisk egg yolks constantly while adding hot cream, and cook over low-medium heat without boiling. If you notice small lumps, strain immediately—curdled custard is safe to eat but may taste cooked.
5. What can I substitute for vanilla bean?
Use 2 teaspoons of pure vanilla extract added after the custard cools—avoid imitation vanilla, which may have artificial aftertaste. For a milder flavor, steep a vanilla bean pod in the cream for 30 minutes before straining.
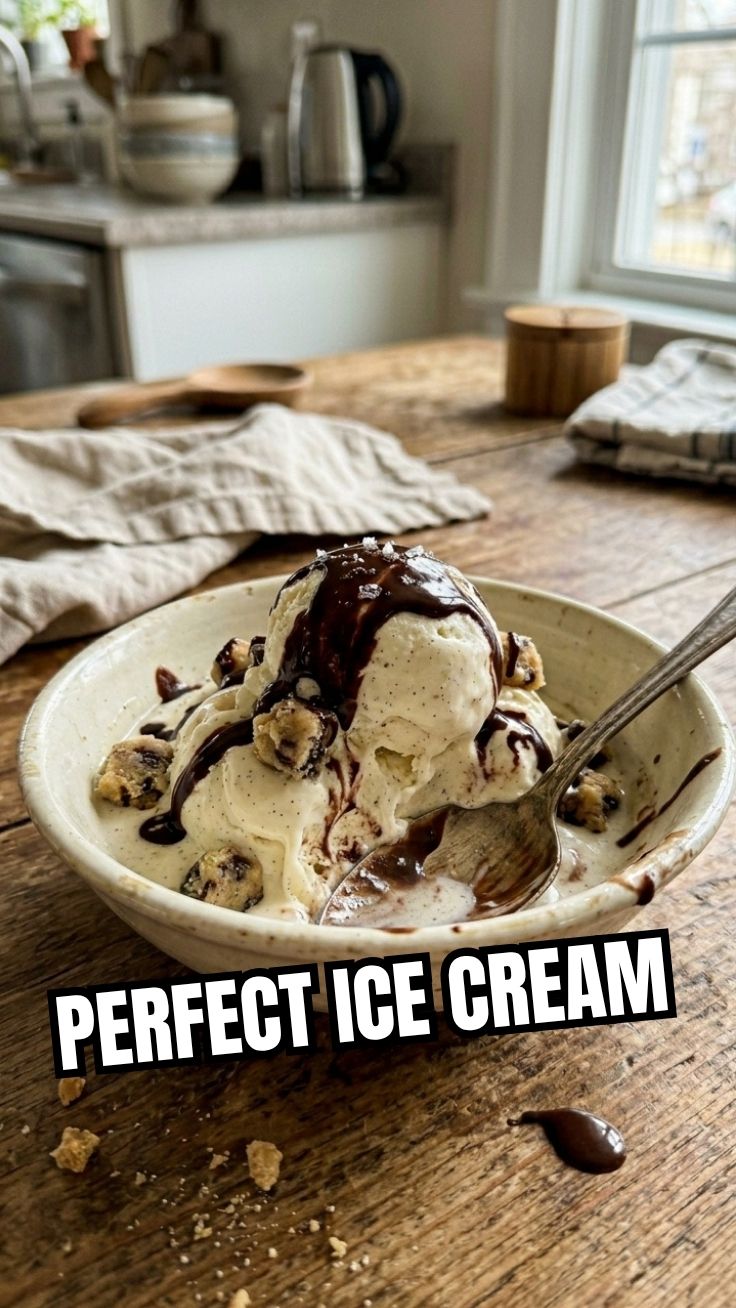
Proven way to grow 7 Homemade Ice Cream (Vanilla)
Ingredients
Equipment
Method
- Combine heavy cream, whole milk, granulated sugar, vanilla extract, and salt in a large bowl and whisk until the sugar is fully dissolved.
- Cover the bowl and refrigerate the mixture for at least 4 hours, or preferably overnight, to chill thoroughly.
- Pour the chilled mixture into an ice cream maker and churn according to the manufacturer's instructions, which typically takes about 20-25 minutes, until it reaches a soft-serve consistency.
- Transfer the soft ice cream to an airtight container and freeze for at least 4 hours, or until firm.
- Let the ice cream sit at room temperature for a few minutes before serving to achieve the best scooping consistency.