The Secret to Fluffy, Golden Rice Pilaf That Steals the Show Every Time
Have you ever wondered why restaurant Rice Pilaf tastes so much better than the bland, mushy versions you’ve tried at home? The difference isn’t luck—it’s technique. Learning how to master this classic side dish transforms ordinary rice into a fragrant, buttery, and perfectly textured companion for any meal. Preparing it from scratch allows you to control the ingredients, avoid preservatives, and customize the flavors to your liking. In this guide, you’ll discover the foolproof method to achieve restaurant-quality results right in your own kitchen.
Ingredients & Kitchen Tools
Essential Ingredients
– 1 cup long-grain white rice – Basmati or jasmine work best for separate, fluffy grains.
– 2 tablespoons unsalted butter – Adds richness and prevents sticking.
– 1 small onion, finely diced – Provides savory depth.
– 2 cups low-sodium chicken or vegetable broth – Infuses flavor; water can be used in a pinch.
– 1/2 teaspoon salt – Adjust based on broth sodium content.
– 1/4 teaspoon black pepper – Enhances overall taste.
– Optional: 1/4 cup vermicelli or orzo pasta – Traditional for added texture.
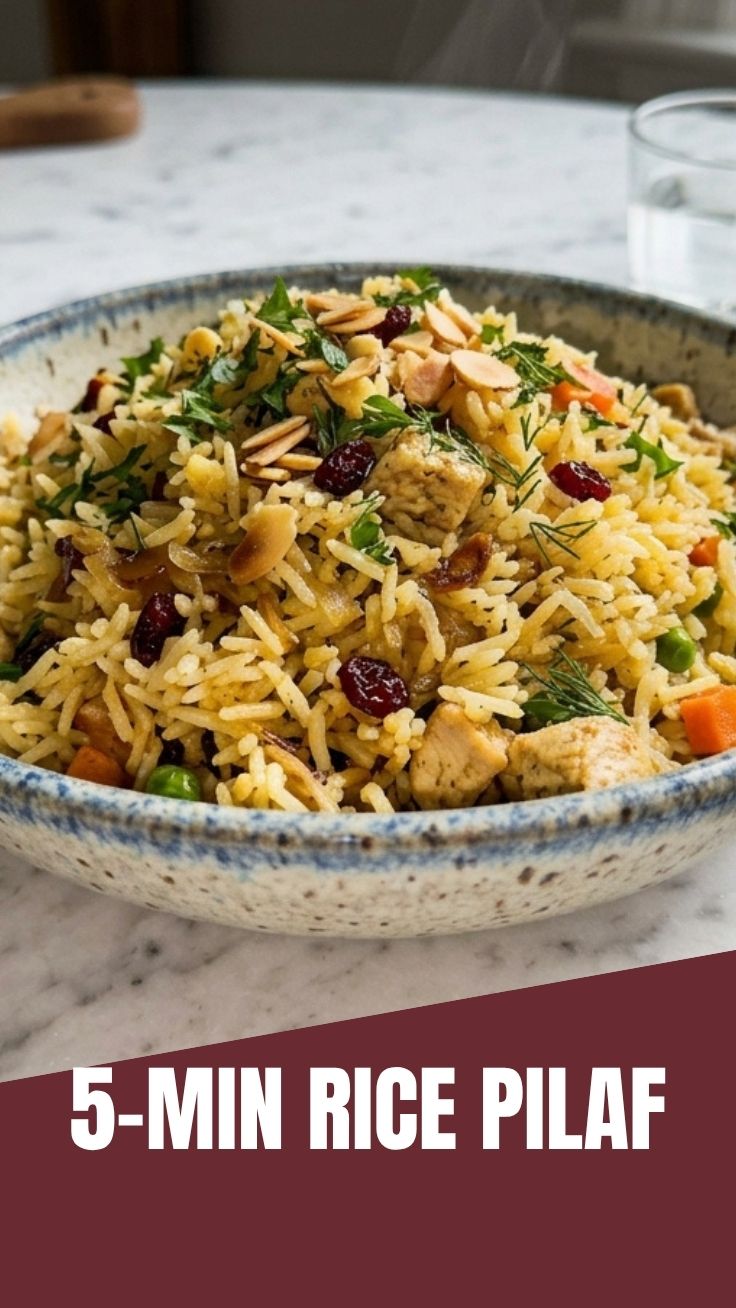
– Optional: Fresh herbs (parsley, dill) or toasted nuts – For garnish and crunch.
Kitchen Tools
– Medium saucepan with tight-fitting lid (2-3 quart capacity)
– Fine-mesh strainer (for rinsing rice)
– Wooden spoon or silicone spatula
– Measuring cups and spoons
– Fork (for fluffing)
Substitutions
– Replace butter with olive oil or ghee for dairy-free
– Use gluten-free pasta if needed for vermicelli addition
– Substitute broth with water + 1 bay leaf for lighter flavor
Prep Time & Cooking Schedule
– Prep Time: 10 minutes (includes chopping onion and rinsing rice)
– Cook Time: 18-20 minutes
– Resting Time: 10 minutes (essential for fluffiness)
– Total Time: Approximately 38-40 minutes
Planning tip: Start your pilaf after you’ve prepped the main dish but before you begin cooking it. The resting time allows you to focus on other components without rushing.
Step-by-Step Instructions
1. Rinse the rice – Place rice in a fine-mesh strainer and rinse under cold water for 30 seconds until water runs clear. This removes excess starch and prevents gumminess.
2. Toast the aromatics – In your saucepan, melt butter over medium heat. Add diced onion and sauté for 3-4 minutes until translucent. If using vermicelli, add it now and stir for 1-2 minutes until golden brown. This toasting step is what gives authentic Rice Pilaf its nutty, complex flavor.
3. Add rice – Stir in the rinsed rice, coating each grain with butter. Cook for 1-2 minutes, stirring constantly. The grains should become slightly translucent at the edges—this seals in flavor.
4. Pour in liquid – Add broth, salt, and pepper. Bring to a rapid boil over high heat.
5. Simmer and cover – Once boiling, reduce heat to low, cover tightly, and simmer for 15-18 minutes. Do NOT lift the lid during cooking—steam is crucial.
6. Rest and fluff – Remove from heat and let sit covered for 10 minutes. Uncover, fluff gently with a fork. For the perfect rice pilaf recipe, add fresh herbs or nuts at this stage. Taste and adjust seasoning if needed.
Temperature control tip: If you notice steam escaping, your heat is too high. Lower it slightly and check the seal on your lid.
Nutritional Benefits & Advantages
This dish offers surprising nutritional value beyond being a simple carbohydrate. Brown rice versions provide fiber and magnesium, while white rice offers easily digestible energy. The butter adds fat-soluble vitamins A, D, and E, and the onions contribute quercetin—a powerful antioxidant. Using broth instead of water adds collagen and minerals without extra calories. Additionally, homemade pilaf contains no preservatives or excess sodium found in boxed mixes, making it a healthier choice for families.
Tips, Variations & Cooking Advice
– Flavor variations: Add saffron threads (steeped in 2 tablespoons warm broth) for golden color. Stir in dried cranberries and toasted almonds for sweetness. Use mushroom broth for earthy depth.
– Ingredient swaps: Try brown rice (increase liquid to 2 1/4 cups and cook 40-45 minutes). Replace onions with leeks or shallots. Use coconut oil and coconut milk (diluted with water) for Thai-inspired flavor.
– Cooking methods: For oven-baked pilaf, sauté ingredients in an oven-safe pot, add boiling broth, cover, and bake at 375°F for 25 minutes.
– Dietary adaptations: Gluten-free (skip pasta, use certified GF broth). Dairy-free (use olive oil). Low-sodium (use unsalted broth and reduce added salt).
Common Mistakes to Avoid
– Lifting the lid too early – This releases steam and disrupts the cooking process. Trust the timer.
– Skipping the rinse – Unrinsed rice releases excess starch, resulting in sticky, clumpy pilaf.
– Using cold broth – Adding cold liquid shocks the rice and extends cooking time unevenly.
– Stirring after covering – This breaks the grains and creates mushiness. Stir only before adding liquid.
– Overcooking – Set a timer; 15-18 minutes is sufficient. Resting finishes the cooking without risk.
Storage & Meal Prep Tips
Refrigeration: Store in an airtight container for up to 4 days. To reheat, add 1 tablespoon water per cup of pilaf, cover, and microwave in 30-second bursts, fluffing between each.
Freezing: Portion into freezer-safe bags or containers, removing as much air as possible. Freeze for up to 3 months. Thaw overnight in the refrigerator.
Reheating from frozen: Microwave covered with a damp paper towel for 2-3 minutes, stirring halfway. Alternatively, reheat in a skillet with a splash of broth over medium-low heat.
Meal prep tip: Double the recipe and freeze half for quick side dishes. Pair with grilled chicken, roasted vegetables, or stews.
Conclusion
Mastering this simple yet elegant side dish elevates any meal from ordinary to extraordinary. The key takeaways are rinsing your rice, toasting the aromatics, and resisting the urge to peek during cooking. Whether you’re serving it alongside roasted chicken or a hearty stew, this Rice Pilaf delivers consistent, fluffy results every time. For a complete meal, try pairing it with a tangy rice pilaf recipe featuring cranberry orange chicken—the sweet-savory combination is unbeatable. We’d love to hear how yours turns out! Share your photos and tag us, or explore more recipes to inspire your next culinary adventure.
FAQs
Can I use brown rice instead of white rice?
Yes, but adjust liquid to 2 1/4 cups and cook time to 40-45 minutes. The toasting and resting steps remain the same.
Why is my pilaf mushy?
Most likely you either skipped rinsing the rice, used too much liquid, or lifted the lid during cooking. Start with perfect measurements and resist the urge to stir.
Can I make this vegan?
Absolutely. Replace butter with olive oil or vegan butter, and use vegetable broth. The flavor will still be rich and satisfying.
How do I fix salty pilaf?
Add a peeled raw potato wedge to the hot pilaf, cover, and let sit for 5 minutes. The potato absorbs excess salt. Remove before serving.
Can I add vegetables like carrots or peas?
Yes. Sauté diced carrots with the onion, and stir in frozen peas during the last 2 minutes of cooking (after resting). Avoid overcooking vegetables to maintain texture.
Proven way to grow tasty Rice Pilaf in 4 steps Rice Pilaf
Ingredients
Equipment
Method
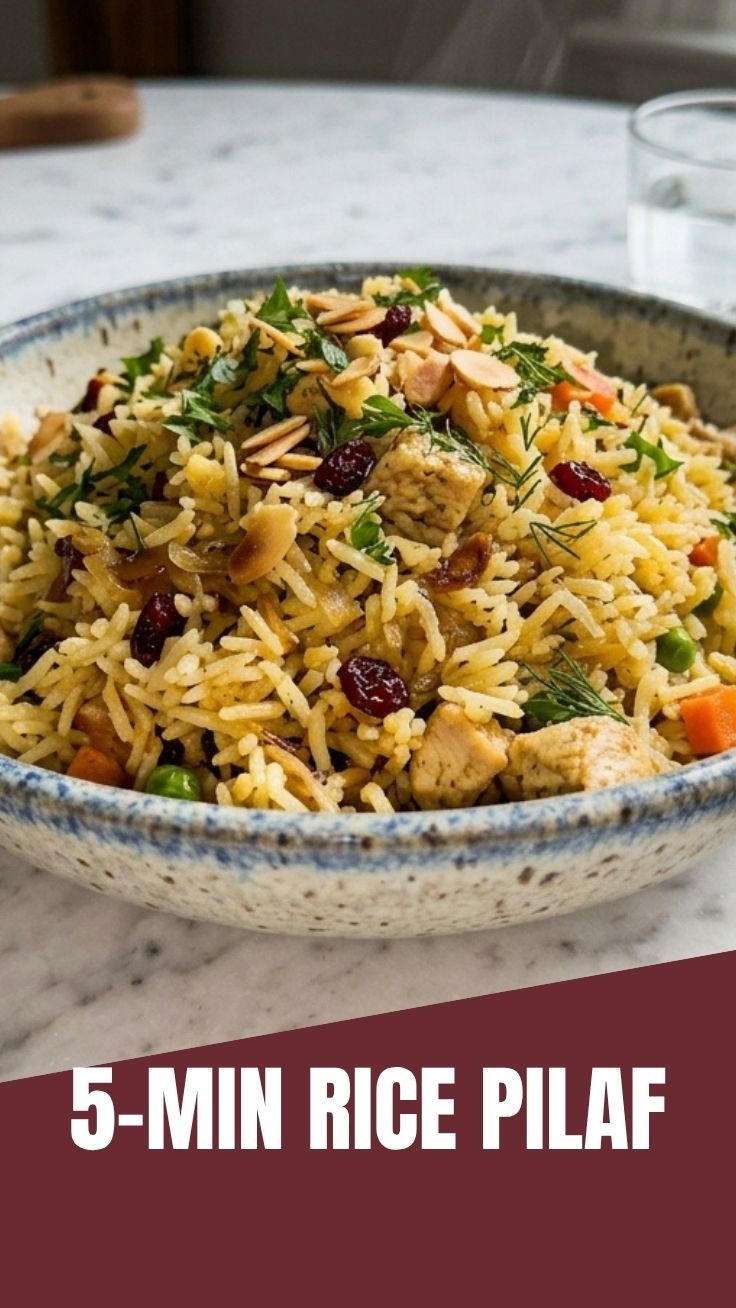
- Rinse the rice under cold water until the water runs clear, then set it aside to drain.
- In a medium saucepan, melt butter or heat olive oil over medium heat. Add the chopped onion and sauté until softened, about 3-5 minutes, then stir in the minced garlic and cook for another minute until fragrant.
- Add the rinsed rice to the saucepan, stirring well to coat each grain with the butter or oil. Pour in the chicken or vegetable broth, add salt and pepper, and bring the mixture to a boil.
- Once boiling, reduce the heat to low, cover the saucepan tightly, and simmer for 15-20 minutes, or until all the liquid has been absorbed and the rice is tender. Remove from heat and let it rest, covered, for 5 minutes before fluffing with a fork and serving.