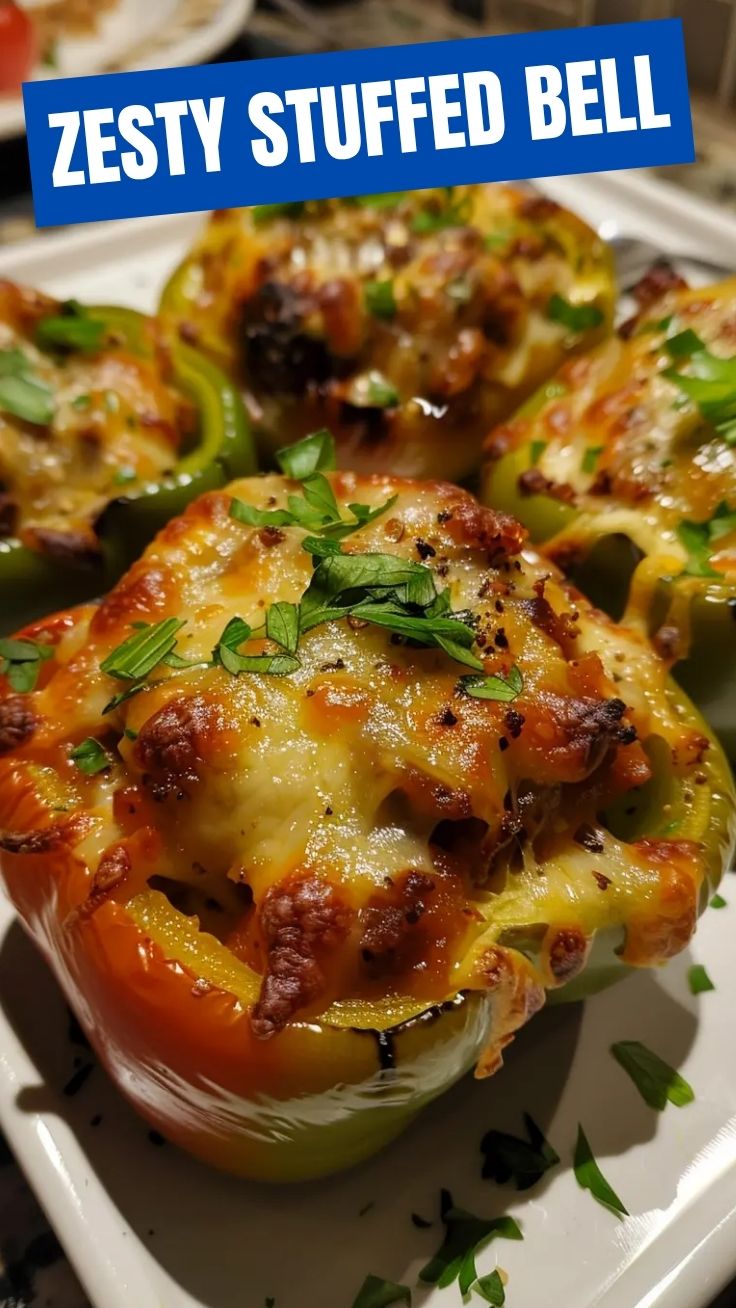
The Ultimate Guide to Perfect Stuffed Bell Peppers: A Flavor-Packed Dinner Solution
Have you ever bitten into a Stuffed Bell Peppers that was perfectly tender, bursting with savory filling, and rich with flavor? That’s the magic of this dish, and preparing it at home is valuable because you control every ingredient—from lean protein to fresh vegetables—while saving money and reducing processed food intake. These colorful bell peppers serve as edible bowls that hold a satisfying mixture of rice, meat, cheese, and spices, making them a versatile weeknight meal or weekend showstopper.
Ingredients & Kitchen Tools
For the Filling:
– 4 large bell peppers (red, yellow, or orange for sweetness; green for a slightly bitter edge) – Remove tops and seeds
– 1 lb ground beef or turkey (85% lean works best) – Substitute with plant-based crumbles for vegetarian version
– 1 cup cooked rice (white, brown, or quinoa) – Adds structure and absorbency
– 1 small onion, diced – Enhances savory depth
– 2 cloves garlic, minced – Essential aromatic base
– 1 can (14 oz) diced tomatoes (drained) – Provides moisture without sogginess
– 1 cup shredded mozzarella or cheddar cheese (divided) – Use dairy-free cheese for lactose-free option
– 1 tsp dried oregano – Adds Mediterranean flair
– ½ tsp smoked paprika – For subtle heat and color
– Salt and pepper to taste
Seasoning Alternatives:
– Italian seasoning, chili powder, or cumin for varied profiles
– ¼ cup salsa for a Tex-Mex twist
Kitchen Tools:
– Large pot (for blanching peppers)
– Mixing bowl
– Cutting board and sharp knife
– 9×13 baking dish
– Aluminum foil
– Measuring cups and spoons
Prep Time & Cooking Schedule

| Stage | Time | Notes |
|——-|——|——-|
| Prep time | 20 minutes | Wash, core peppers, cook rice, dice vegetables |
| Cook time | 35-40 minutes | Covered for first 25 mins, uncovered to finish |
| Resting time | 5 minutes | Allows filling to set for clean slicing |
Planning tip: You can prepare the filling up to 24 hours in advance and stuff the peppers just before baking. For a weeknight shortcut, use instant rice and pre-shredded cheese.
Step-by-Step Instructions
Step 1: Prepare the bell peppers
Preheat oven to 375°F (190°C). Slice tops off each pepper and remove seeds and membranes. For even cooking, trim the bottoms slightly so they stand upright. Bring a large pot of salted water to a boil, then blanch peppers for 3-4 minutes. This softens them slightly, reducing baking time and preventing undercooked ends. Drain and set aside cut-side down.
Step 2: Make the filling
In a large skillet over medium-high heat, brown the ground meat for 6-8 minutes, breaking it into small crumbles. Add diced onion and garlic; cook 3 minutes until translucent. Stir in cooked rice, drained tomatoes, dried oregano, smoked paprika, salt, and pepper. Remove from heat and fold in half the shredded cheese. Taste and adjust seasoning—the filling should be boldly flavored since the Stuffed Bell Peppers will absorb some seasoning during baking.
Step 3: Stuff and bake
Arrange blanched peppers in a 9×13 baking dish. Spoon filling into each pepper, mounding slightly on top. Pour ¼ cup water or broth into the dish (creates steam for even cooking). Cover tightly with foil and bake 25 minutes. Uncover, top with remaining cheese, and bake 12-15 minutes until cheese bubbles and peppers are tender when pierced with a fork. Let rest 5 minutes before serving.
Temperature cue: Peppers should offer slight resistance when poked—overcooking makes them mushy. For firmer texture, reduce covered time by 5 minutes.
Nutritional Benefits & Advantages
These colorful bell peppers deliver impressive nutritional value. One stuffed pepper provides approximately 350 calories, 25g protein, 12g fat, and 35g carbohydrates, with 8g of fiber from the pepper and rice. The dish is rich in vitamin C (over 150% DV from one pepper), vitamin A (beta-carotene from red varieties), and iron from the meat. This combination supports immune function, eye health, and muscle repair—making it a balanced, nutrient-dense meal.
Tips Variations & Cooking Advice
Flavor variations:
– Mediterranean style: Swap beef for ground lamb, add feta cheese, olives, and fresh mint
– Tex-Mex version: Use taco-seasoned meat, black beans, corn, and pepper jack cheese
– Vegetarian option: Replace meat with lentils or chickpeas, add mushrooms for umami
Alternative cooking methods:
– Instant pot: Pressure cook on high for 8 minutes with 1 cup broth, then natural release 5 minutes
– Air fryer: Cook at 350°F for 15-18 minutes, checking for doneness
– Stovetop: Place stuffed peppers in a deep skillet with ½ inch broth, cover and simmer 25 minutes
Dietary adaptations:
– Gluten-free: Use certified gluten-free rice or quinoa; ensure broth is gluten-free
– Dairy-free: Omit cheese or use nutritional yeast for cheesy flavor
– Low-carb: Swap rice for cauliflower rice, increase meat and vegetables
Common Mistakes to Avoid
| Mistake | Solution |
|———|———-|
| Watery filling after baking | Thoroughly drain tomatoes and avoid overhydrating rice; cook rice to al dente |
| Tough or undercooked peppers | Blanch peppers first, then cover while baking to trap steam |
| Bland overall flavor | Season filling aggressively; peppers dilute spices during cooking |
| Peppers collapsing during baking | Don’t over-blanch (max 4 minutes); choose firm, thick-walled peppers |
| Cheese burning | Add cheese only during last 12-15 minutes of uncovered baking |
Storage & Meal Prep Tips
Refrigeration: Store cooled stuffed peppers in an airtight container for up to 4 days. Reheat in a 350°F oven covered with foil for 15 minutes, or microwave on medium power for 2-3 minutes. The microwave may soften bell peppers further, so the oven preserves better texture.
Freezing: Wrap each stuffed pepper individually in plastic wrap, then foil, and freeze for up to 3 months. Thaw overnight in the refrigerator before reheating. For best results, assemble peppers but do not bake—freeze uncooked. When ready, bake from frozen at 350°F for 50-55 minutes, adding 10 minutes.
Conclusion
Mastering Stuffed Bell Peppers opens a world of meal prep possibilities and creative flavor exploration. By following these precise steps—blanching for perfect texture, seasoning boldly, and managing baking time—you’ll consistently produce vibrant, satisfying peppers that please picky eaters and impress dinner guests. The beauty of this recipe lies in its adaptability: swap proteins, grains, and spices to suit your taste or dietary needs. Try this recipe tonight, then experiment with variations and share your creation in the comments below—your perfect bell peppers are just one bake away.
FAQs
Can I use raw rice in the filling?
No—raw rice absorbs too much liquid from the peppers and meat, leading to crunchy grains. Always use pre-cooked rice at about 90% doneness so it finishes cooking in the oven without becoming mushy.
Why are my peppers still crunchy after baking?
Three causes: under-blanching (increase to 4-5 minutes), baking at too low temperature (maintain 375°F), or using thick-walled peppers from grocery stores that were picked early. Pre-boiling for 3 minutes ensures tenderness.
Can I make this without cheese?
Absolutely. Omit cheese entirely or substitute with nutritional yeast (for cheesy flavor) or vegan cheese shreds. For extra moisture, add another tablespoon of tomato paste to the filling.
How do I prevent the filling from drying out?
Ensure the filling has adequate moisture before stuffing: the diced tomatoes, cooked rice, and a splash of broth or tomato sauce help. Covered baking for the first 25 minutes locks in steam.
What’s the best bell pepper color for this recipe?
Red and orange peppers are sweetest and richest in vitamins A and C, while green peppers offer a slightly bitter, grassy note that some prefer. Use any color, but note that green peppers retain firmer texture after baking.
Best way to grow Stuffed Bell Peppers with 7 secrets
Ingredients
Equipment
Method
- Preheat oven to 375°F (190°C) and prepare the bell peppers by cutting off the tops and removing the seeds.
- Chop the onion and mince the garlic.
- In a large skillet, heat olive oil over medium heat and sauté the chopped onion until softened, then add minced garlic and cook for an additional minute.
- Add ground meat to the skillet and cook until browned, breaking it apart with a spoon.
- Drain any excess fat from the meat, then stir in the cooked rice, half of the tomato sauce, salt, and black pepper.
- Stuff each bell pepper cavity with the meat and rice mixture, then place the stuffed peppers in a baking dish and pour the remaining tomato sauce over them.
- Bake for 30-35 minutes, or until the peppers are tender.
- Remove the bell peppers from the oven, sprinkle the shredded cheese over the top of each pepper, and return to the oven for 5-10 minutes, or until the cheese is melted and bubbly.
- Serve hot and enjoy your perfectly grown stuffed bell peppers.