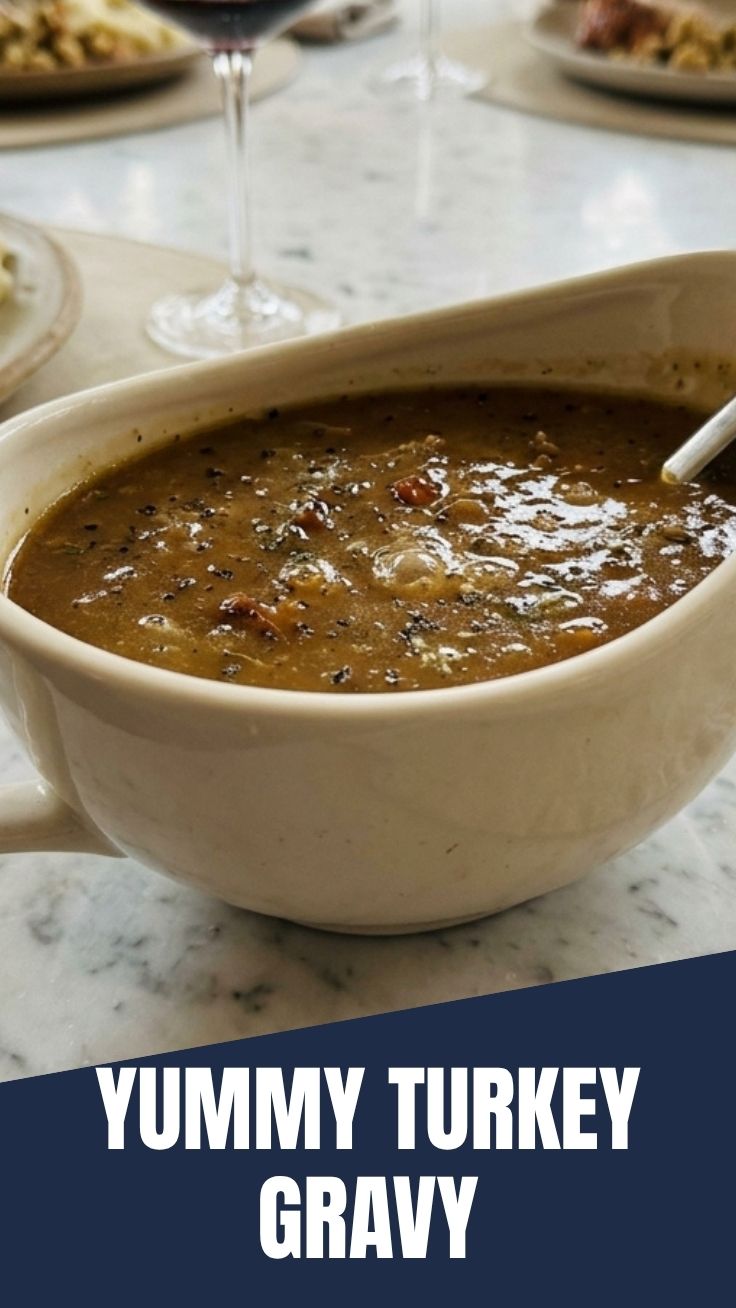
Why Homemade Turkey Gravy Is the Secret to an Unforgettable Feast
Have you ever wondered why some gravies elevate an entire meal while others fall flat? The answer lies in technique, quality ingredients, and a little patience. Mastering a rich, silky Turkey Gravy transforms even the simplest plate into a memorable dining experience. By preparing it from scratch, you control the flavor depth, salt level, and consistency—ensuring your Thanksgiving dinner becomes the highlight of the year. Ready to unlock that golden, savory liquid gold? This guide walks you through every step with data-backed tips for perfect results every time.
Ingredients & Kitchen Tools
For a robust, lump-free gravy, gather the following:
– Pan drippings (from roasted turkey) – the flavor foundation; aim for about 1½ cups.
– Turkey stock (homemade or low-sodium) – 2 cups; enhances bird-specific taste.
– All-purpose flour (or gluten-free blend) – ¼ cup for thickening; toast lightly for nuttiness.
– Butter (unsalted) – 3 tablespoons; adds richness and smoothness.
– Salt & black pepper – to taste; go easy as drippings can be salty.
– Fresh herbs (thyme, sage, rosemary) – 1 teaspoon each, chopped; optional but recommended.
– Kitchen tools: Whisk, medium saucepan, fine-mesh strainer, fat separator (optional), measuring cups and spoons.
Substitution note: For dairy-free, swap butter with vegan butter or olive oil. For thicker gravy, increase flour to ⅓ cup; for thinner, reduce to 3 tablespoons.
Prep Time & Cooking Schedule
Total time: 15 minutes (active cooking) – no rest or marination needed, which makes it ideal for last-minute adjustment. Plan to make the gravy after the turkey rests, while the bird is being carved. This timing ensures the drippings are fresh and the gravy stays hot. If you prep ahead, reheat gently with a splash of stock.
Step-by-Step Instructions
1. Collect and separate drippings – After removing the turkey from the roasting pan, pour all drippings through a fine-mesh strainer into a fat separator or measuring cup. Let sit 2 minutes, then skim off the top fat layer, reserving about 3 tablespoons of fat.
2. Build the roux – In a medium saucepan, melt the reserved fat (or butter) over medium heat. Whisk in the flour and cook for 1–2 minutes until golden brown and fragrant. This toasting step prevents raw flour taste and deepens flavor.
3. Add stock and drippings – Slowly whisk in the turkey stock, then add the defatted drippings. Continue whisking until smooth. Bring to a gentle simmer—do not boil vigorously, as that can break the emulsion.
4. Season and finish – Stir in chopped fresh herbs, salt, and pepper. Simmer for 3–4 minutes until the gravy coats the back of a spoon. Adjust seasoning. For an ultra-smooth finish, strain again before serving.
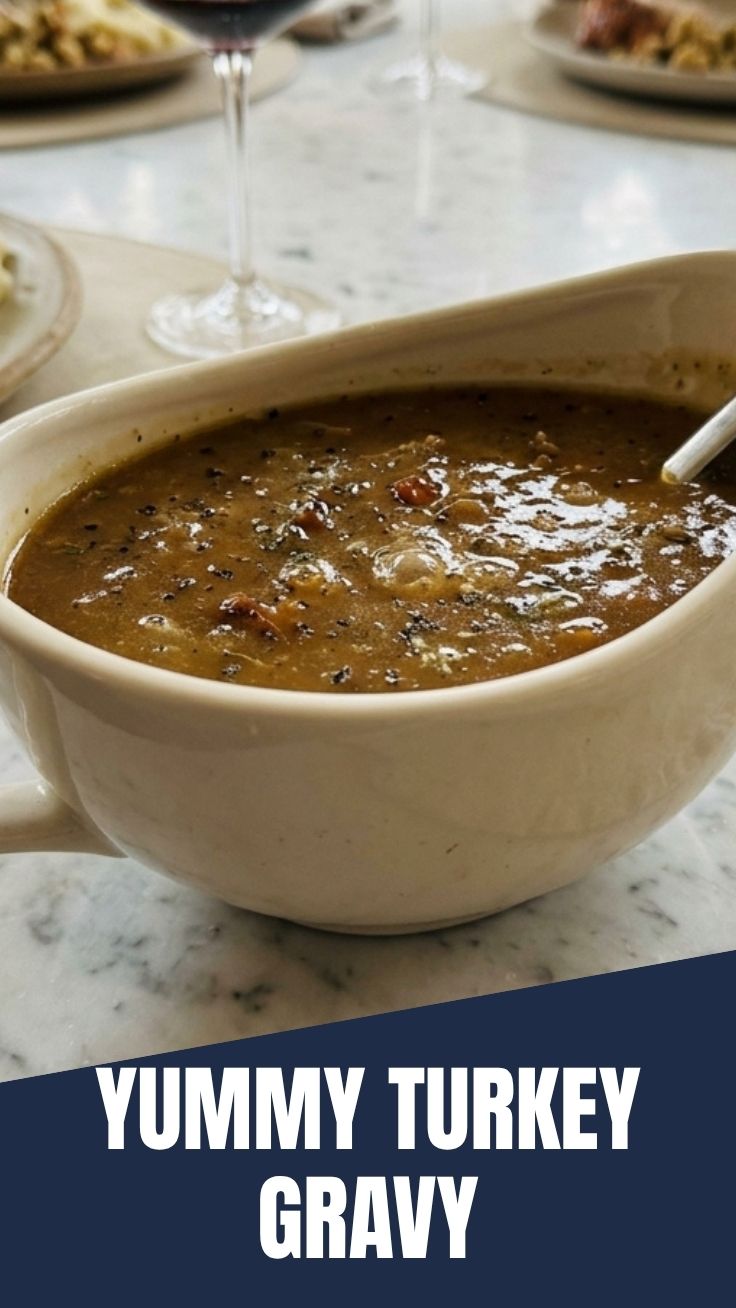
Critical tip: The perfect Turkey Gravy should be silky, not gloopy. If it’s too thick, thin with warm stock; if too thin, simmer longer or whisk in a slurry (1 tablespoon flour + 2 tablespoons cold water). This homemade gravy easily outshines any canned version and makes your Thanksgiving dinner feel truly special.
Nutritional Benefits & Advantages
Beyond flavor, homemade gravy offers dietary control. Using pan drippings provides collagen and minerals from turkey bones, while herbs add antioxidants. Replacing heavy cream with stock reduces saturated fat. A ¼‑cup serving contains roughly 60–80 calories and 5g of protein, making it a lighter option than many store‑bought alternatives. Plus, no artificial thickeners or preservatives.
Tips Variations & Cooking Advice
– Flavor twist: Add a splash of dry sherry or white wine after the roux for acidity that cuts richness.
– Dietary swaps: Use gluten‑free all‑purpose flour or cornstarch (1.5 tablespoons cornstarch + 2 tablespoons water) for gluten‑free gravy.
– Meat variations: Replace turkey stock with chicken stock and drippings from beef or pork for a versatile gravy base.
– Make ahead: Prepare fully, cool, and refrigerate for up to 3 days. Reheat gently, whisking in extra stock if needed.
Common Mistakes to Avoid
– Skipping the strainer – Lumps or burnt bits ruin texture. Always strain both drippings and final gravy.
– Over‑salting early – Drippings vary in saltiness; season only at the end.
– Cooking at high heat – Boiling can cause separation and a greasy mouthfeel. Keep at a low simmer.
– Ignoring fat content – Too much fat makes gravy oily; use a separator or skim thoroughly.
Storage & Meal Prep Tips
– Refrigerate: Store in an airtight container for up to 4 days.
– Freeze: Pour into freezer‑safe bags or ice cube trays for up to 3 months. Thaw overnight in the fridge.
– Reheat: Warm slowly on the stovetop over low heat, whisking constantly. Add a tablespoon of stock if it’s too thick. Avoid microwaving, which can heat unevenly and cause separation.
Conclusion
Perfecting your Turkey Gravy is a small effort that yields outsized rewards. It ties every component of your Thanksgiving dinner together with savory, silky harmony. Whether you’re a seasoned cook or a first‑timer, this method gives you confidence and consistency. Try it this holiday season and watch your guests reach for seconds. Share your results in the comments—we’d love to hear how your gravy turned out!
FAQs
1. Can I make turkey gravy without pan drippings?
Yes. Use 2 cups of good‑quality turkey or chicken stock, plus 3 tablespoons butter and ¼ cup flour. Add a teaspoon of soy sauce or Marmite for umami depth.
2. How do I fix lumpy gravy?
Pour it through a fine‑mesh strainer, pressing lumps through, or use an immersion blender for instant smoothness.
3. Can I thicken gravy after it cools?
Yes. Reheat and whisk in a slurry (equal parts flour/cornstarch and cold water). Simmer briefly to cook the starch.
4. Why is my gravy too salty?
Dilute with unsalted stock or water, a tablespoon at a time. Adding a pinch of sugar or a splash of lemon juice can balance salinity.
5. How long can I keep gravy on the buffet table?
Safe holding time is 2 hours (1 hour if room temperature above 90°F). Use a slow cooker on “warm” or a gravy boat over a candle warmer to extend service safely.