The Ultimate Guide to a Creamy Homemade Hummus Recipe
Have you ever wondered why restaurant hummus tastes so much silkier than store-bought? The secret isn’t magic—it’s technique. Making your own Hummus at home not only saves money but also lets you control every ingredient. This hummus recipe delivers that velvety texture you crave, and it all starts with one humble legume: the chickpea. When you know how to treat the chickpea properly—peeling it, cooking it just right—you unlock a dip that’s far superior to anything in a plastic tub. Ready to become your own favorite hummus chef? Let’s dive in.
Ingredients & Kitchen Tools
To nail this hummus recipe, gather these essentials. Each item plays a specific role in flavor and texture.
– Canned or dried chickpeas (2 cans, 15 oz each, or 1 cup dried) – Canned is quicker; dried gives you control over saltiness and creaminess. Reserve the liquid (aquafaba) for thinning.
– Tahini (¼ cup) – High-quality, well-stirred sesame paste. Old or separated tahini can make hummus bitter.
– Fresh lemon juice (3–4 tablespoons) – Acidity brightens the dip. Bottled juice won’t deliver the same zest.
– Ice water (3–5 tablespoons) – The magic trick for ultra-smooth texture. Cold water helps emulsify the tahini.
– Garlic (1–2 cloves, minced) – Raw for punch, roasted for milder sweetness.
– Extra-virgin olive oil (2–3 tablespoons, plus more for serving) – Use a fruity one for drizzling.
– Salt (½ teaspoon, or to taste) – Fine sea salt dissolves better.
– Ground cumin (½ teaspoon, optional) – Adds earthy depth.
– Optional substitutions – Swap chickpeas for white beans or edamame; use Greek yogurt instead of tahini for a tangy twist; replace olive oil with avocado oil for a milder flavor.
Kitchen tools: Food processor or high-speed blender, fine-mesh strainer, rubber spatula, measuring spoons, small bowl for lemon juice.
Prep Time & Cooking Schedule
Planning your time makes this recipe stress-free.
– Prep time: 10 minutes (if using canned chickpeas). For dried chickpeas, add 8+ hours soaking plus 1–1.5 hours cooking.
– Active cooking time: 0 minutes (no heat required)—just blending.
– Resting time: 15–30 minutes (optional but recommended). Letting hummus sit at room temperature after blending allows flavors to meld.
– Total time (canned): 25 minutes (including rest). For dried: about 10 hours total, but most of that is hands-off.
Tip: If you use dried chickpeas, cook them with ½ teaspoon baking soda to soften the skins—this makes peeling easier and yields creamier hummus.
Step-by-Step Instructions
Follow these steps exactly, and your dip will rival any Mediterranean restaurant’s.
1. Prepare the chickpeas – If using canned, drain and rinse them. For ultralight hummus (or a next-level hummus recipe), slip the skins off each chickpea by pinching gently. This step eliminates grit and creates that dreamy smoothness. Skip it only if you’re short on time.
2. Blend the tahini first – In your food processor, combine tahini and lemon juice. Process for 1 minute until thick and pale. Scrape the bowl. This pre-emulsification prevents a bitter, grainy base.
3. Add garlic, salt, and cumin – Pulse 30 seconds to break down the garlic.
4. Incorporate chickpeas – Add half the peeled chickpeas and 2 tablespoons ice water. Process for 1 minute. Scrape, then add remaining chickpeas. Continue blending, adding more ice water 1 tablespoon at a time until the hummus is soft, fluffy, and almost mousse-like. Total blending time: 3–4 minutes. If the motor strains, add a drizzle of olive oil.
5. Adjust seasoning – Taste. More lemon? Salt? A pinch of smoked paprika? Adjust gradually.
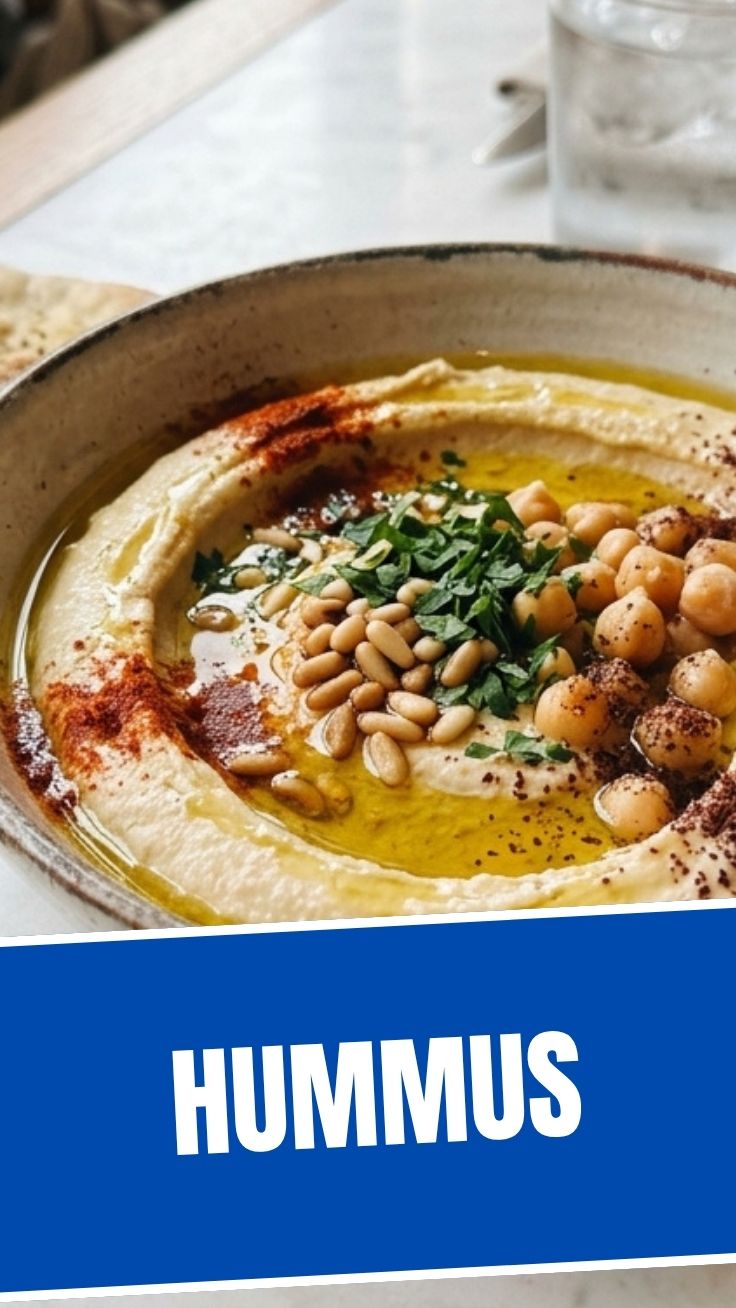
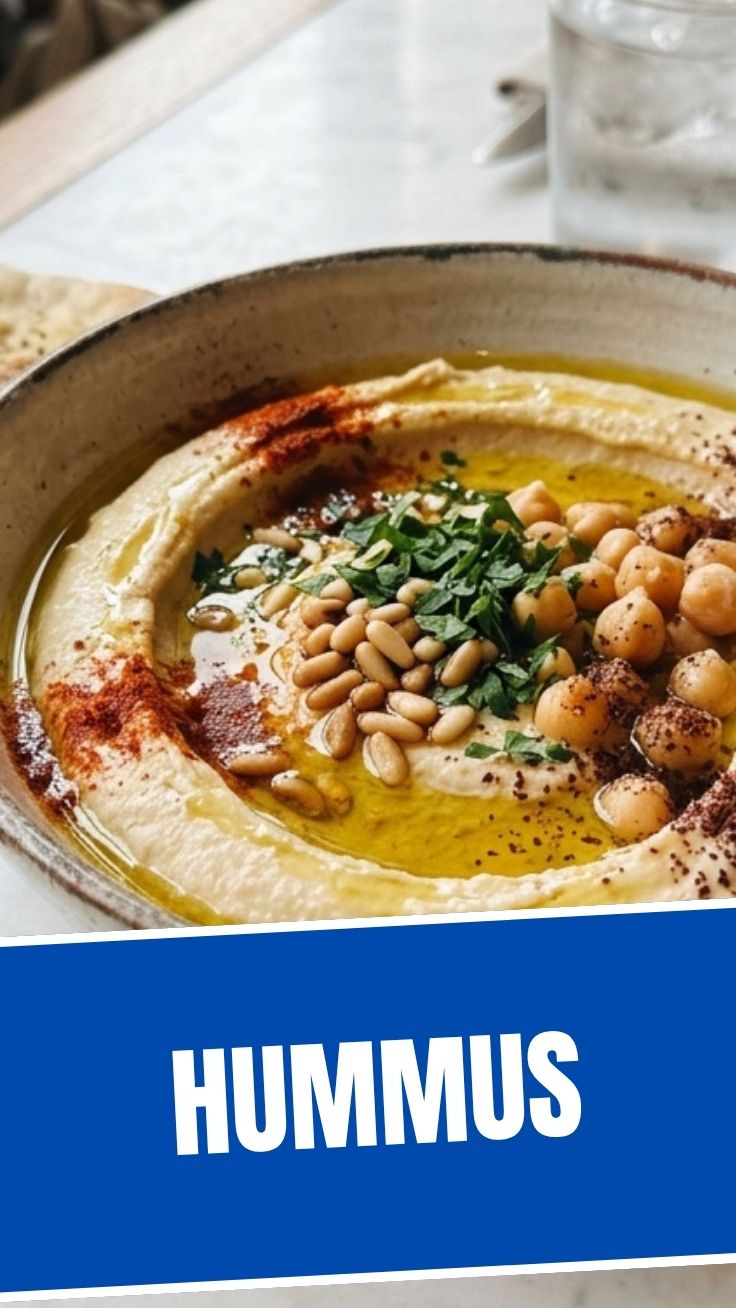
6. Serve or rest – Transfer to a bowl, create a well with the back of a spoon, drizzle olive oil, and sprinkle paprika or za’atar. For best flavor, let it rest 15 minutes before serving.
Temperature tip: If the hummus feels thick after refrigeration, stir in warm water (not cold) to restore creaminess.
Nutritional Benefits & Advantages
This homemade hummus is a nutritional powerhouse. Chickpeas deliver plant-based protein (about 7g per ¼ cup) and fiber (6g), supporting digestion and satiety. Tahini provides healthy fats, calcium, and iron. Olive oil adds anti-inflammatory polyphenols. Unlike many store-bought dips, this version has no preservatives, no added sugar, and you control the salt. It’s naturally vegan, gluten-free, and dairy-free—perfect for almost any diet.
Tips Variations & Cooking Advice
– Flavor variations – Add roasted red peppers, sun-dried tomatoes, or chipotle peppers for a smoky kick. Stir in fresh herbs like parsley or cilantro.
– Ingredient swaps – Use white beans for a milder taste (cannellini or great northern). Replace tahini with sunflower seed butter (nut-free). Use lime juice instead of lemon for a more acidic profile.
– Cooking method – For a warm hummus, gently heat the finished dip on the stove with a splash of water, stirring constantly. Serve with warm pita.
– Portion changes – Double the recipe for parties; halve it for a single snack. Hummus freezes well (see Storage).
– Dietary adaptations – Already vegan, gluten-free, and nut-free (if using tahini). To make it low-FODMAP, omit garlic and use garlic-infused olive oil.
Common Mistakes to Avoid
– Skipping the tahini pre-blend – Blending tahini with lemon juice first prevents a bitter, gritty texture. Don’t skip this 60-second step.
– Using cold ingredients – Cold chickpeas or cold water make hummus stiff. Let canned chickpeas come to room temperature, and use ice water only for the final texture adjustment.
– Overloading the food processor – Too large a batch strains the motor and leads to uneven blending. Work in batches if needed.
– Forgetting to season – Hummus needs generous salt and acid. Taste multiple times during blending.
– Adding too much olive oil early – Oil can prevent proper emulsification. Add it only at the end, for serving.
Storage & Meal Prep Tips
– Refrigeration – Store in an airtight container for up to 5 days. Press plastic wrap directly onto the surface to prevent a skin from forming.
– Freezing – Portion into small freezer-safe containers or ice cube trays (for single servings). Thaw overnight in the fridge. Freezes well for up to 3 months.
– Reheating tips – To restore creamy texture after refrigeration, let hummus sit at room temperature for 20 minutes. If it looks thick, stir in a teaspoon of warm water at a time. Never microwave the entire container—it can split the emulsion.
– Meal prep – Make hummus up to 3 days before an event. Garnish with olive oil and paprika just before serving to keep the presentation fresh.
Conclusion
Mastering a classic hummus recipe is about respecting the chickpea and using simple techniques—peeling, pre-blending tahini, and adding ice water—to achieve restaurant-quality silkiness. Whether you serve it with crudités, pita, or as a sandwich spread, homemade hummus transforms any meal into something special. Give this recipe a try, and don’t forget to share your results—tag your photos or drop a note in the comments. Hungry for more Mediterranean ideas? Explore our other dips and spreads.
FAQs
1. Can I use dried chickpeas without soaking?
No, dried chickpeas need at least 8 hours of soaking in cool water (or a quick soak: boil 2 minutes, rest 1 hour). Unsoaked chickpeas will remain hard after cooking.
2. Why is my hummus bitter?
Likely causes: old or unstirred tahini (the sesame oil separates), too much garlic (remove the germ inside the clove), or over-processing (oxidizes the garlic). Use fresh, well-stirred tahini and moderate garlic.
3. How do I make hummus without a food processor?
Use a high-speed blender or a mortar and pestle. For a blender, work in smaller batches and add extra water to help the blades move. For mortar and pestle, expect a chunkier, rustic texture—authentic in many cultures.
4. Can I freeze hummus?
Yes. Freeze in airtight containers or ice cube trays. Thaw in the fridge overnight. Stir well after thawing (separation is normal). Do not refreeze once thawed.
5. What can I use instead of tahini?
Sunflower seed butter, almond butter, or Greek yogurt (for a tangy, less rich dip). For nut/seed allergies, omit tahini and increase olive oil slightly—you’ll get a different but still delicious result.
Proven way to grow creamy Hummus in 3 steps Hummus
Ingredients
Equipment
Method
- Combine chickpeas, tahini, lemon juice, garlic, water, salt, and cumin in a food processor.
- Process until smooth and creamy, adding more water if needed for desired consistency.
- Transfer to a serving bowl, drizzle with olive oil, and sprinkle with paprika before serving.